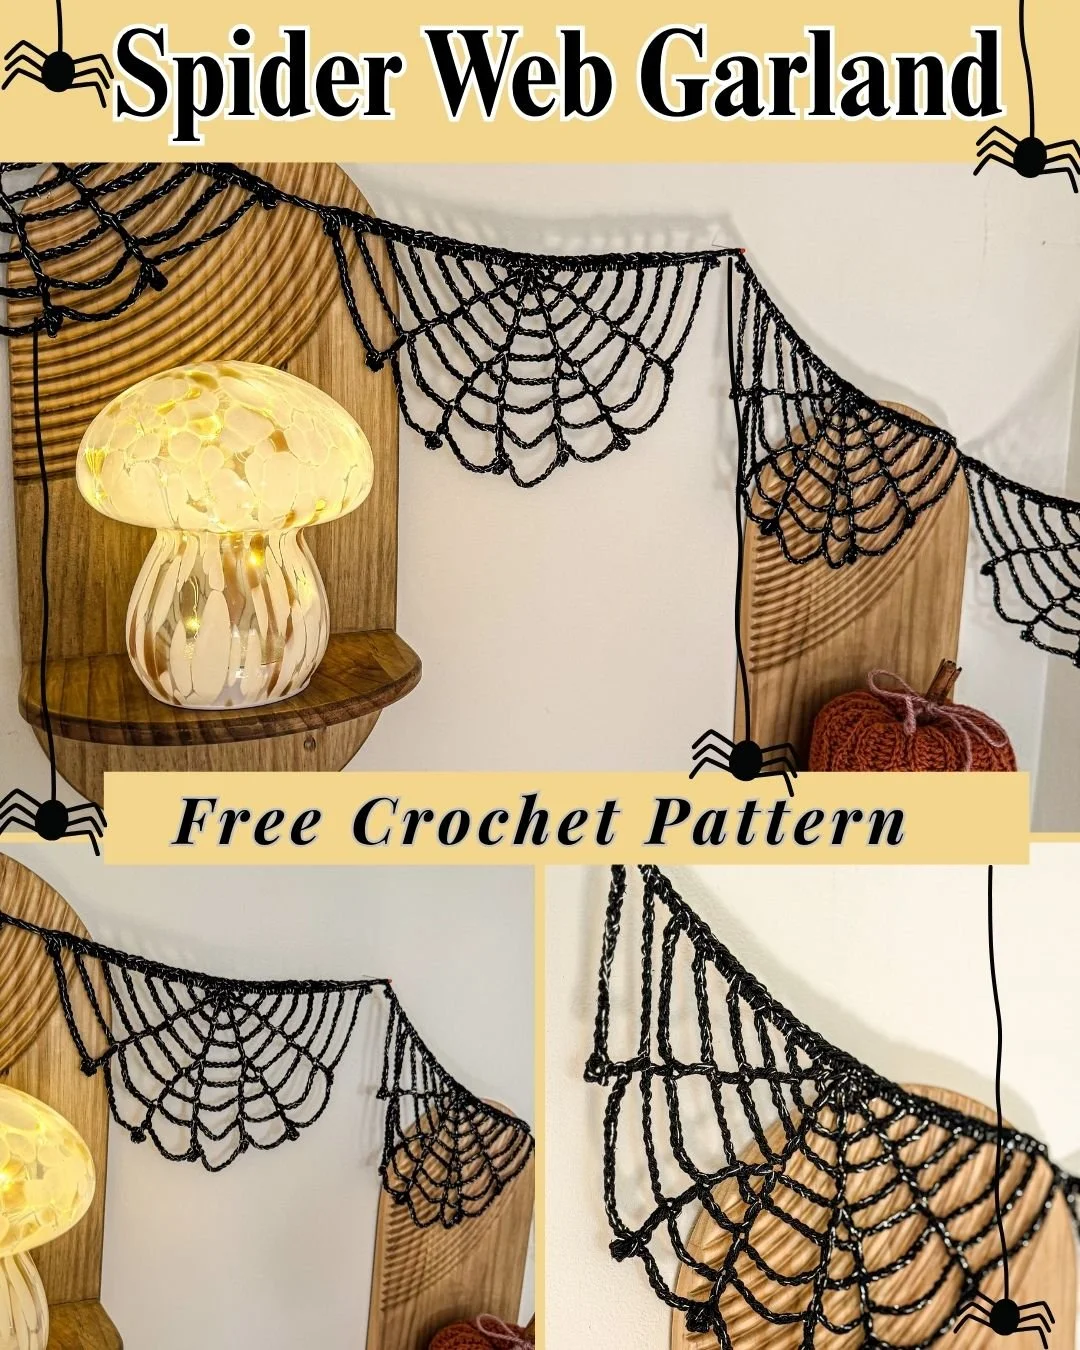
Crochet Spider Web Garland – Easy Halloween Crochet Pattern
**You can purchase an INEXPENSIVE AD-FREE PDF of this pattern on Etsy HERE . This beautifully formatted PDF includes the step-by-step instructions and pictures to help you along the way. Thank you so much for supporting my work :)
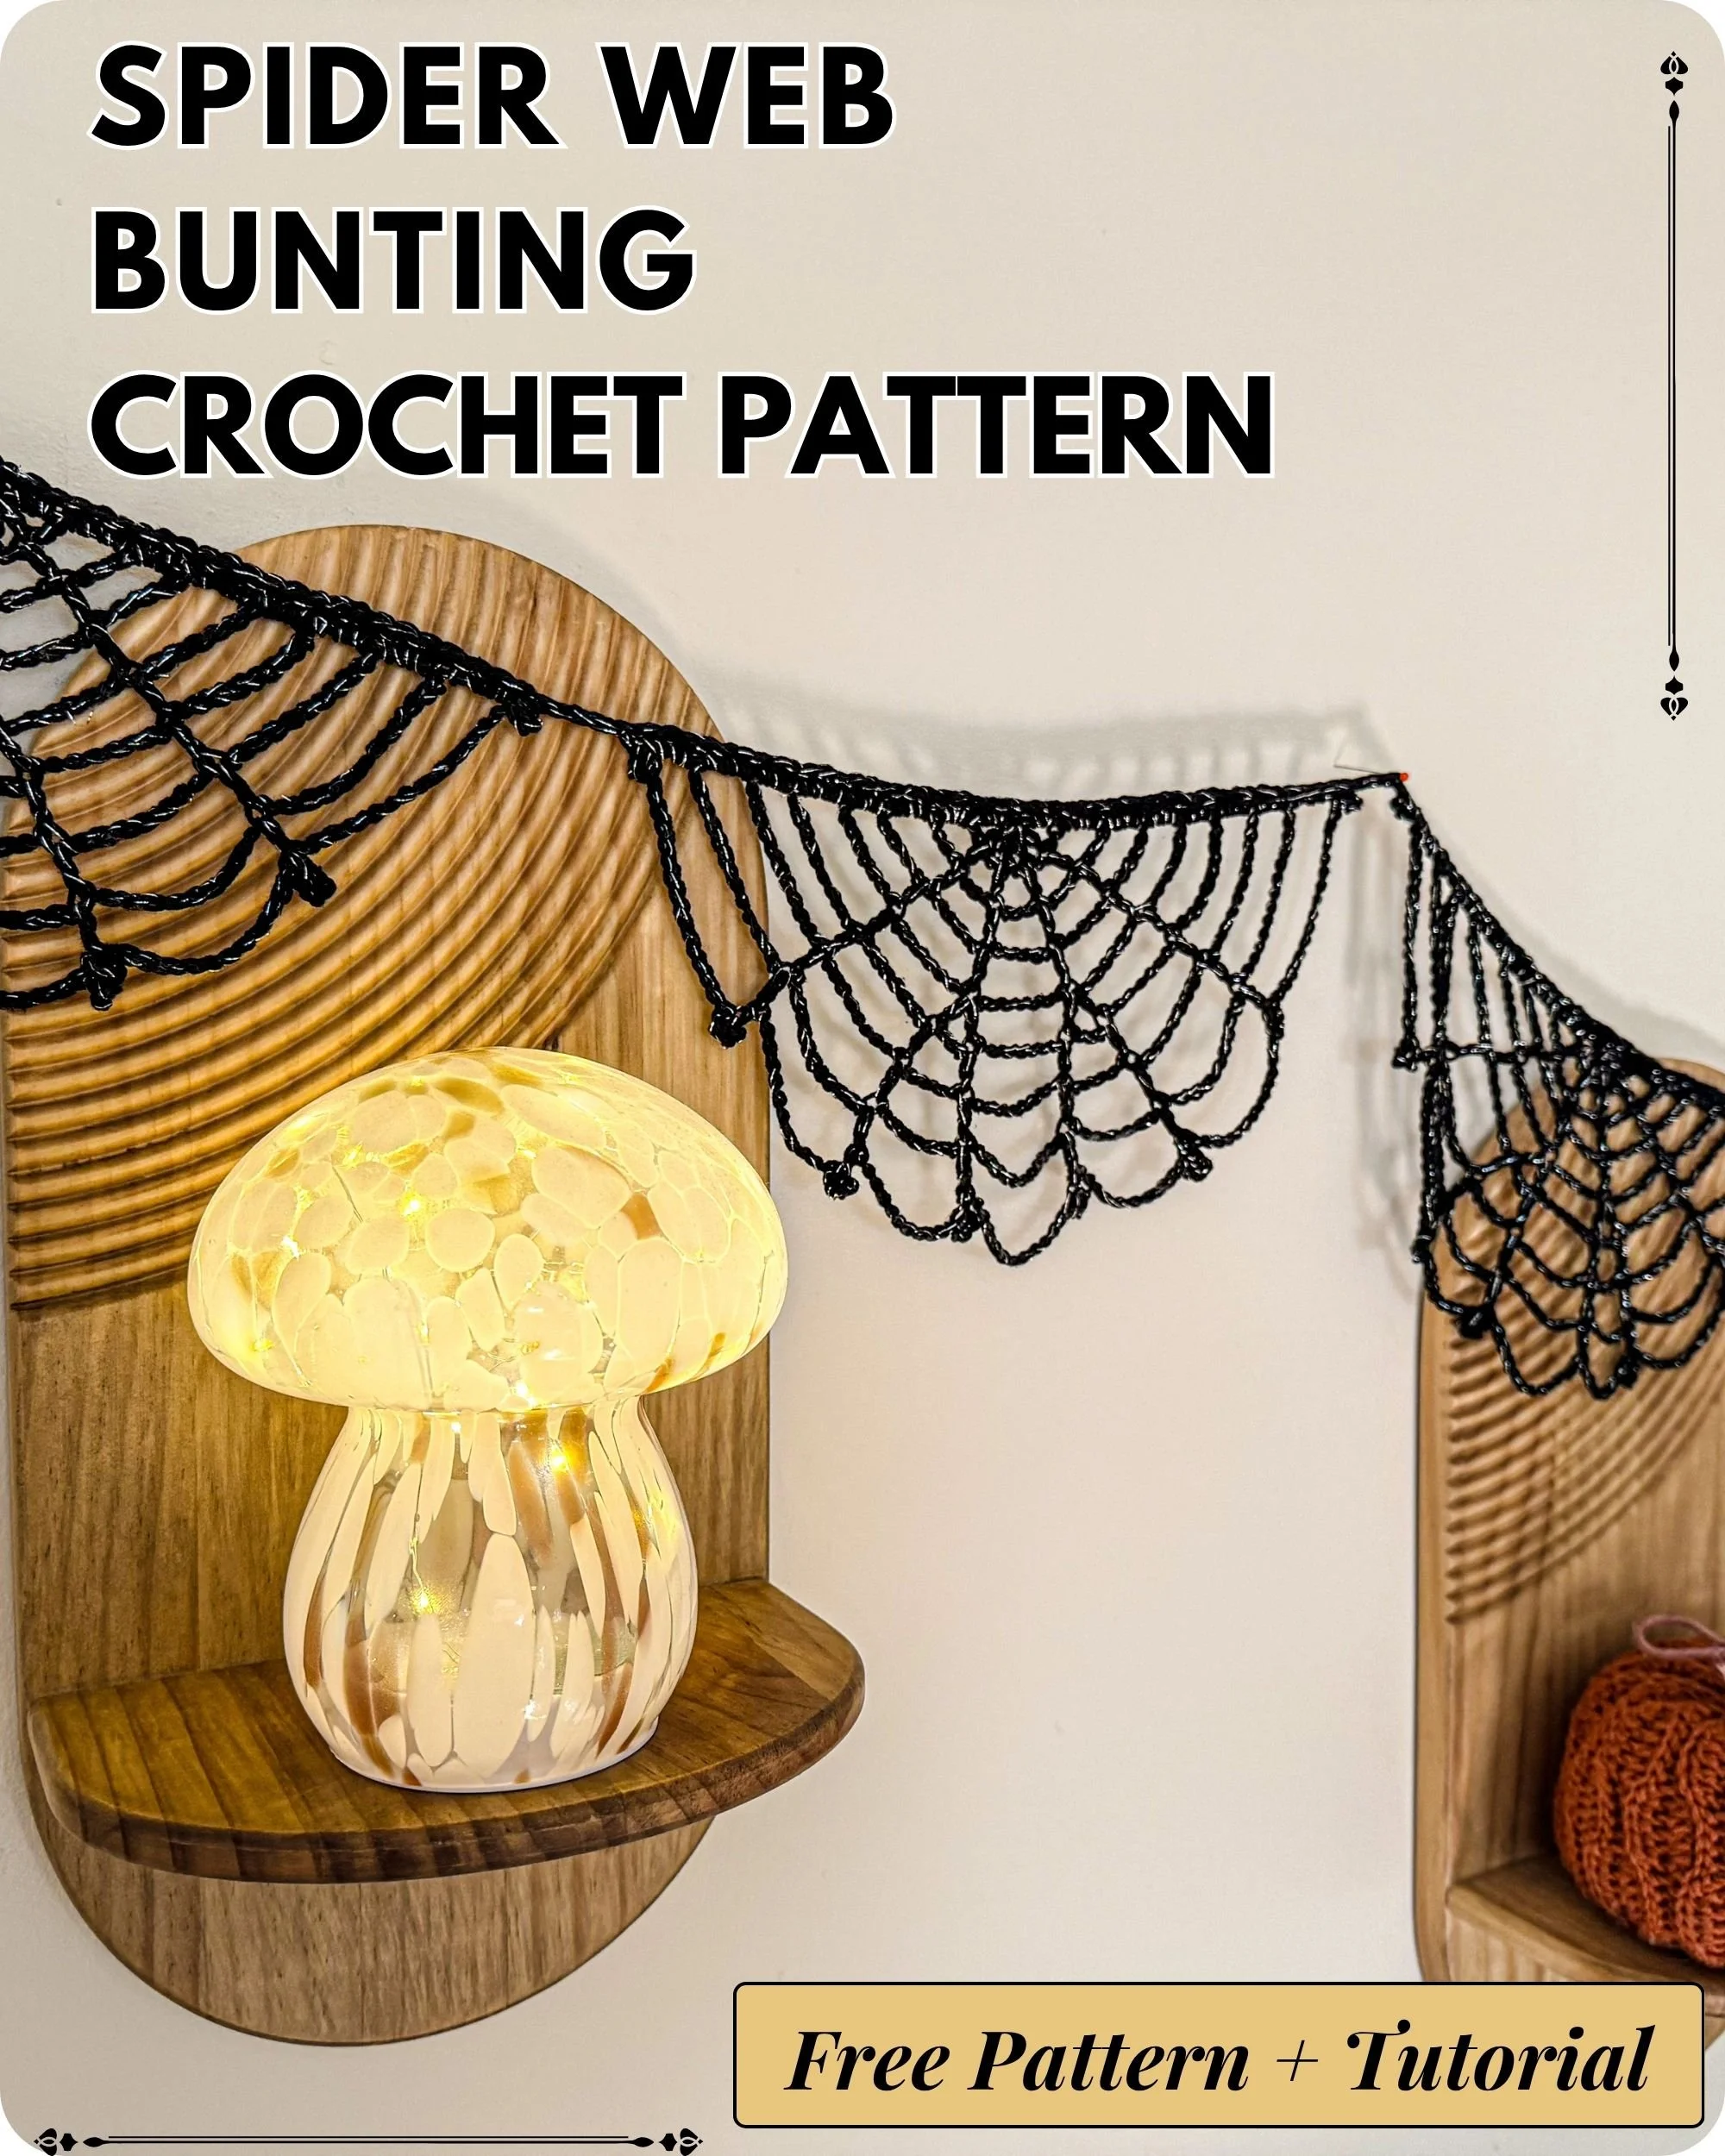
Say hello to my newest crochet pattern — the Spider Web Garland!
I have to admit, I have never really been a huge fan of Halloween crochet projects. I usually lean more towards autumn makes, cosy blankets and Christmas patterns, but this year Halloween has felt completely different.
My children have been so excited about everything I have been making for them, and seeing how much they love all the handmade decorations has made it so much more fun for me too.
So naturally, I had to make a few Halloween projects.
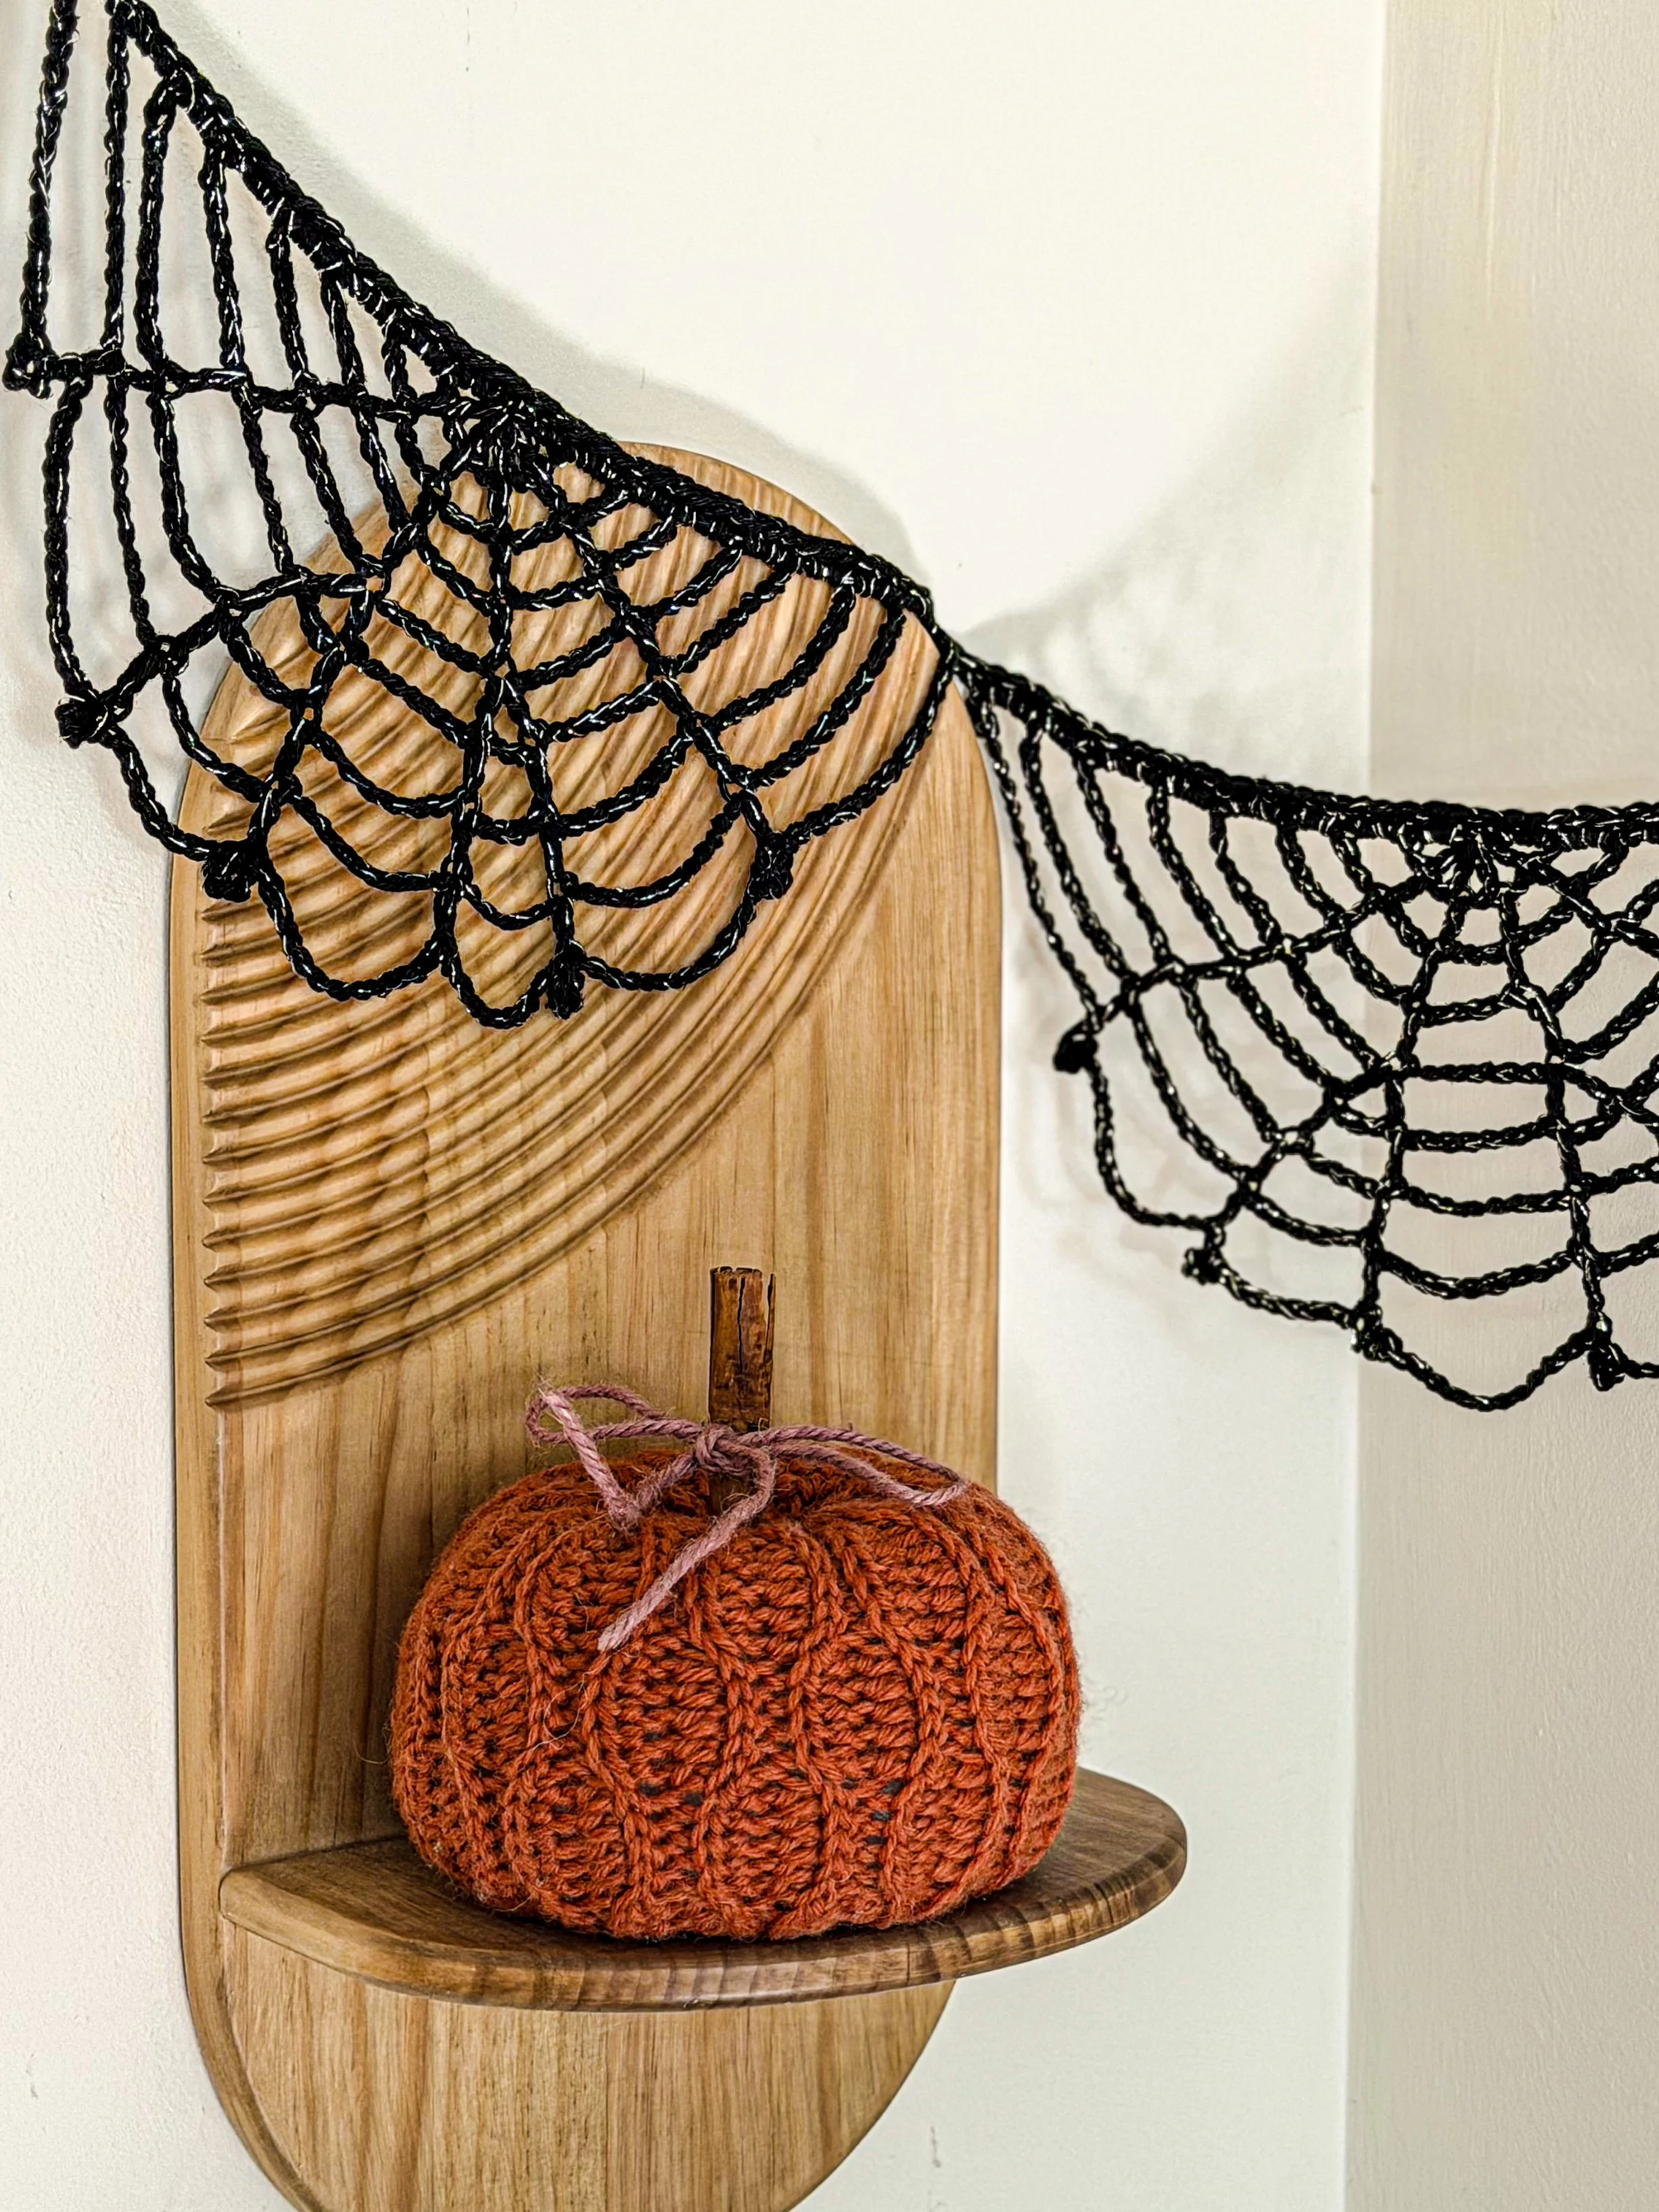
This crochet spider web garland is quick, simple and such a fun way to add a handmade touch to your Halloween decorations. It is also one of those patterns that looks much more detailed than it actually is.
Why spider webs?
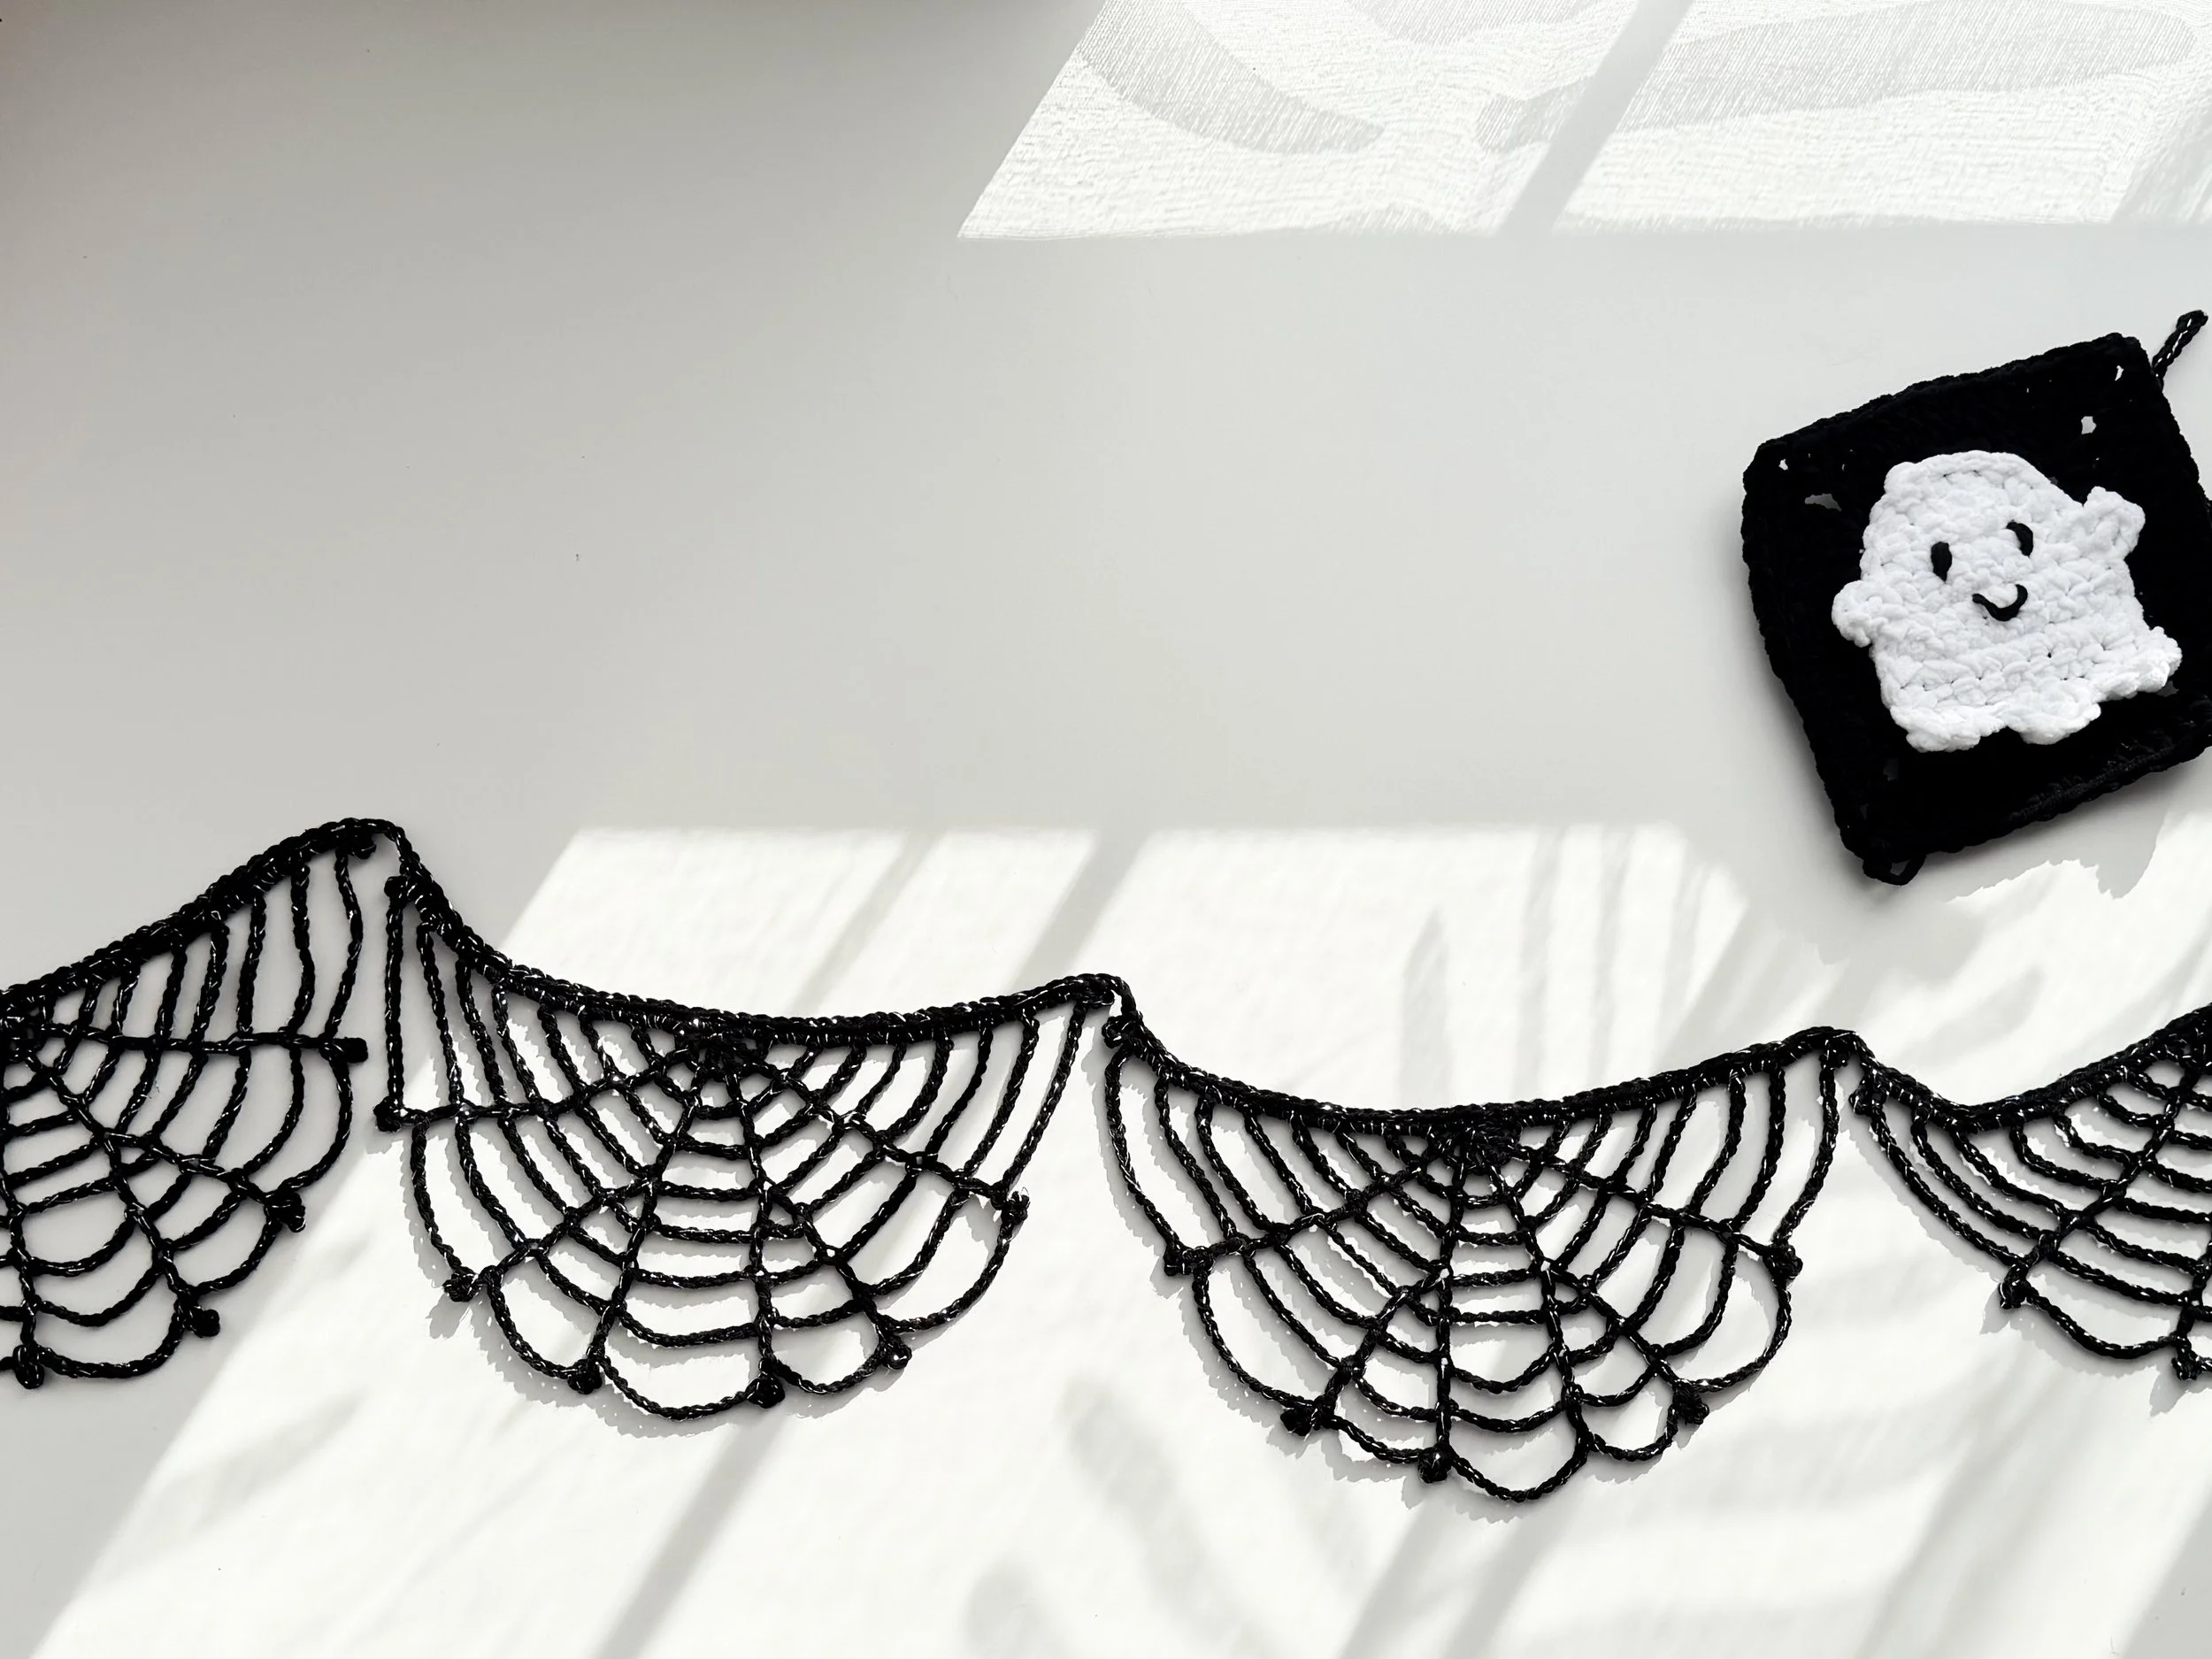
Spider webs are actually perfect for crochet.
The chains, open spaces and picot details naturally create that web effect, so you can get a really pretty result without having to use complicated stitches or spend hours working on each one.
I wanted the webs to look decorative rather than too spooky, so they have a slightly delicate finish that works really well around the home.
I used black cotton yarn together with a fine glitter thread, which gives them just a small touch of sparkle when the light catches them. The glitter is completely optional though, and the pattern works just as well with plain black yarn.
You could also make them in white for a more traditional cobweb look, or even cream if you prefer a softer, more neutral style.
Why you’ll love this pattern
This is definitely one of those projects you can finish much faster than you expect.
Each spider web is worked in just 8 rows, and once you understand the repeat, they work up really quickly.
They also use very little yarn, so this is a great project if you have small amounts of yarn left in your stash and want to put them to good use.
I also love that you do not have to make a huge garland if you do not want to. You can make just a few webs for a shelf or doorway, or keep going and create a much longer garland for a fireplace, window or party display.
It is simple, repetitive and relaxing without being boring — exactly the kind of project I like when I want to make something seasonal without committing to a big make.
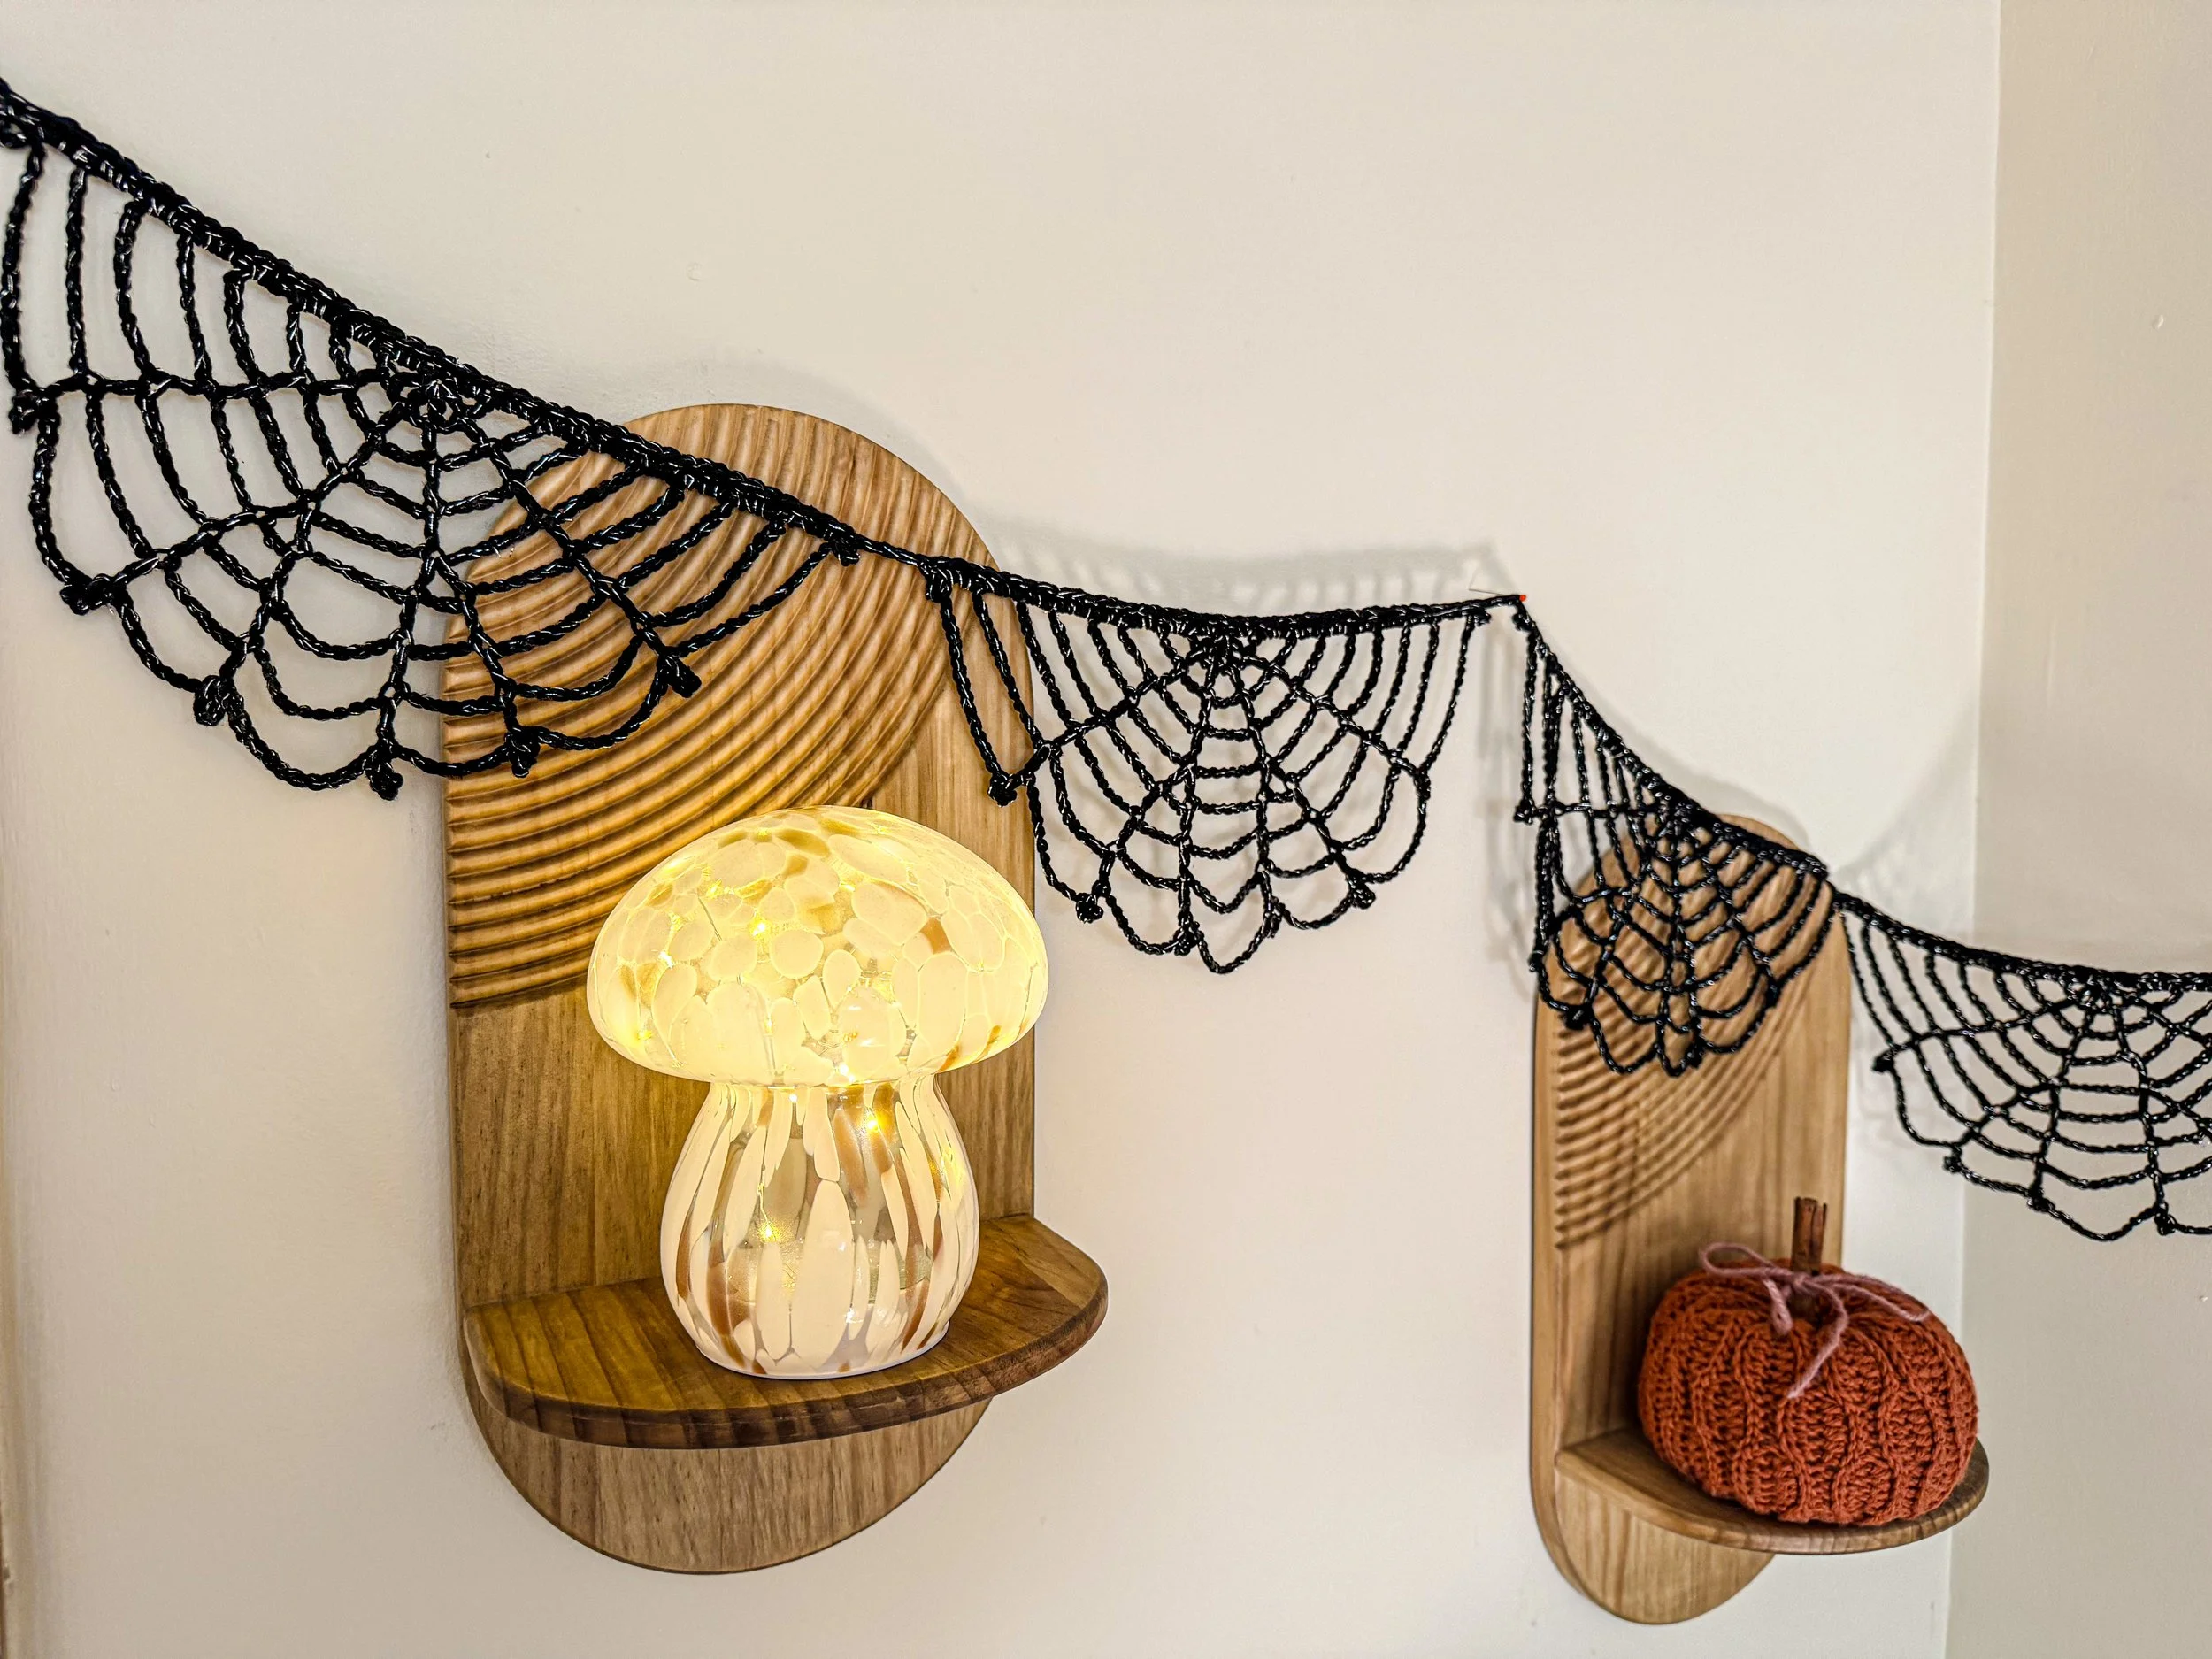
Handmade Halloween decorations
One thing I have really enjoyed this year is making more of our Halloween decorations instead of buying everything.
Handmade decorations just feel more personal, especially when the children are excited to see them go up around the house.
They are also something you can keep and bring out again every year, which I really love. Over time, they become part of your family traditions rather than just another decoration you bought for one season.
And because this garland uses such a small amount of yarn, it is an easy project to make without having to buy lots of supplies.
Make it your own
There are lots of ways you can change the look of this garland.
You could use black yarn like I did, go for white for a classic spider web look, or add a metallic or glitter strand if you want a little sparkle.
You can also make more or fewer webs depending on the space you are decorating.
Add crochet spiders, beads or other Halloween details between the webs if you want to make it even more fun.
That is one of my favourite things about simple crochet patterns — you can follow the original version or make small changes so it suits your own home and style.
Where to hang your spider web garland
This garland is really easy to decorate with because the webs are lightweight and can be hung almost anywhere.
Try it across a fireplace, along a shelf, over a doorway or in a window.
It would also be perfect for a Halloween party, a kids’ room, a gallery wall or even draped across a table as part of your Halloween decorations.
And when Halloween is over, just fold it away with the rest of your decorations and bring it back out next year.
If you are looking for a quick Halloween crochet project that uses very little yarn, works up fast and adds a handmade touch to your home, I think you are going to really enjoy making this one.
Upgrade to the Printable PDF
If you prefer crocheting from a beautifully formatted, ad-free version, you can purchase the printable Spider Web Bunting PDF. The paid pattern includes everything in one easy-to-follow file.
Permissions + Copyright:
Please do not publish or share this pattern as your own. You may make items to sell with this pattern. In exchange, please link back this post. Do NOT use our photos as your own sales photos.
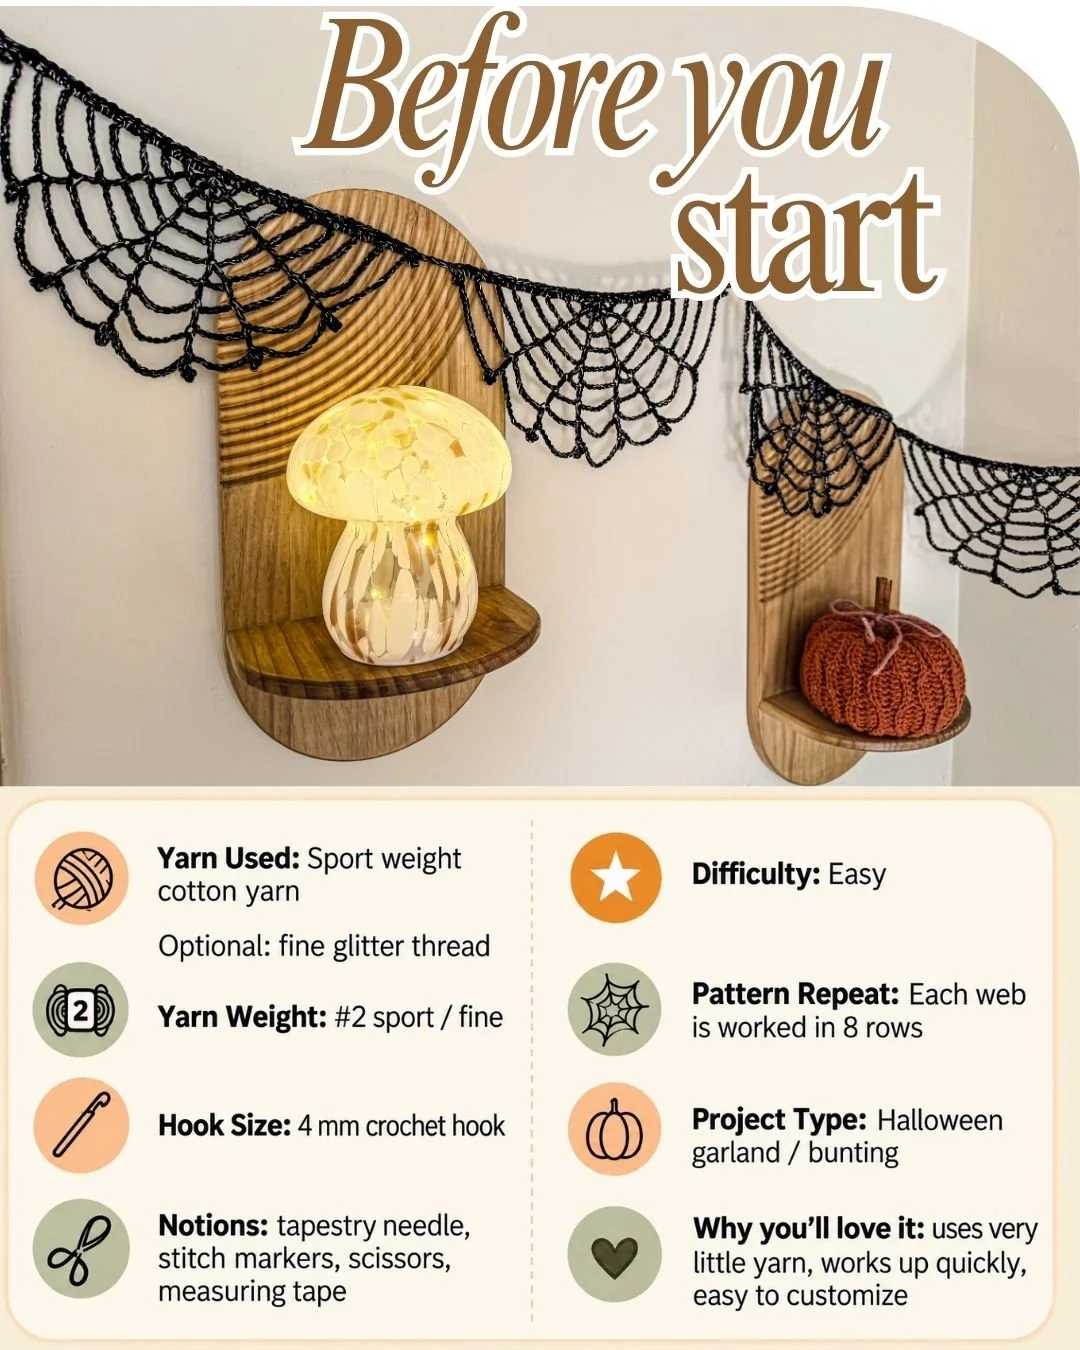
Skill Level:
Beginners with experience reading patterns
You will need:
Any Sports weight yarn (I used Coral by Durable; 100% mercerized cotton; 50g = 125 m)
*Black (325) - color A - 1 ball.
Optional:
Any Glitter yarn (I used Glitter Deluxe; 100% Polyester; 30g = 1.8 km)
*Silver (18120)- color A- 1 cone.
4 mm crochet hook if you are using two yarns held together or size needed to match the yarn you are using
Tapestry needle, Stitch markers,
Scissors and Measuring Tape
TENSION:
Tension is not critical for this project, but each web measures: 23 cm (9 inches) width x 13 cm (5 inches) length.
Abbreviations-
Pattern is written using American terms:
Ch- Chain
Ch-sp- Chain space
St/s- Stitch/es
Beg- Beginning
Rnd- Round
Sl st- Slip stitch
Sc- Single crochet
Hdc- Half Double Crochet
Dc- Double crochet
Special Stitches
Picot- 5 ch, 1 sl st in 5th ch from hook
Size
One Size
Measurements
Finished garland will measure roughly 150 cm (59 inches).
Yarn Suggestions
For this sample, I held two strands of yarn together — one strand of DK cotton and one strand of fine glitter yarn — to give the spider webs a subtle sparkle.
You can also make the garland using just DK cotton yarn. I recommend using cotton as it holds the shape of the fina project really well and gives them a lovely, crisp finish once blocked.
You can use any yarn weight you have at home, just make sure to choose a crochet hook that suits the yarn you are using. If your tension is quite loose, I recommend going down a hook size so the stitches stay tighter and the spider web keeps its shape without opening up too much.
Just keep in mind that using a different yarn weight may change the finished size of your spider webs.
Start Here
With two strands of color A held together and 4 mm crochet hook
Start by making a magic ring
Row 1: 4 ch (counts as 1st dc and 1 ch), 1 dc, [1 ch, 1 dc] 4 times, all into the ring. Pull the yarn tail tight to close the ring, turn. 6 dc separated by 1 ch-sp.
Row 2: 6 ch (counts as 1st dc and 3 ch), [1 dc in next dc, 3 ch] 4 times, 1 dc in 3rd ch from intial 4 ch from previous row, turn. 6 dc separated by 3 ch-sp.
Row 3: 8 ch (counts as 1st dc and 5 ch), [1 dc in next dc, 5 ch] 4 times, 1 dc in 3rd ch from initial 6 ch from previous row, turn. 6 dc separated by 5 ch-sp.
Row 4: 10 ch (counts as 1st dc and 7 ch), [1 dc in next dc, 7 ch] 4 times, 1 dc in 3rd ch from initial 8 ch from previous row, turn. 6 dc separated by 7 ch-sp.
Row 5: 12 ch (counts as 1st dc and 9 ch), 1 dc in next dc, 7 ch, (1 dc, 3 ch, 1 dc) in next dc, 7 ch, (1 dc, 3 ch, 1 dc) in next dc, 7 ch, 1 dc in next dc, 9 ch, 1 dc in 3rd ch from initial 10 ch from previous row, turn. 8 dc, two 9ch-sp, three 7ch-sp and two 3ch-sp.
Row 6: 14 ch (counts as 1st dc and 11 ch), 1 dc in next dc, [9 ch, 1 dc in next dc, 5 ch, 1 dc in next dc] twice, 9 ch, 1 dc in next dc, 11 ch, 1 dc in 3rd ch from initial 12 ch from previous row, turn. 8 dc, two 11ch-sp, three 9ch-sp and two 5ch-sp.
Row 7: 16 ch (counts as 1st dc and 13 ch), 1 dc in next dc, [11 ch, 1 dc in next dc, 7 ch, 1 dc in next dc] twice, 11 ch, 1 dc in next dc, 13 ch, 1 dc in 3rd ch from initial 14 ch from previous row, turn. 8 dc, two 13ch-sp, three 11ch-sp and two 7ch-sp.
Row 8: 8 ch, sl st in 5th ch from hook, (counts as 1st dc and 1 picot st), 15 ch, 1 dc in next dc, 1 picot st, [13 ch, 1 dc in next dc, 1 picot st, 9 ch, 1 dc in next dc, 1 picot st] twice, 13 ch, 1 dc in next dc, 1 picot st, 15 ch, 1 dc in 3rd ch from initial 16 ch from previous row, 1 picot st. Fasten off and weave in ends. 8 dc, two 15ch-sp, three 13ch-sp and two 9ch-sp.
Making the Garland
With two strands of color A held together and 4 mm crochet hook.
Chain 50.
Row 1: Work 1 sc on top of the Picot st to attach the 1st web, work 3 sc in each ch sp across the web until you reach there is 1 ch-sp left before the center, work 2 sc in next ch-sp, 1 sc in centre, 2 sc in next ch-sp, 3 sc in each ch-sp until the next Picot st, 1 sc on top of the Picot st, 3 ch attach the next web, and repeat the steps from to until all 4 webs have been joined.
After attaching the final web, ch 50 and turn.
Row 2: 1 sl st in each ch across the first 50 chains, 1 sc in each sc from the web and in each 3 ch in between the webs rep from * to across all 4 webs, 1 sl st in each ch across the final 50 chains. Fasten off and weave in ends.
Blocking
Blocking will help your spider webs hold their shape and give them a crisp, defined finish. You can use either of the following methods:
Option 1 – Glue Blocking
Mix a small amount of white craft glue with water. Dip the spider web into the mixture, making sure it is evenly coated, then gently squeeze out any excess.
Lay the web flat on a blocking mat or protected surface and carefully pin each point of the web into shape. Adjust the strands until the web is even and symmetrical.
Leave it pinned in place until completely dry before removing the pins.
Option 2 – Steam Blocking
Lay the spider web flat on a blocking mat and pin each point into the desired shape.
Using a garment steamer or the steam setting on your iron, gently steam over the web without allowing the iron to touch the yarn. Once dampened with steam, adjust the web if needed and leave it pinned in place until completely cool and dry.
Tip: For a firmer, more structured web, I recommend the glue-blocking method. Steam blocking will give a softer, more natural finish.

🎃 👻 🕷️ 🕸️
Well That Was Fun! What's Next?
📌 PIN THIS POST - Don't lose this project; save it to your Pinterest crochet board so you can quickly come back to it again.
💌 SHARE - Share your yarn choice, in-progress, or finished projects on Facebook or Instagram and use the hashtag #leoneladiy
🥂 JOIN - Join our small community on Facebook: Dublin Bay Crochet