

Crochet a Chunky Throw. Free Pattern
Learn how to crochet a chunky blanket with this free pattern and step-by-step tutorial. The complete free Waves of Autumn pattern is below or you can purchase the ad-free, printable PDF here.
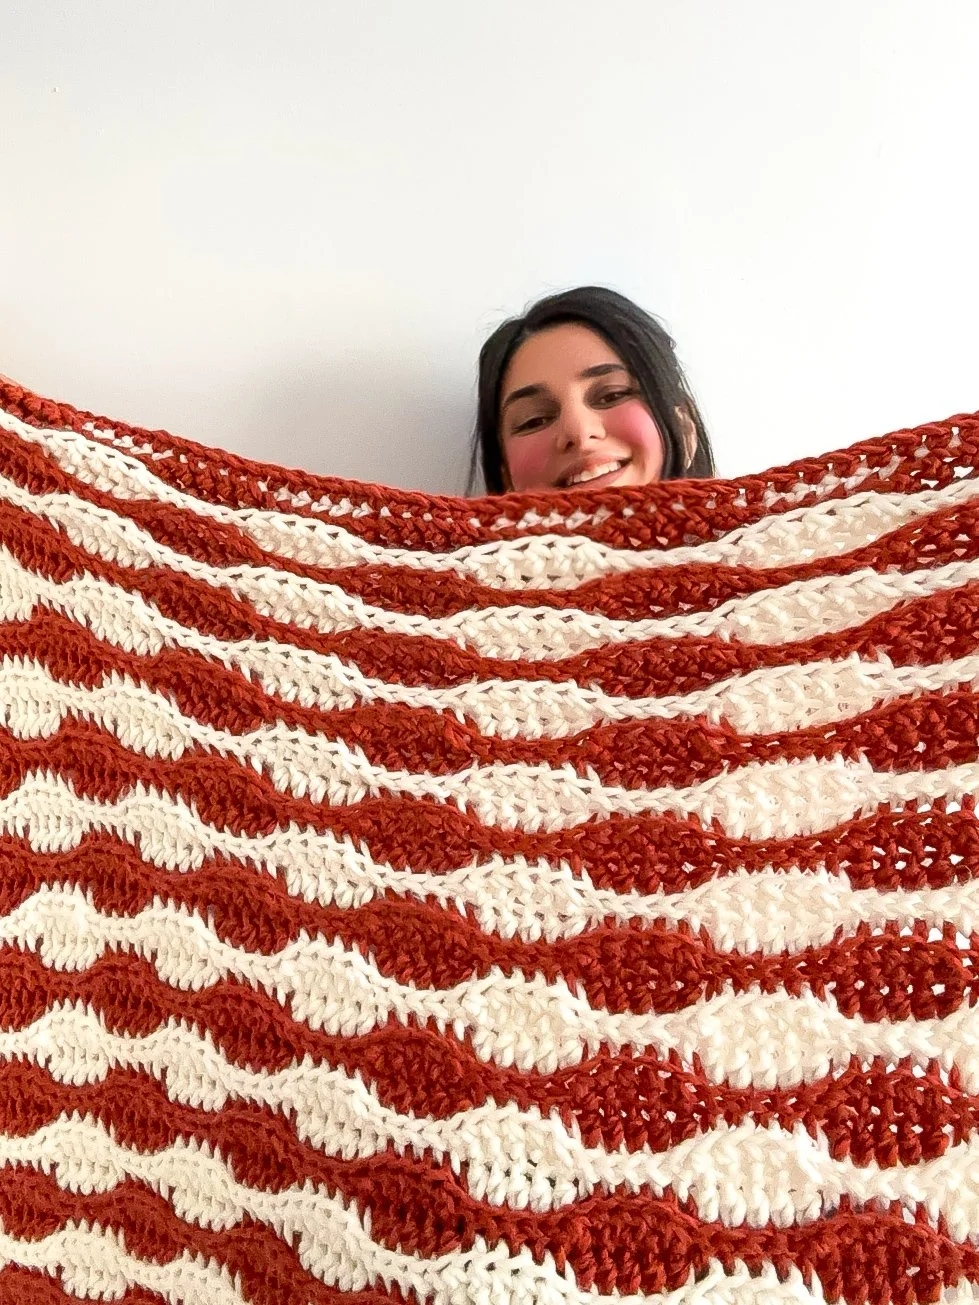
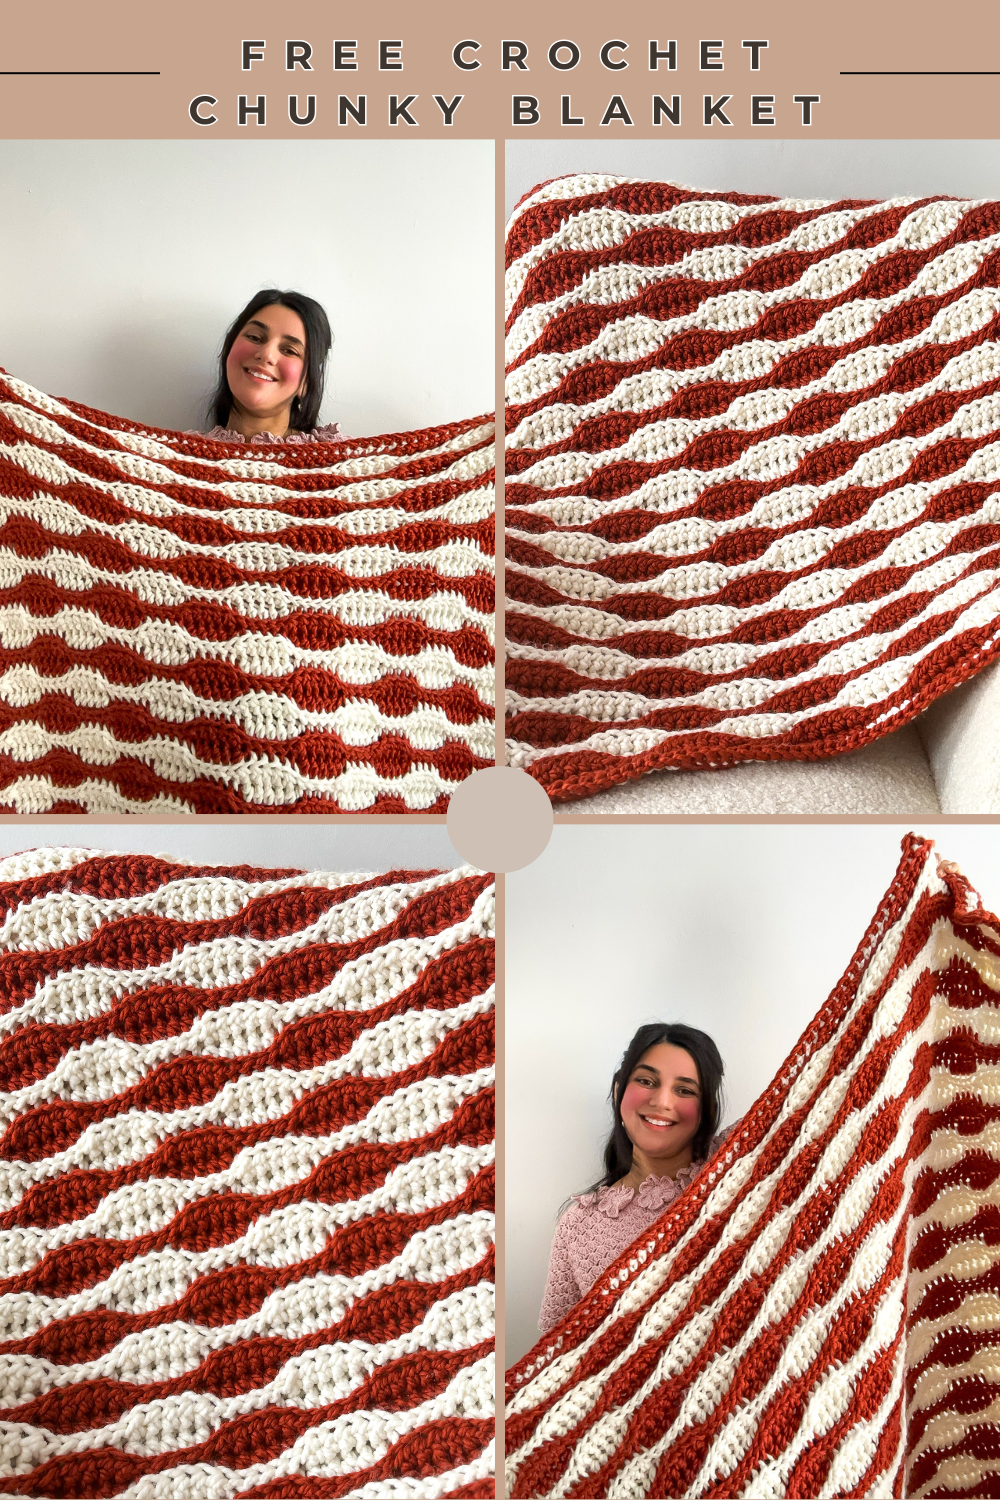
If you’re looking for the ultimate cozy project to welcome the crisp days of fall, the Waves of Autumn Crochet Throw is the perfect choice! This free crochet pattern combines relaxing stitches with a warm, earthy colour palette inspired by autumn leaves. Whether you’re an experienced maker or a beginner ready for a new challenge, this blanket is simple to create and a joy to watch grow. Plus, with its generous size, it’s the ideal throw for movie nights, reading nooks, or as a stunning handmade gift.
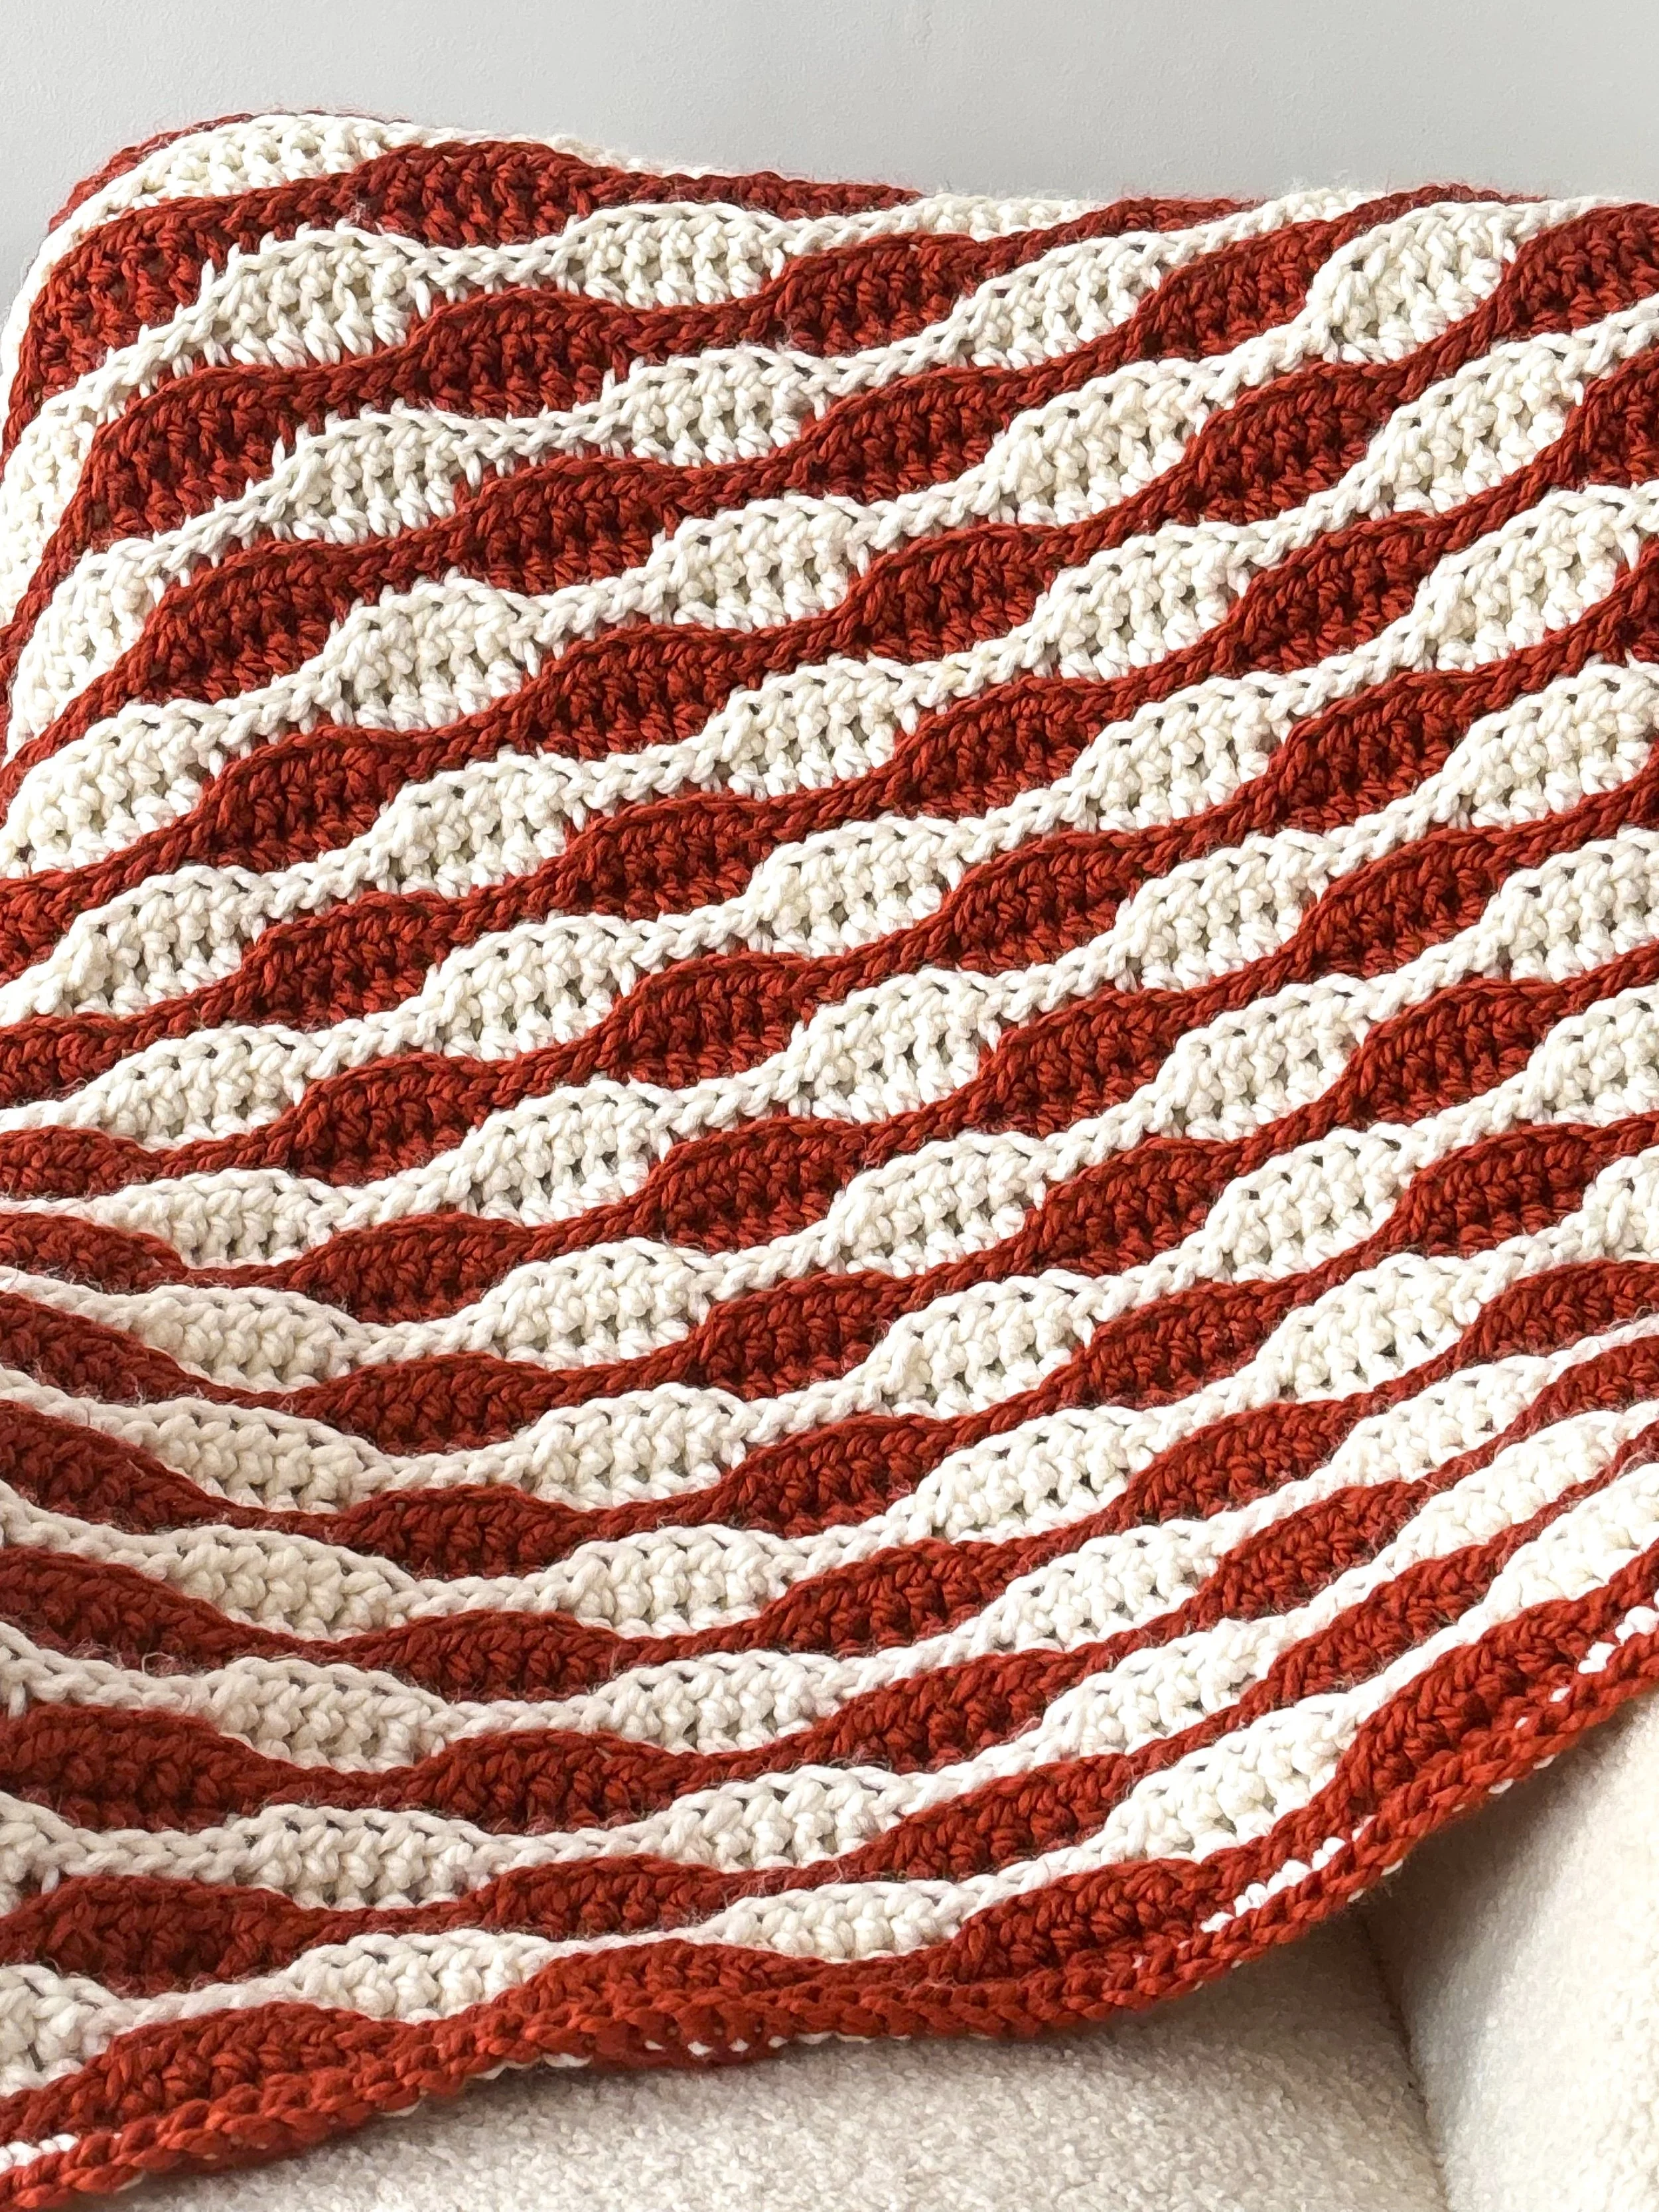
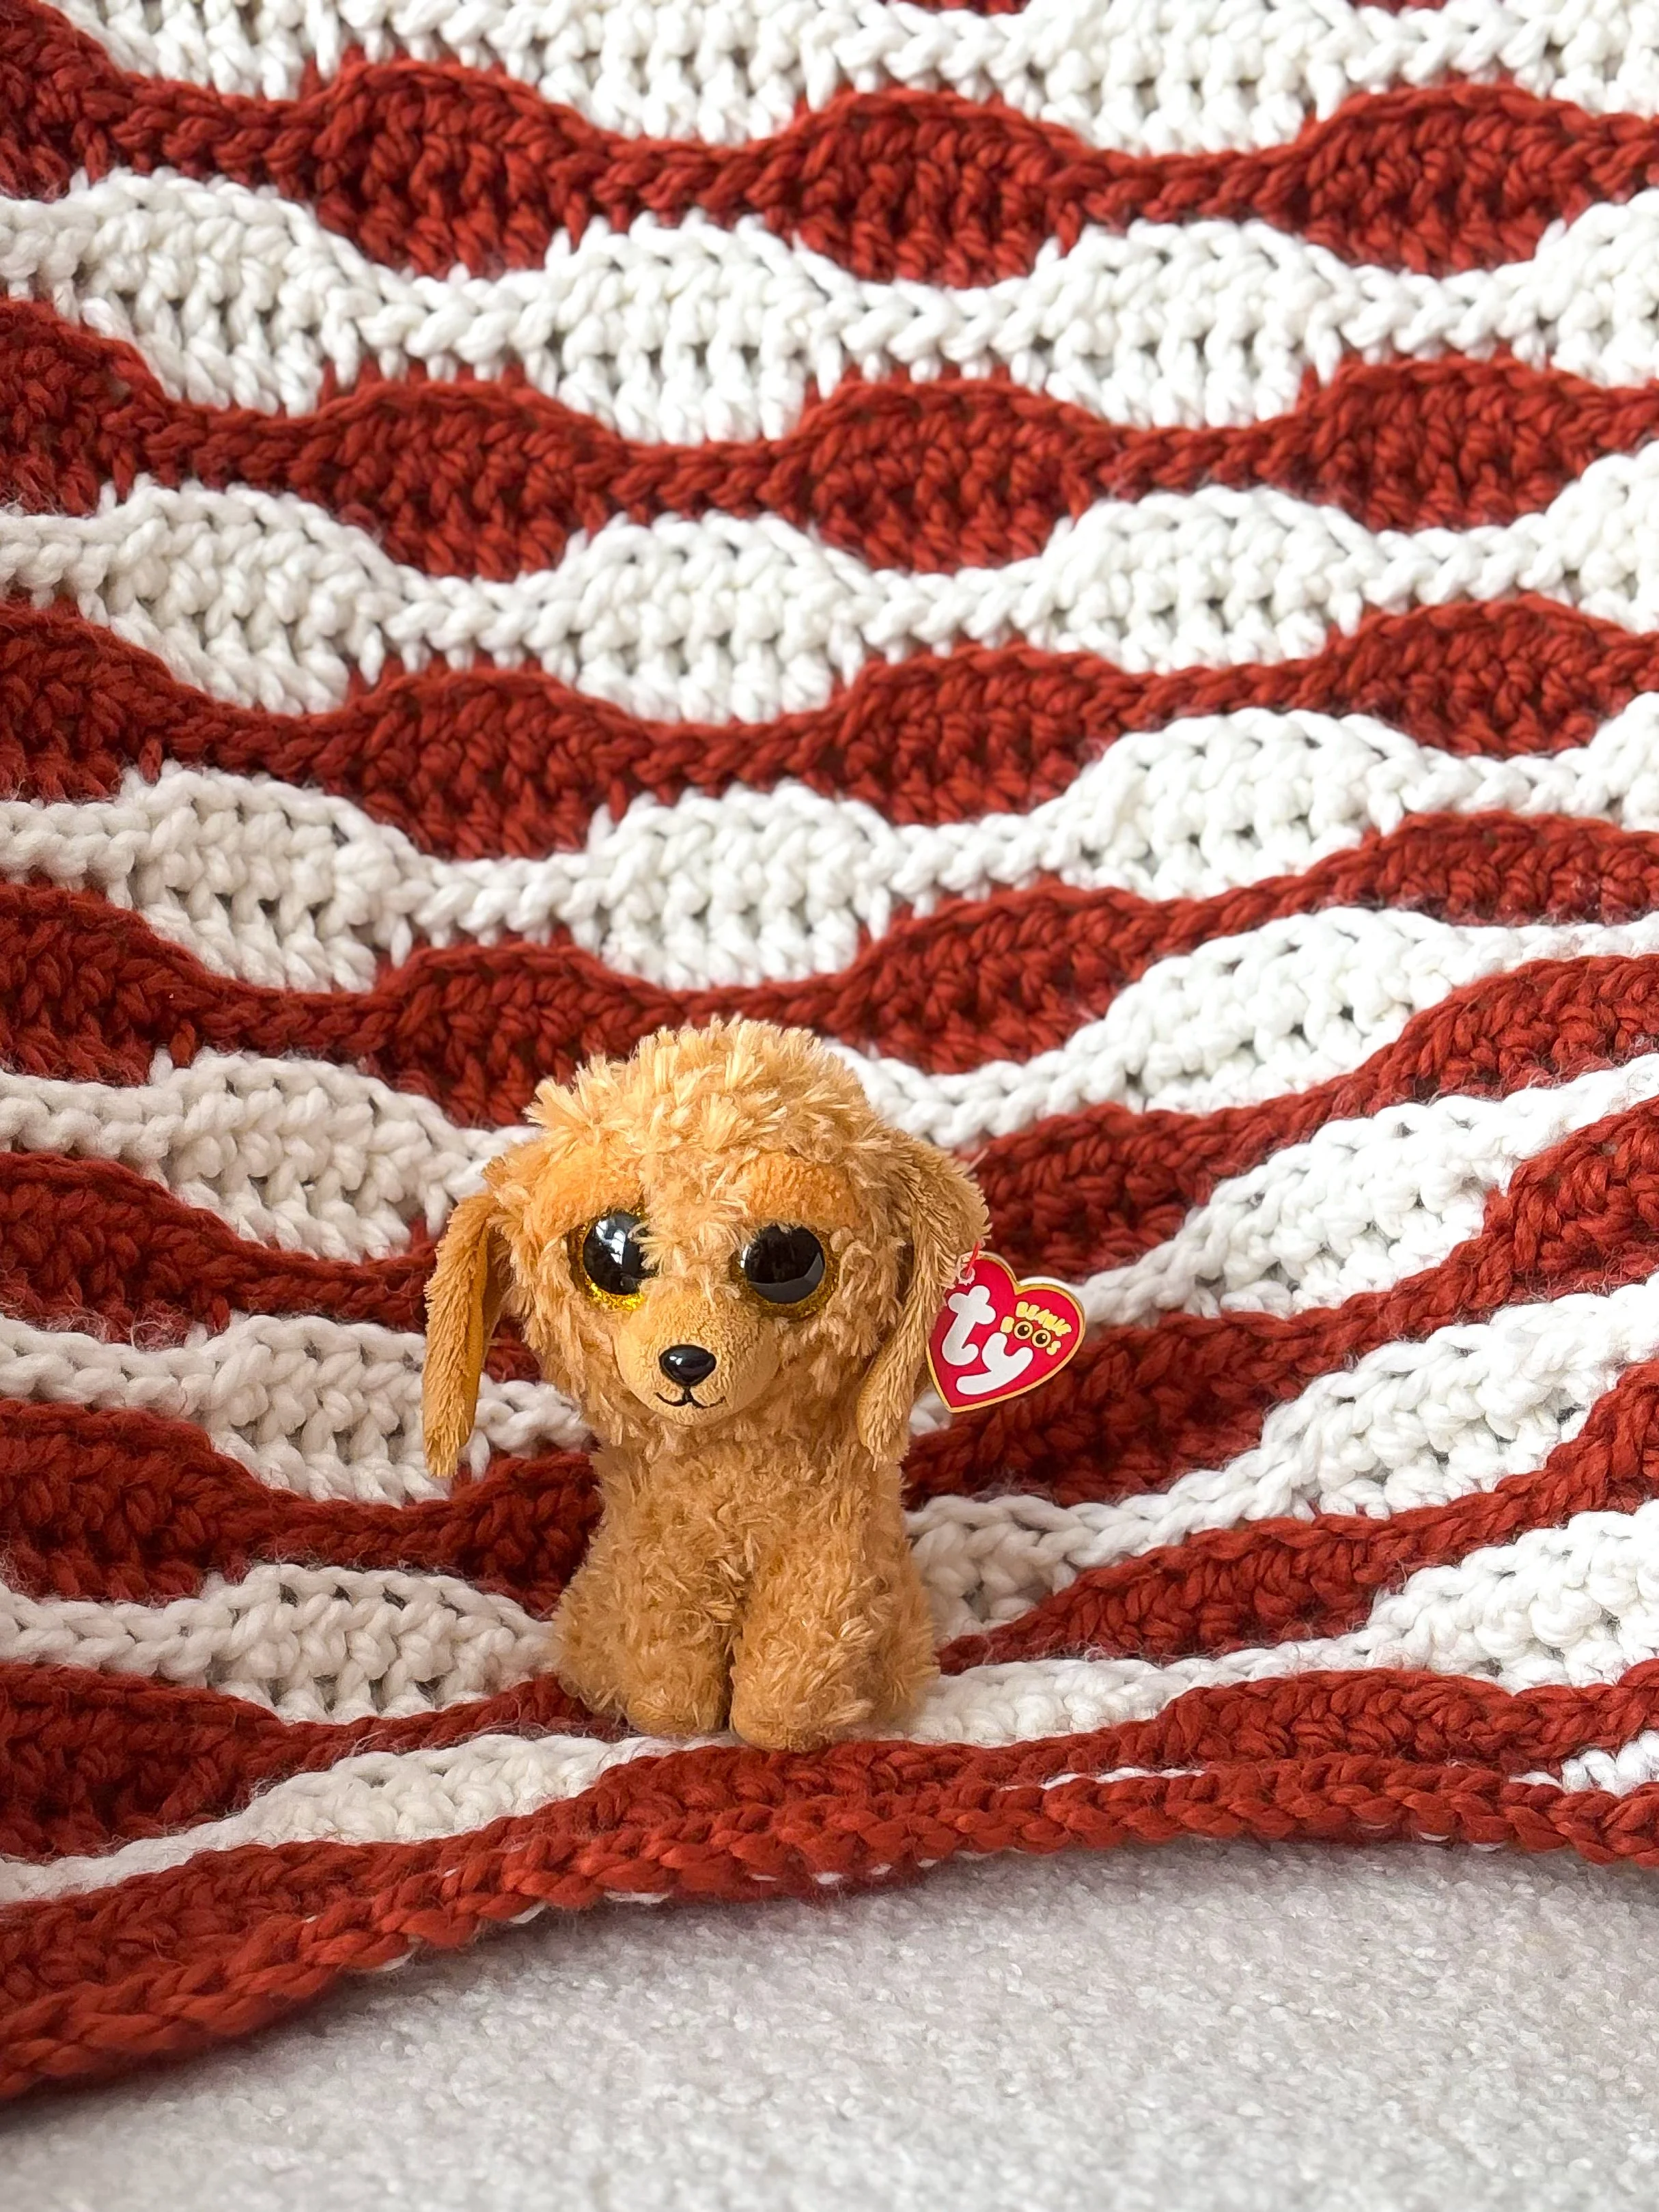
Get ready to wrap yourself in all the cozy fall vibes with the Waves of Autumn Crochet Throw! This beautiful blanket features a soothing wave stitch pattern that creates a lovely, textured flow — perfect for both beginner and experienced crocheters.
I’ve chosen a warm, autumn-inspired colour palette that captures the beauty of the season, blending earthy tones and rich shades that will complement any space. Measuring a generous 55″ x 61″, this oversized throw is ideal for curling up with on crisp evenings or adding a touch of seasonal charm to your home decor.
Follow along with our step-by-step tutorial on YouTube, where we’ll guide you through the entire process of creating your very own Waves of Autumn Blanket. Gather your yarn and hooks, and let’s get started on this beautiful project that will keep you warm all season long!
The Perfect Throw Blanket For Fall
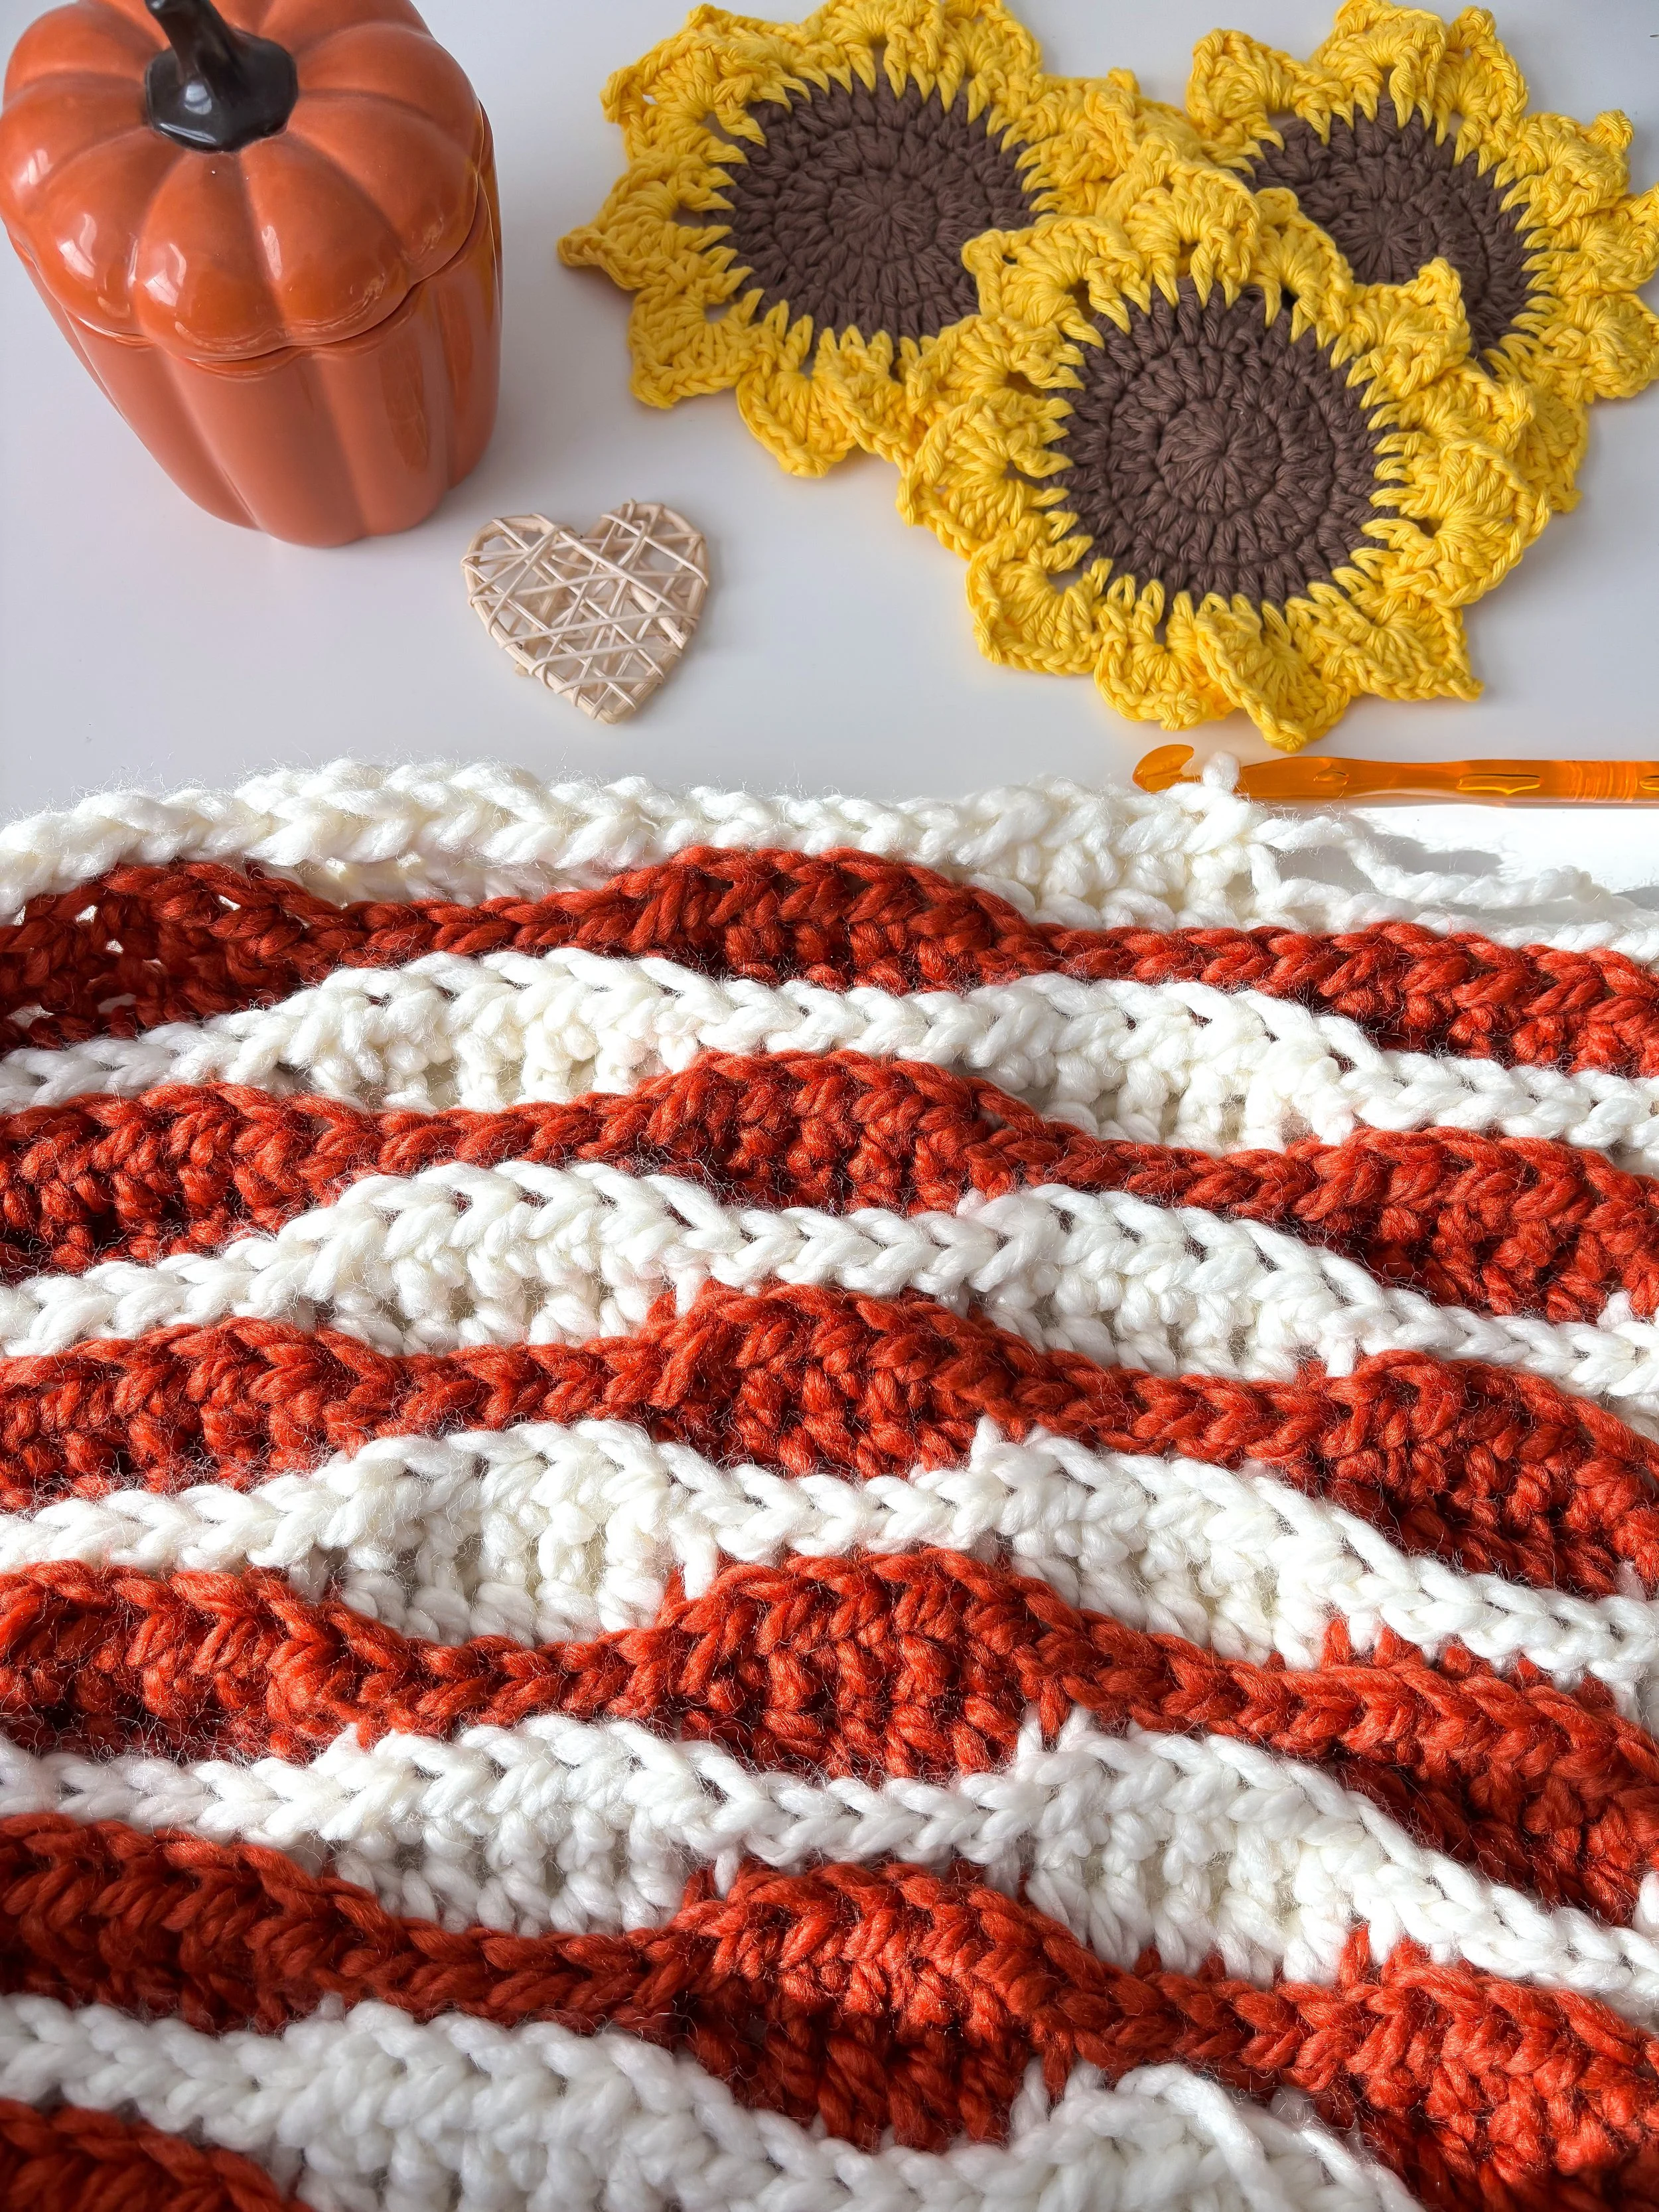
This easy crochet blanket pattern is everything you need for fall! The flowing wave stitches and rich, earthy colors give off all the cozy autumn vibes—like watching the leaves change right in your living room. I actually made mine during the summer so it would be ready to enjoy the moment the cooler weather arrived. It was such a relaxing project to work on in the evenings, and I’m sure you’ll enjoy making it just as much as I did. And the best part? It works up surprisingly fast—I had mine finished in just a couple of days!
Click on the picture to be redirected to the printable version of this pattern.
Substituting Yarn
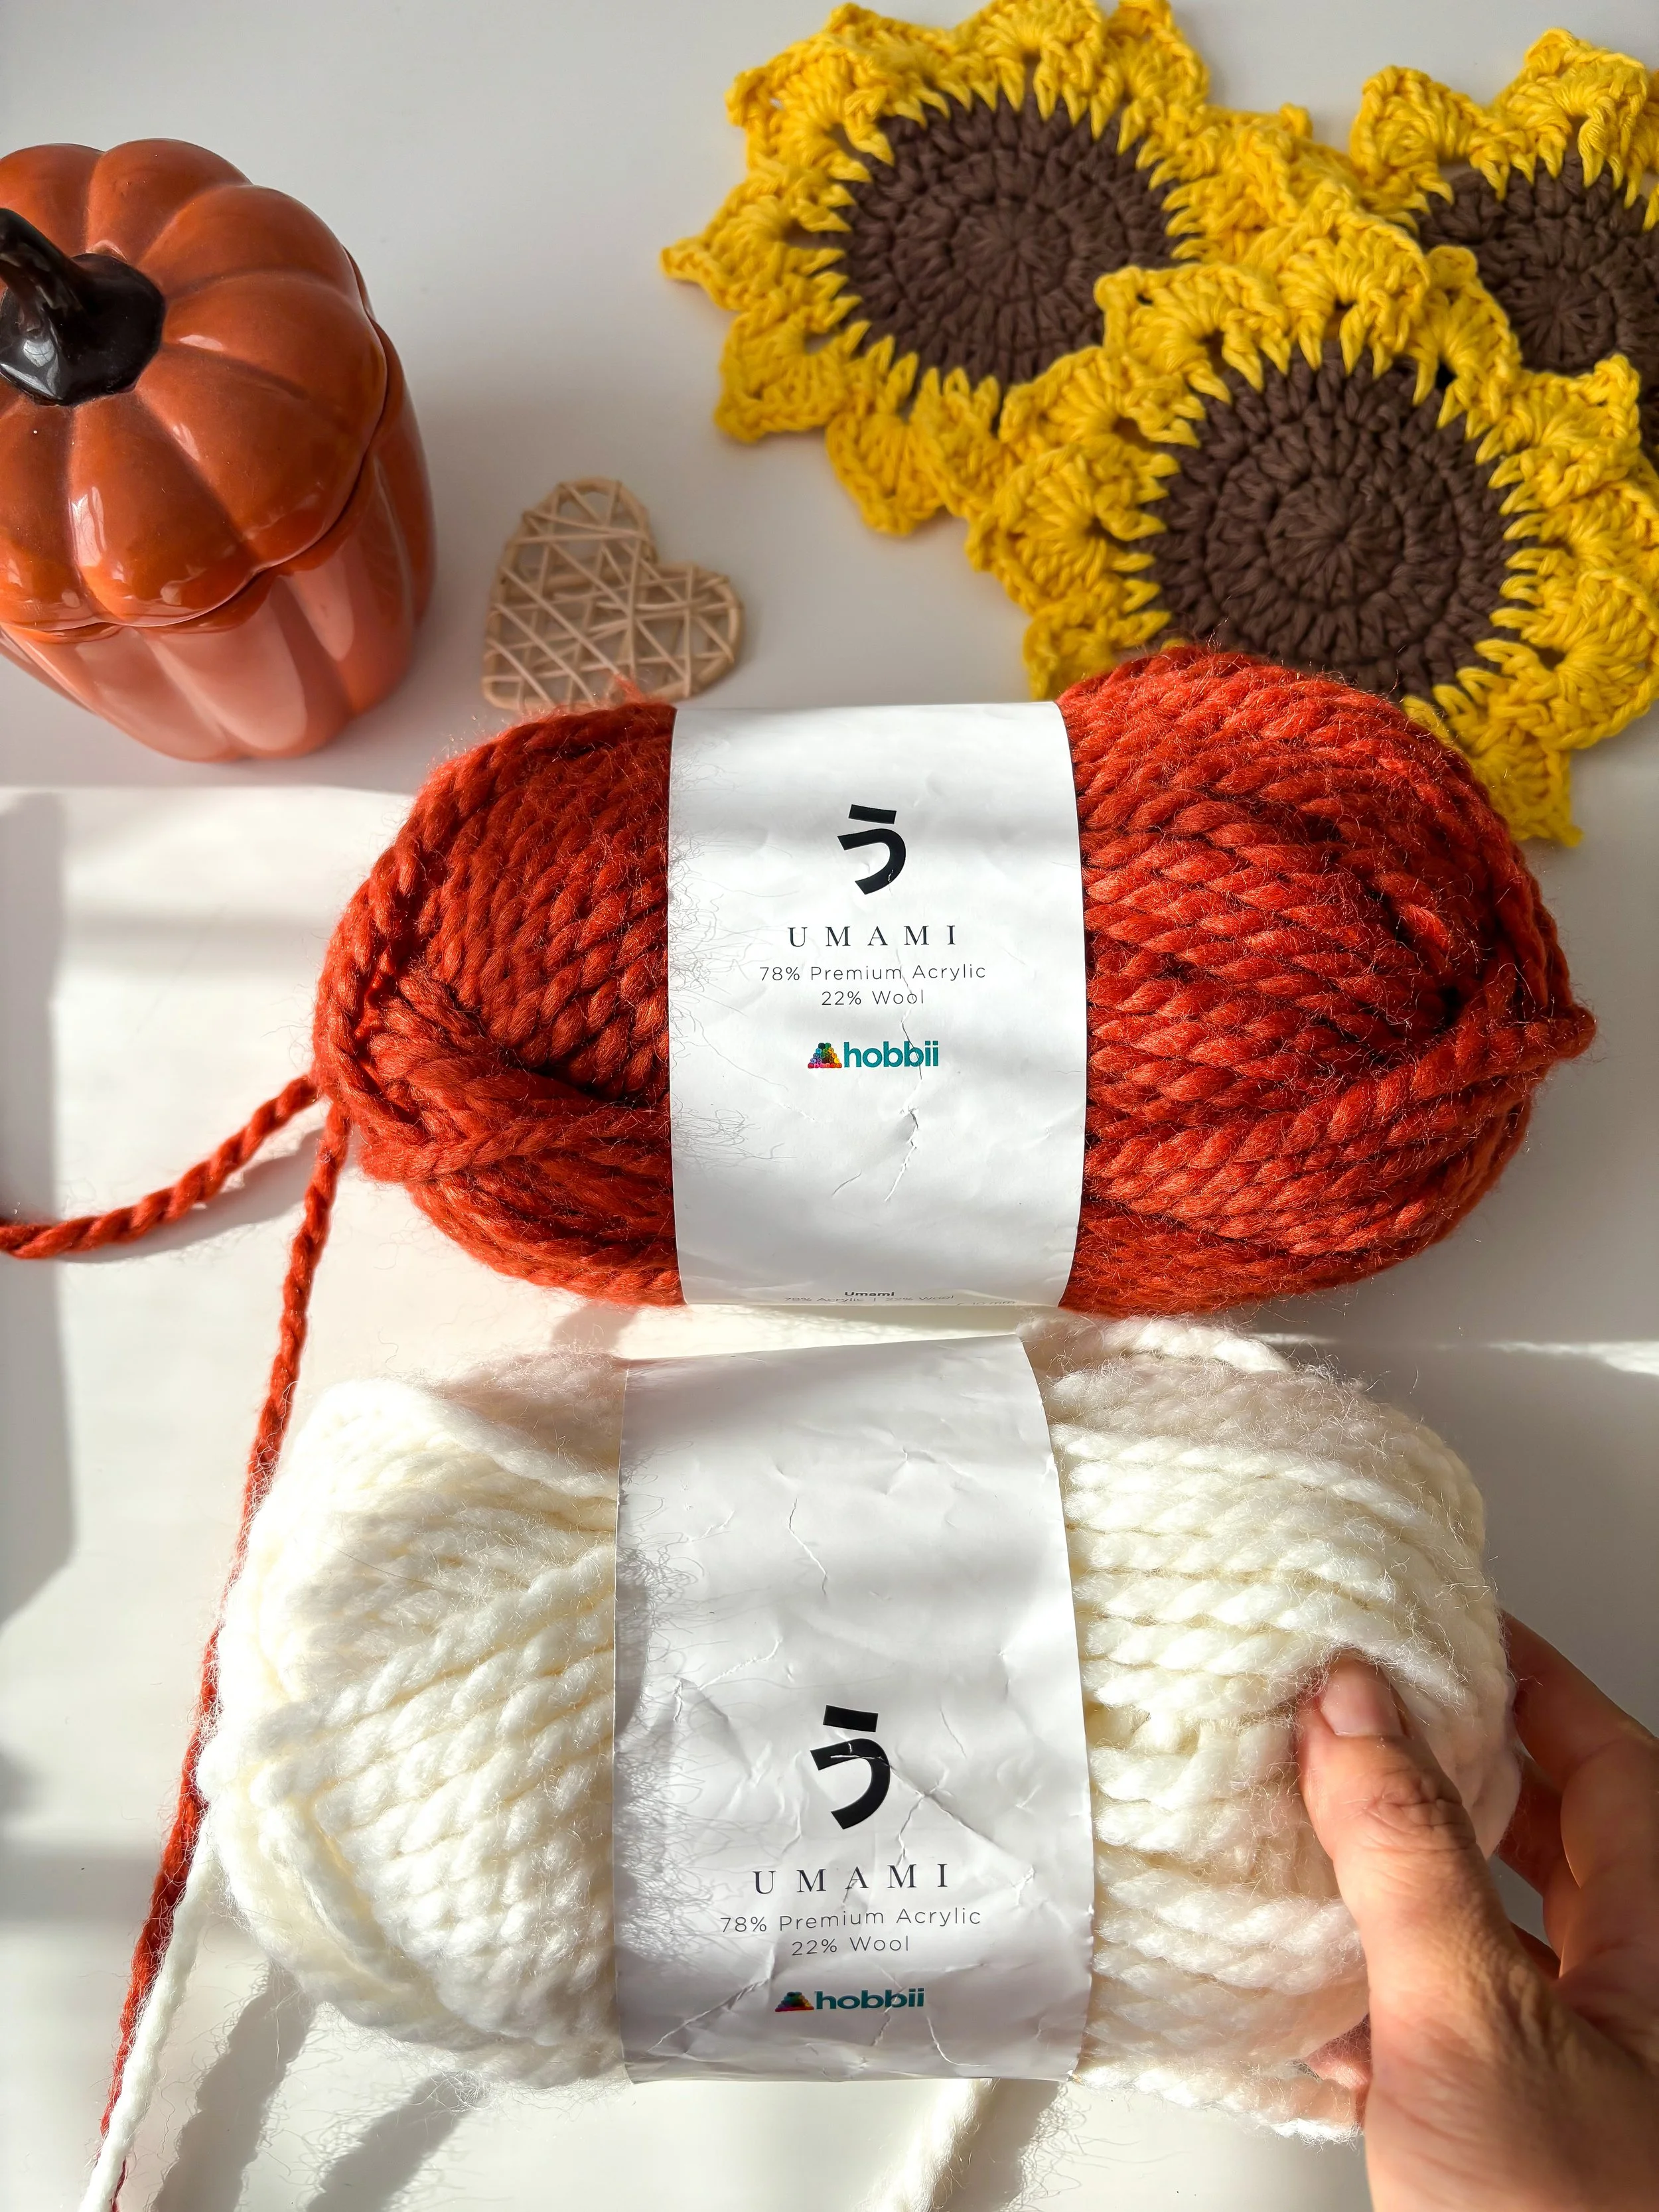
The yarn I used for my Waves of Autumn Crochet Throw is Umami by Hobbii, a wonderfully soft and squishy yarn that works up beautifully for this textured wave stitch. When substituting yarn, it’s important to choose one with a similar weight to achieve the intended size and drape. Umami sits comfortably in the super bulky or chunky weight category, with a plush, cozy feel. If you opt for a slightly lighter worsted-weight yarn, your blanket may turn out a bit smaller, which can give your project its own unique look and charm.
If keeping the exact dimensions of the blanket is important to you, I recommend making a quick gauge swatch before you begin. This will help you check that your stitch count and tension match the pattern’s specifications, ensuring your finished throw comes out just the right size. I’ve also listed some suitable yarn substitutes below:
Crochet Hook Required
💡 Crochet Tip
If you’re using the same yarn I did (Umami by Hobbii), reach for a 12 mm crochet hook. This stitch pattern always looks its best with a hook that’s slightly larger than the one recommended for your yarn. The extra space between stitches helps the waves drape beautifully and keeps your blanket soft, bouncy, and oh-so-cozy.
Get my favorite crochet hook below:
Permissions + Copyright:
Please do not publish or share this pattern as your own. You may make items to sell with this pattern. In exchange, please link back this post. Do NOT use our photos as your own sales photos.
Materials
You will need:
Any Super Bulky yarn (I used Umami by Hobbii Yarn,
78% Acrylic, 22% Wool; 150gr= 83m
*Rust (18)- color A- 10 balls
*Natural White (02)- color B- 10 balls
The yarn quantities listed above are for the Throw size: 140 × 156.5 cm (55 × 61.6 inches). Want to make your blanket in a different size? Click the link below to grab the printable PDF version, which includes instructions for 8 different sizes.
12 mm crochet hook or size needed to obtain gauge
Tapestry needle,
Scissors and Measuring Tape
Skill Level:
This is an easy crochet blanket pattern, making it perfect for beginners who want to practice working with super bulky yarn and explore stitch patterns that create beautiful texture. You’ll also get the chance to work with a larger hook size, which not only makes the project grow quickly but also helps achieve a soft, cozy drape.
Tension
15 sts x 6 rows= 22 cm x 10 cm // 8.66 x 4 inches
Chain 26 and follow rows 1-10
Pattern is written in American terms:
Ch- Chain
Ch-sp- Chain space
St/s- Stitch/es
Beg- Beginning
Rnd- Round
RS- Right side
WS- Wrong side
Sl st- Slip Stitch
Sc- Single crochet
Hdc- Half double crochet
Sl st BLO- Slip stitch in the back loop only
Hdc BLO- Half double crochet in the back loop only
🍂 Be the First to See My Fall Collection! 🍂
I’ve got something special coming your way—a cozy mini fall collection filled with handmade goodness! Think autumn baskets, textured pumpkins, snuggly hats, cushy cushions, and even a cozy sweater you’ll want to live in.
Join my email newsletter to get first access to all the new patterns, behind-the-scenes peeks, and exclusive subscriber discounts. You’ll be the first to know when each piece drops—just in time for fall making!
📩 [Sign up here] and let’s crochet our way into the coziest season together.
Video for the Waves of Autumn Blanket
Throughout the video, you’ll learn how to change colors seamlessly and work through the row and colour repeat for the wave stitch pattern. In order to make this video, easy to follow and understand I’ve used a 6 mm crochet hook and Worsted weight yarn.
Finally, we’ll guide you through adding a simple single crochet border, which will complete your Waves of Autumn Blanket with a professional touch.
Whether you’re a beginner or an experienced crocheter, this tutorial will equip you with the skills needed to bring your project to life. Grab your yarn and hook, and let’s get started on crafting your own charming Waves of Autumn Blanket!
WATCH THE VIDEO BELOW:
Pattern Support
If you’d like extra support while making this blanket—or any of my other patterns—you’re welcome to join my Facebook group. It’s a friendly space where you can ask questions, share progress photos, and connect with other crocheters working on the same projects.
Please note that the only official pattern support for this design is offered through my Facebook group and the YouTube tutorial. The modifications provided in the PDF are the only ones included. If you choose to make changes to the pattern or use a different yarn weight, you’ll need to work out the adjustments yourself.
Pattern Notes:
CONSTRUCTION
This blanket is worked in rows from the bottom up, repeating four rows in order to create the wave look and turning at the end of each row.
COLOUR WORK
Colors change every two rows, using two colors in total. You will always work in this sequence: Rust (A), Natural White (B), Rust (A), Natural White (B) repeating this sequence until the length of the blanket is completed.
After finishing one row, cut the yarn and knot to secure. Then, attach the next color on the last stitch of the row you just finished, work 1 chain and turn your work to start the next row. The initial 1 chain does not count as a stitch. From row 2, work the last hdc or sl st through both loops of the stitch.
If you would like to avoid having thousands of ends to weave in you can do the following:
After completing a row, do not cut the yarn, instead attach the new yarn when closing the last stitch, drop the old color and continue working with the new color for the number of rows needed (in this case it will always be two rows) and when you need to use the other color bring it back and continue working as normal. When you work the border you will be able to hide the yarn left on the sides.
START HERE
With color A and 12 mm crochet hook
For THROW size: Chain 96
Working in rows:
Row 1: Starting in 2nd ch from hook, 1 hdc in next 5 ch, *1 sl st in next 5 ch, 1 hdc in next 5 ch* rep from * to * until the end of the row, 1 ch and turn. 95 sts in total and 10 waves of 5 hdc.
Row 2: *1 hdc BLO in next 5 hdc, *1 sl st BLO in next 5 sl st, 1 hdc BLO in next 5 hdc* rep from * to * until the end of the row, 1 ch and turn. 95 sts in total and 10 waves of 5 hdc.
Color change: Close the last hdc with color B, making sure it is tight enough, and drop color A.
Do not cut color A as you will be using it for the following rows.

Row 3: 1 sl st BLO in next 5 hdc, *1 hdc BLO in next 5 sl st, 1 sl st BLO in next 5 hdc* rep from * to * until the end of the row, 1 ch and turn. 95 sts in total and 9 waves of 5 hdc.
Row 4: 1 sl st BLO in next 5 sl st, * 1 hdc BLO in next 5 hdc, 1 sl st BLO in next 5 sl st* rep from * to * until the end of the row, 1 ch and turn. 95 sts in total and 9 waves of 5 hdc.
Drop color B (this will be on hold) bring back color A and close last sl st with color A.
Row 5: 1 hdc BLO in next 5 sl st, *1 sl st BLO in next 5 hdc, 1 hdc BLO in next 5 sl st* rep from * to * until the end of the row, 1 ch and turn. 95 sts in total and 10 waves of 5 hdc.
Row 6: 1 hdc BLO in next 5 hdc, *1 sl st BLO in next 5 sl st, 1 hdc BLO in next 5 hdc* rep from * to * until the end of the row, 1 ch and turn. 95 sts in total and 10 waves of 5 hdc.
Drop color A (this will be on hold) bring back color B and close last hdc with color A.
Rows 7- 94: Repeat rows 3 to 6 twenty- two times following the same color changes for each row.
Border:
The border of the blanket is worked in two rounds without turning, so the right side of your work will be always facing you. When working the vertical sides of the blanket, it won’t be clear enough where to place each stitch so I recommend working 3 sc over 3 rows of single crochet rows and 1 sc over 2 rows of sl st. This way you will achieve a balanced edge.
The border is optional and you can skip it :)
Do no cut yarn after finishing the last row. The last row would be the WS of the blanket. Close the last hdc with color B, 1 ch and turn your work.
Rnd 1: 1 sl st in next 5 hdc, *1 sc in next 5 sl st, 1 sl st in next 5 hdc* rep from * to * until the end of the row, 2 ch in the corner space and rotate your work to start working on the side of the blanket, and evenly distribute each sc along the vertical side edge (try to keep your tension loose when working the vertical sides of the blanket, otherwise it can shrink), 2 ch in next corner sp, start working on the bottom edge, 1 sl st in next 5 hdc, *1 sc in next 5 sl st, 1 sl st in next 5 hdc* rep from * to * until the end of the row, 2 ch in next corner space and rotate your work to start working on the vertical edge, evenly distribute each sc along the vertical side edge, 2 ch in next corner space, sl st to 1st sl st of the round.
Close the sl st with color A and drop color B. You can now cut color B.
Rnd 2: 1 ch, *1 sc in each st available until you get to the 2 ch-sp from corner, 3 sc in next corner space* rep from * to * across the border of the blanket, sl st to 1st sc of rnd. Cut yarn and weave in ends.
Repeat row 1 as many times you need, if you would like to make the border thicker.
🍂🍁🌾🍂🍁🌾
Well That Was Fun! What's Next?
📌 PIN THIS POST - Don't lose this project; save it to your Pinterest crochet board so you can quickly come back to it again.
💌 SHARE - Share your yarn choice, in-progress, or finished projects on Facebook or Instagram and use the hashtag #leoneladiy
🥂 JOIN - Join our small community on Facebook: Dublin Bay Crochet