

Crochet Autumn Spice Pumpkins: Free Crochet Pattern
Follow this easy tutorial and learn to create the perfect pumpkins this fall!
Scroll down for the free pattern or you can purchase an INEXPENSIVE AD-FREE PDF of this pattern on ETSY!
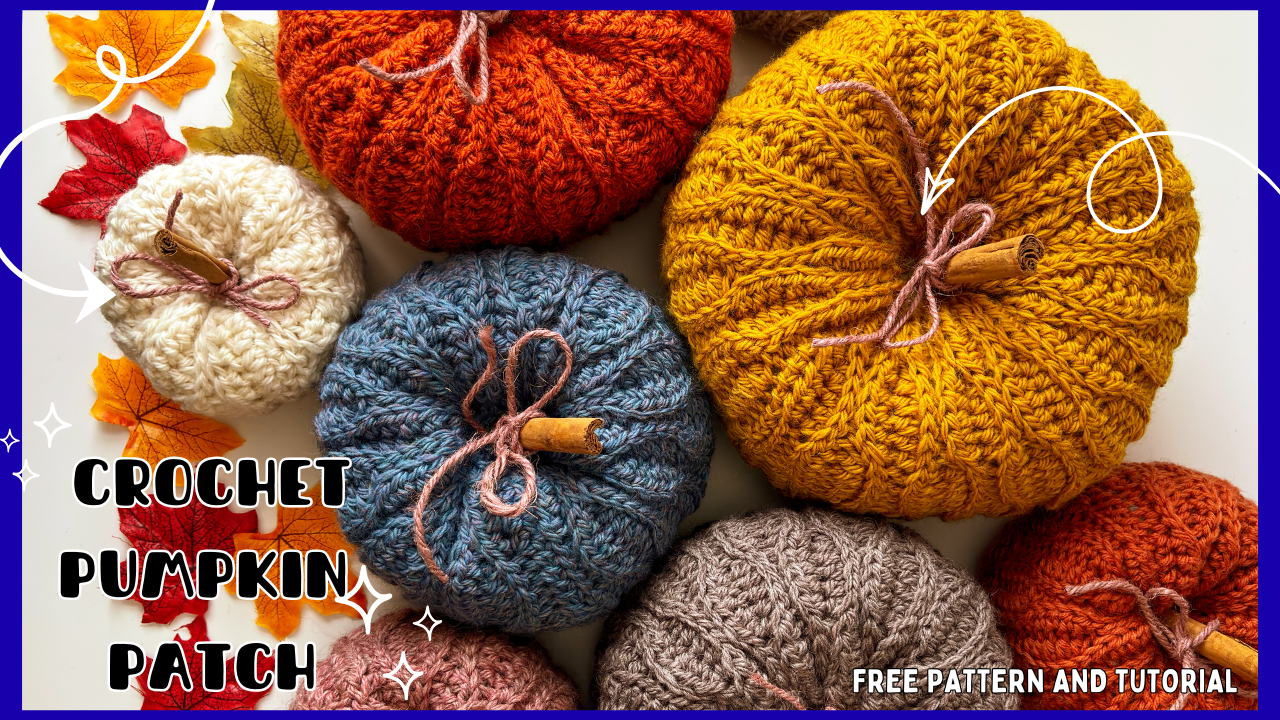
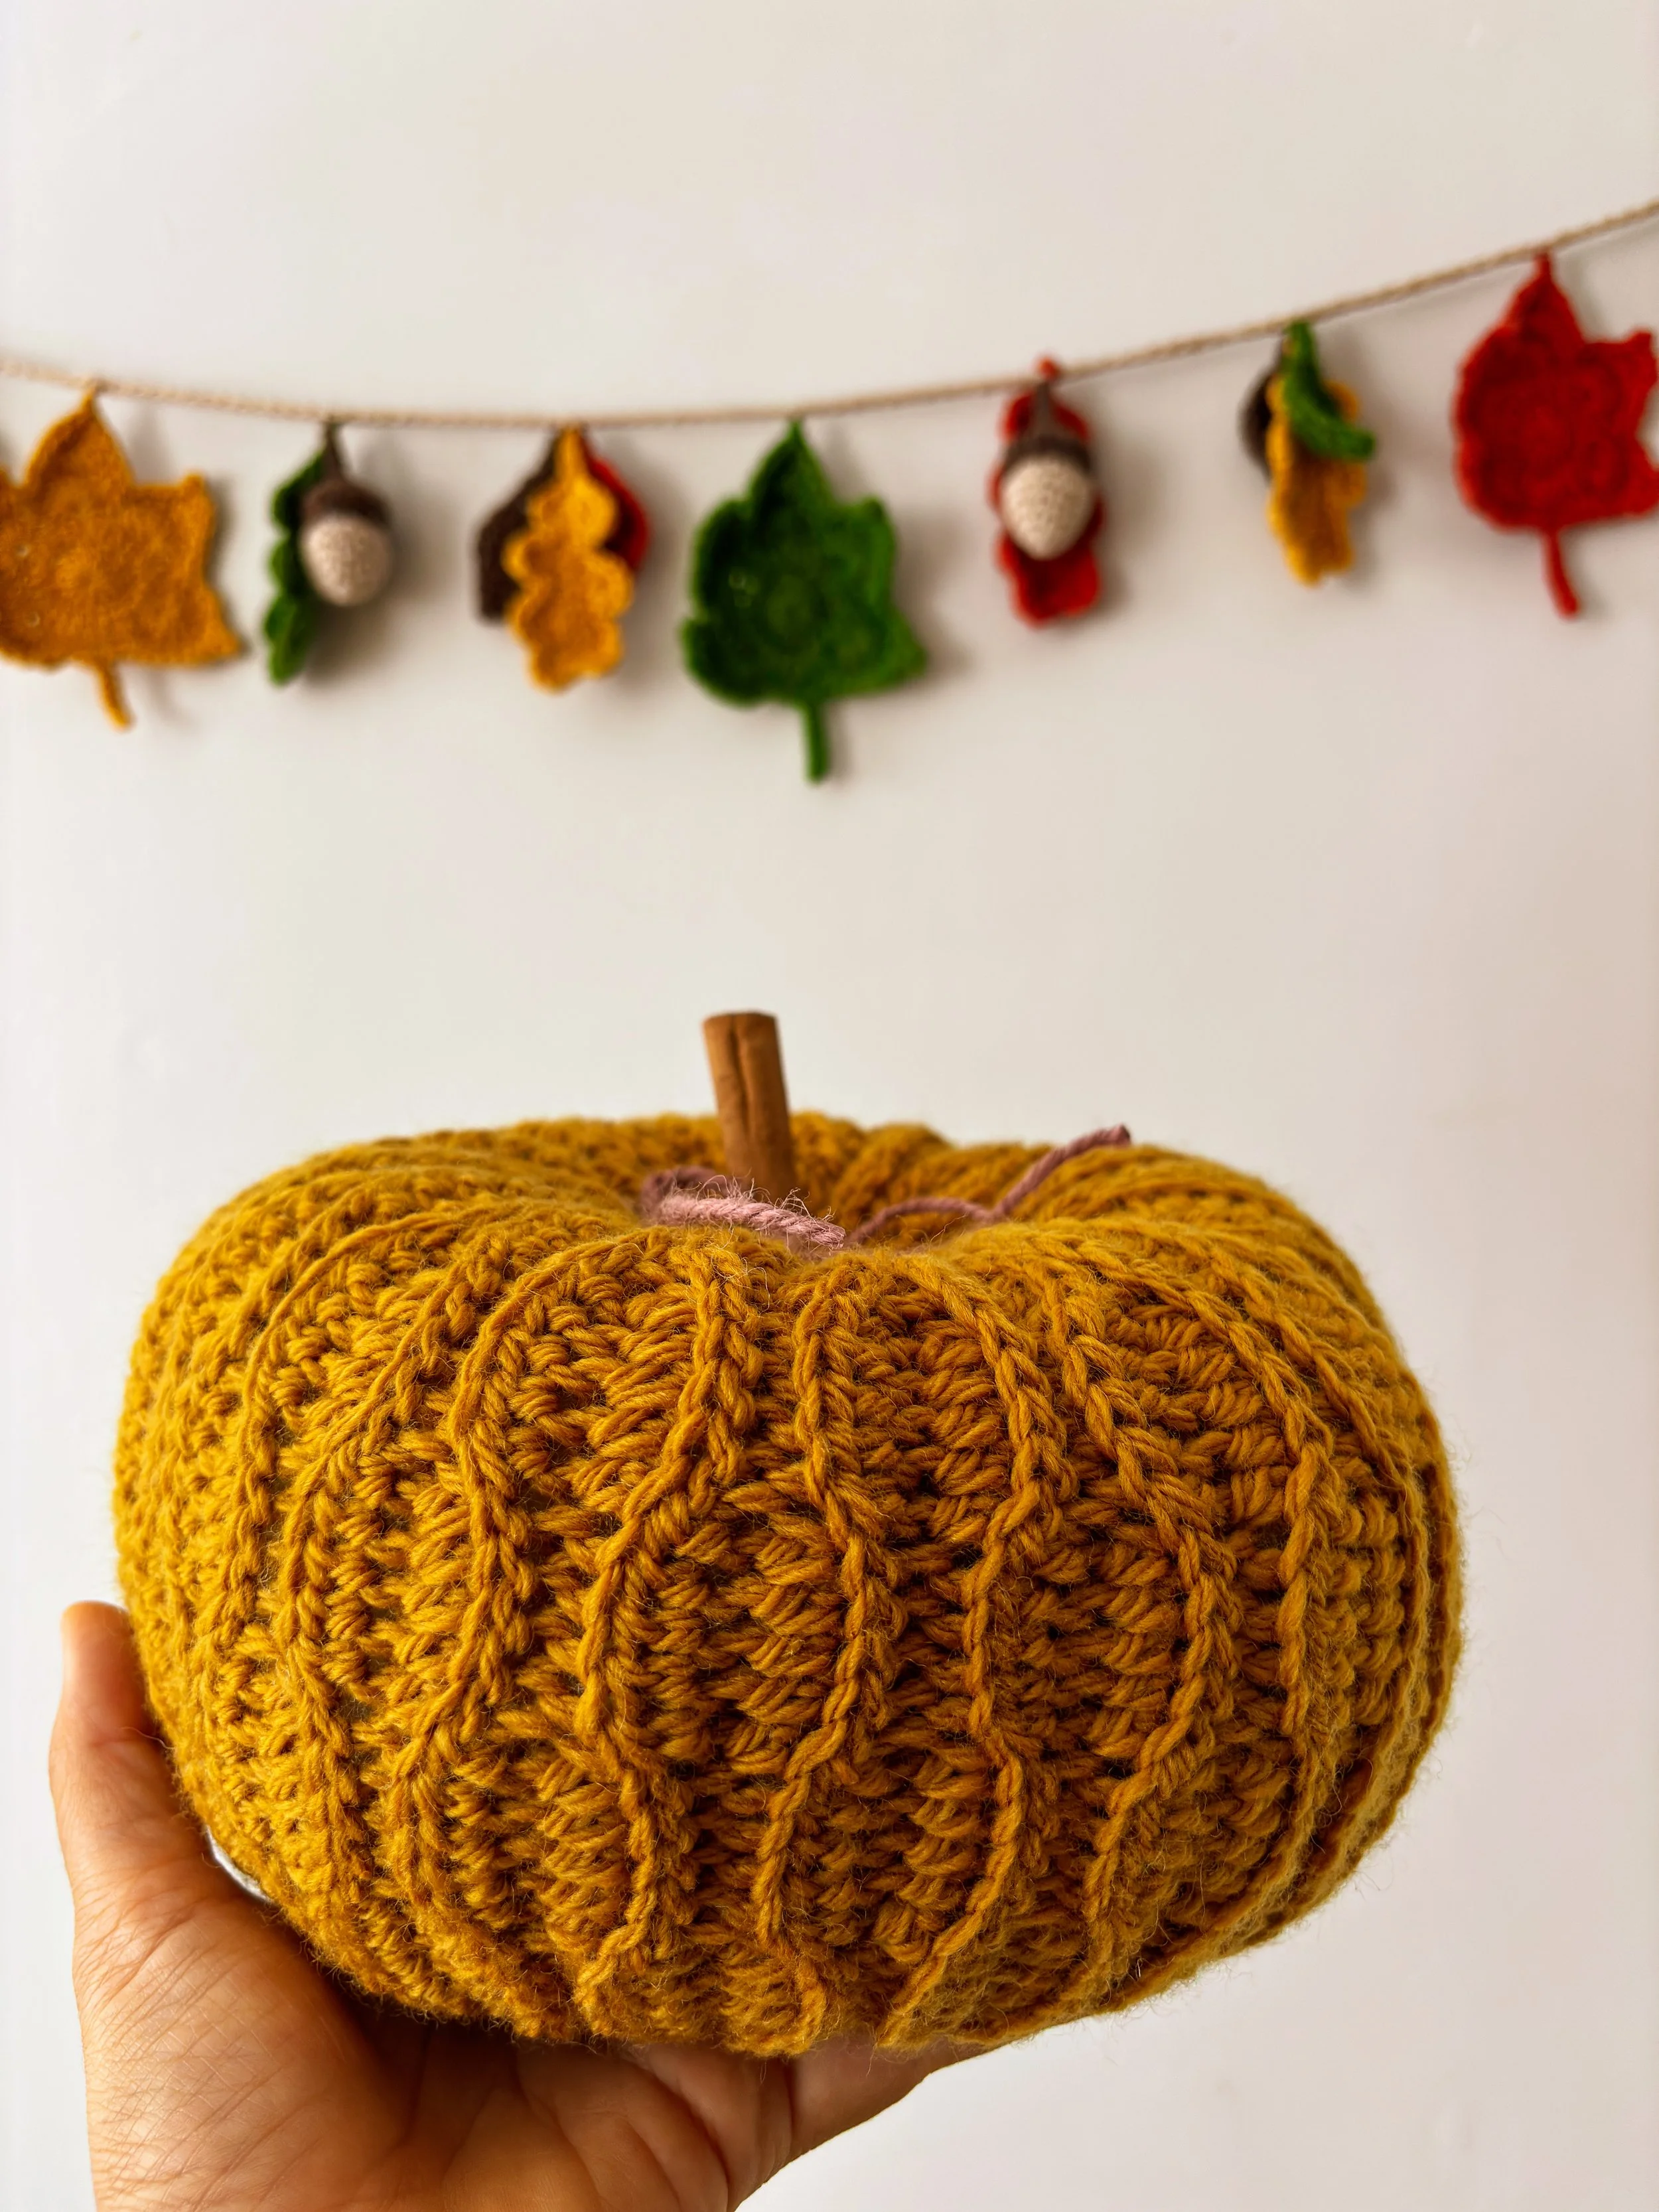
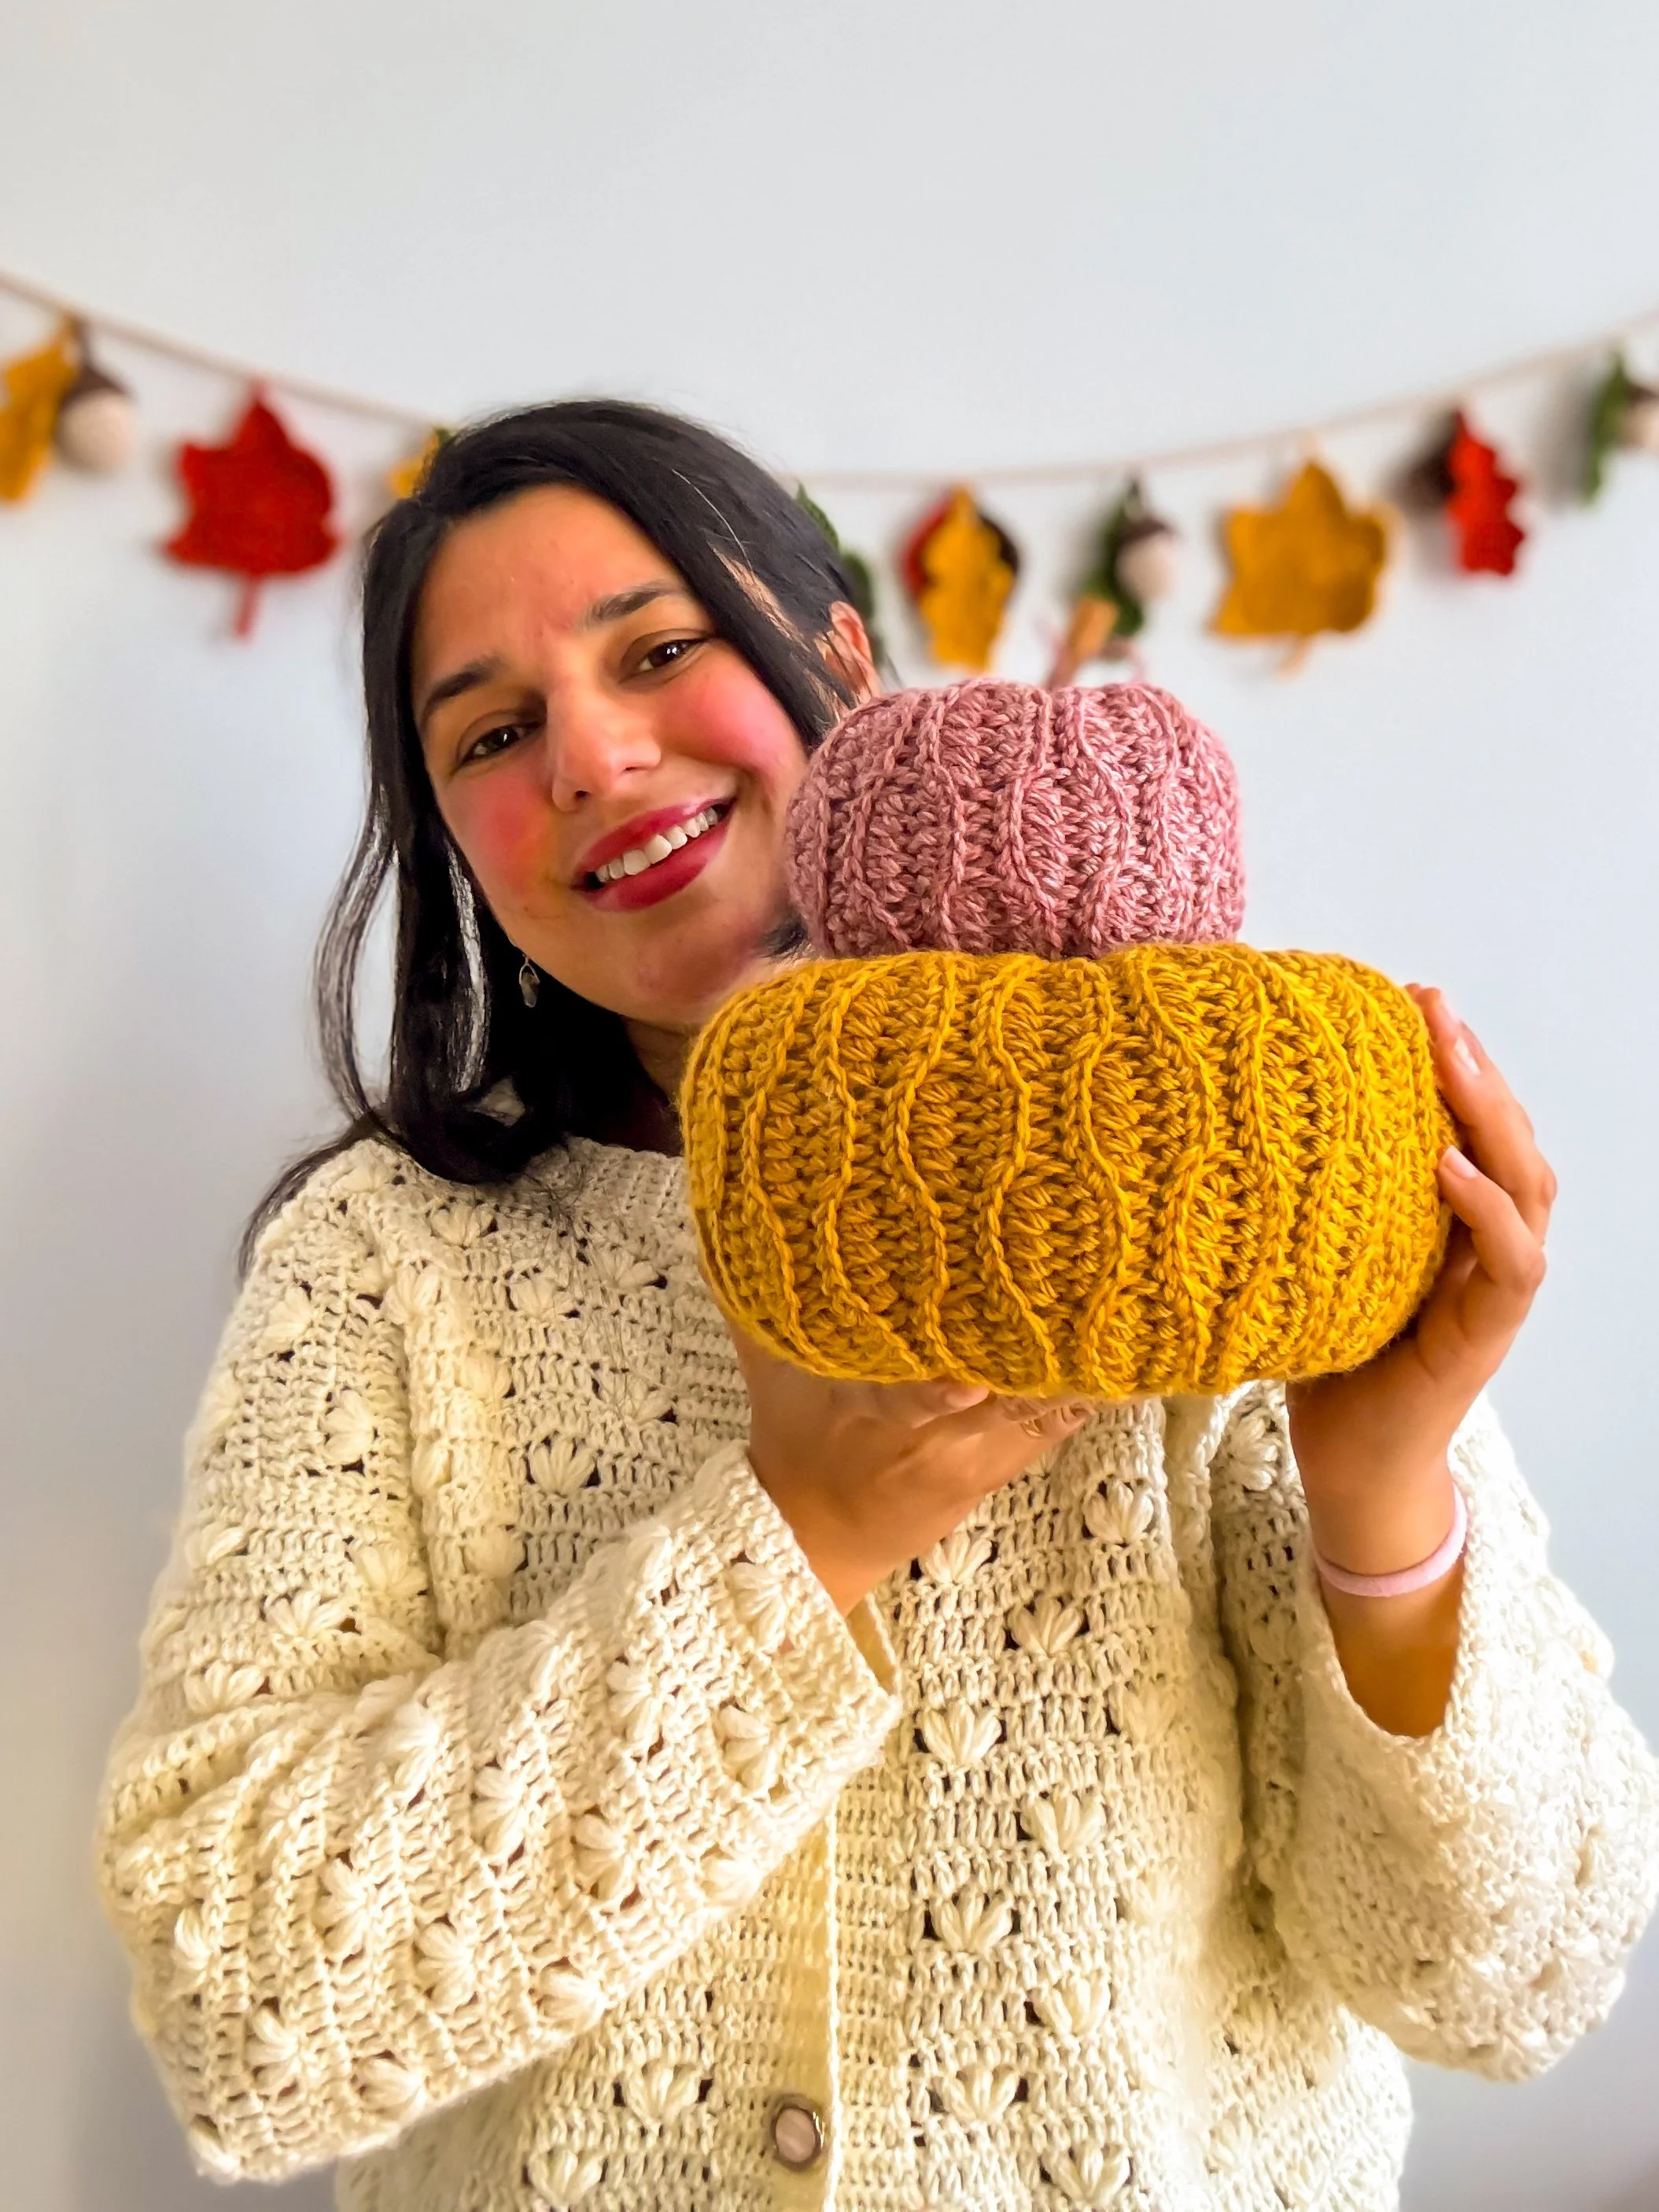
🍂 Fall is the perfect season for cozy crochet projects, and what better way to celebrate than by making your own Autumn Spice Pumpkins? This free crochet pattern is beginner-friendly, works up quickly, and includes six different sizes so you can create a whole handmade pumpkin patch. From tiny shelf accents to larger statement pieces for your mantel or table, these pumpkins add a warm, rustic charm to any space.

How to Crochet the Autumn Spice Pumpkins:
The construction is simple: each pumpkin is crocheted flat, seamed, filled, and then shaped with side indents to give that classic pumpkin look. A cinnamon stick stem at the top, finished off with a touch of jute, adds the perfect farmhouse detail. Because the pattern provides measurements, you can use any yarn weight you like. Thicker yarns will create big, squishy pumpkins, while thinner yarns make smaller, daintier ones—perfect for mixing and matching. You’ll also notice there are two Medium sizes included: one in DK and one in worsted weight. Since I could only find orange in DK, I decided to include both, giving you more flexibility when choosing yarns and colors.
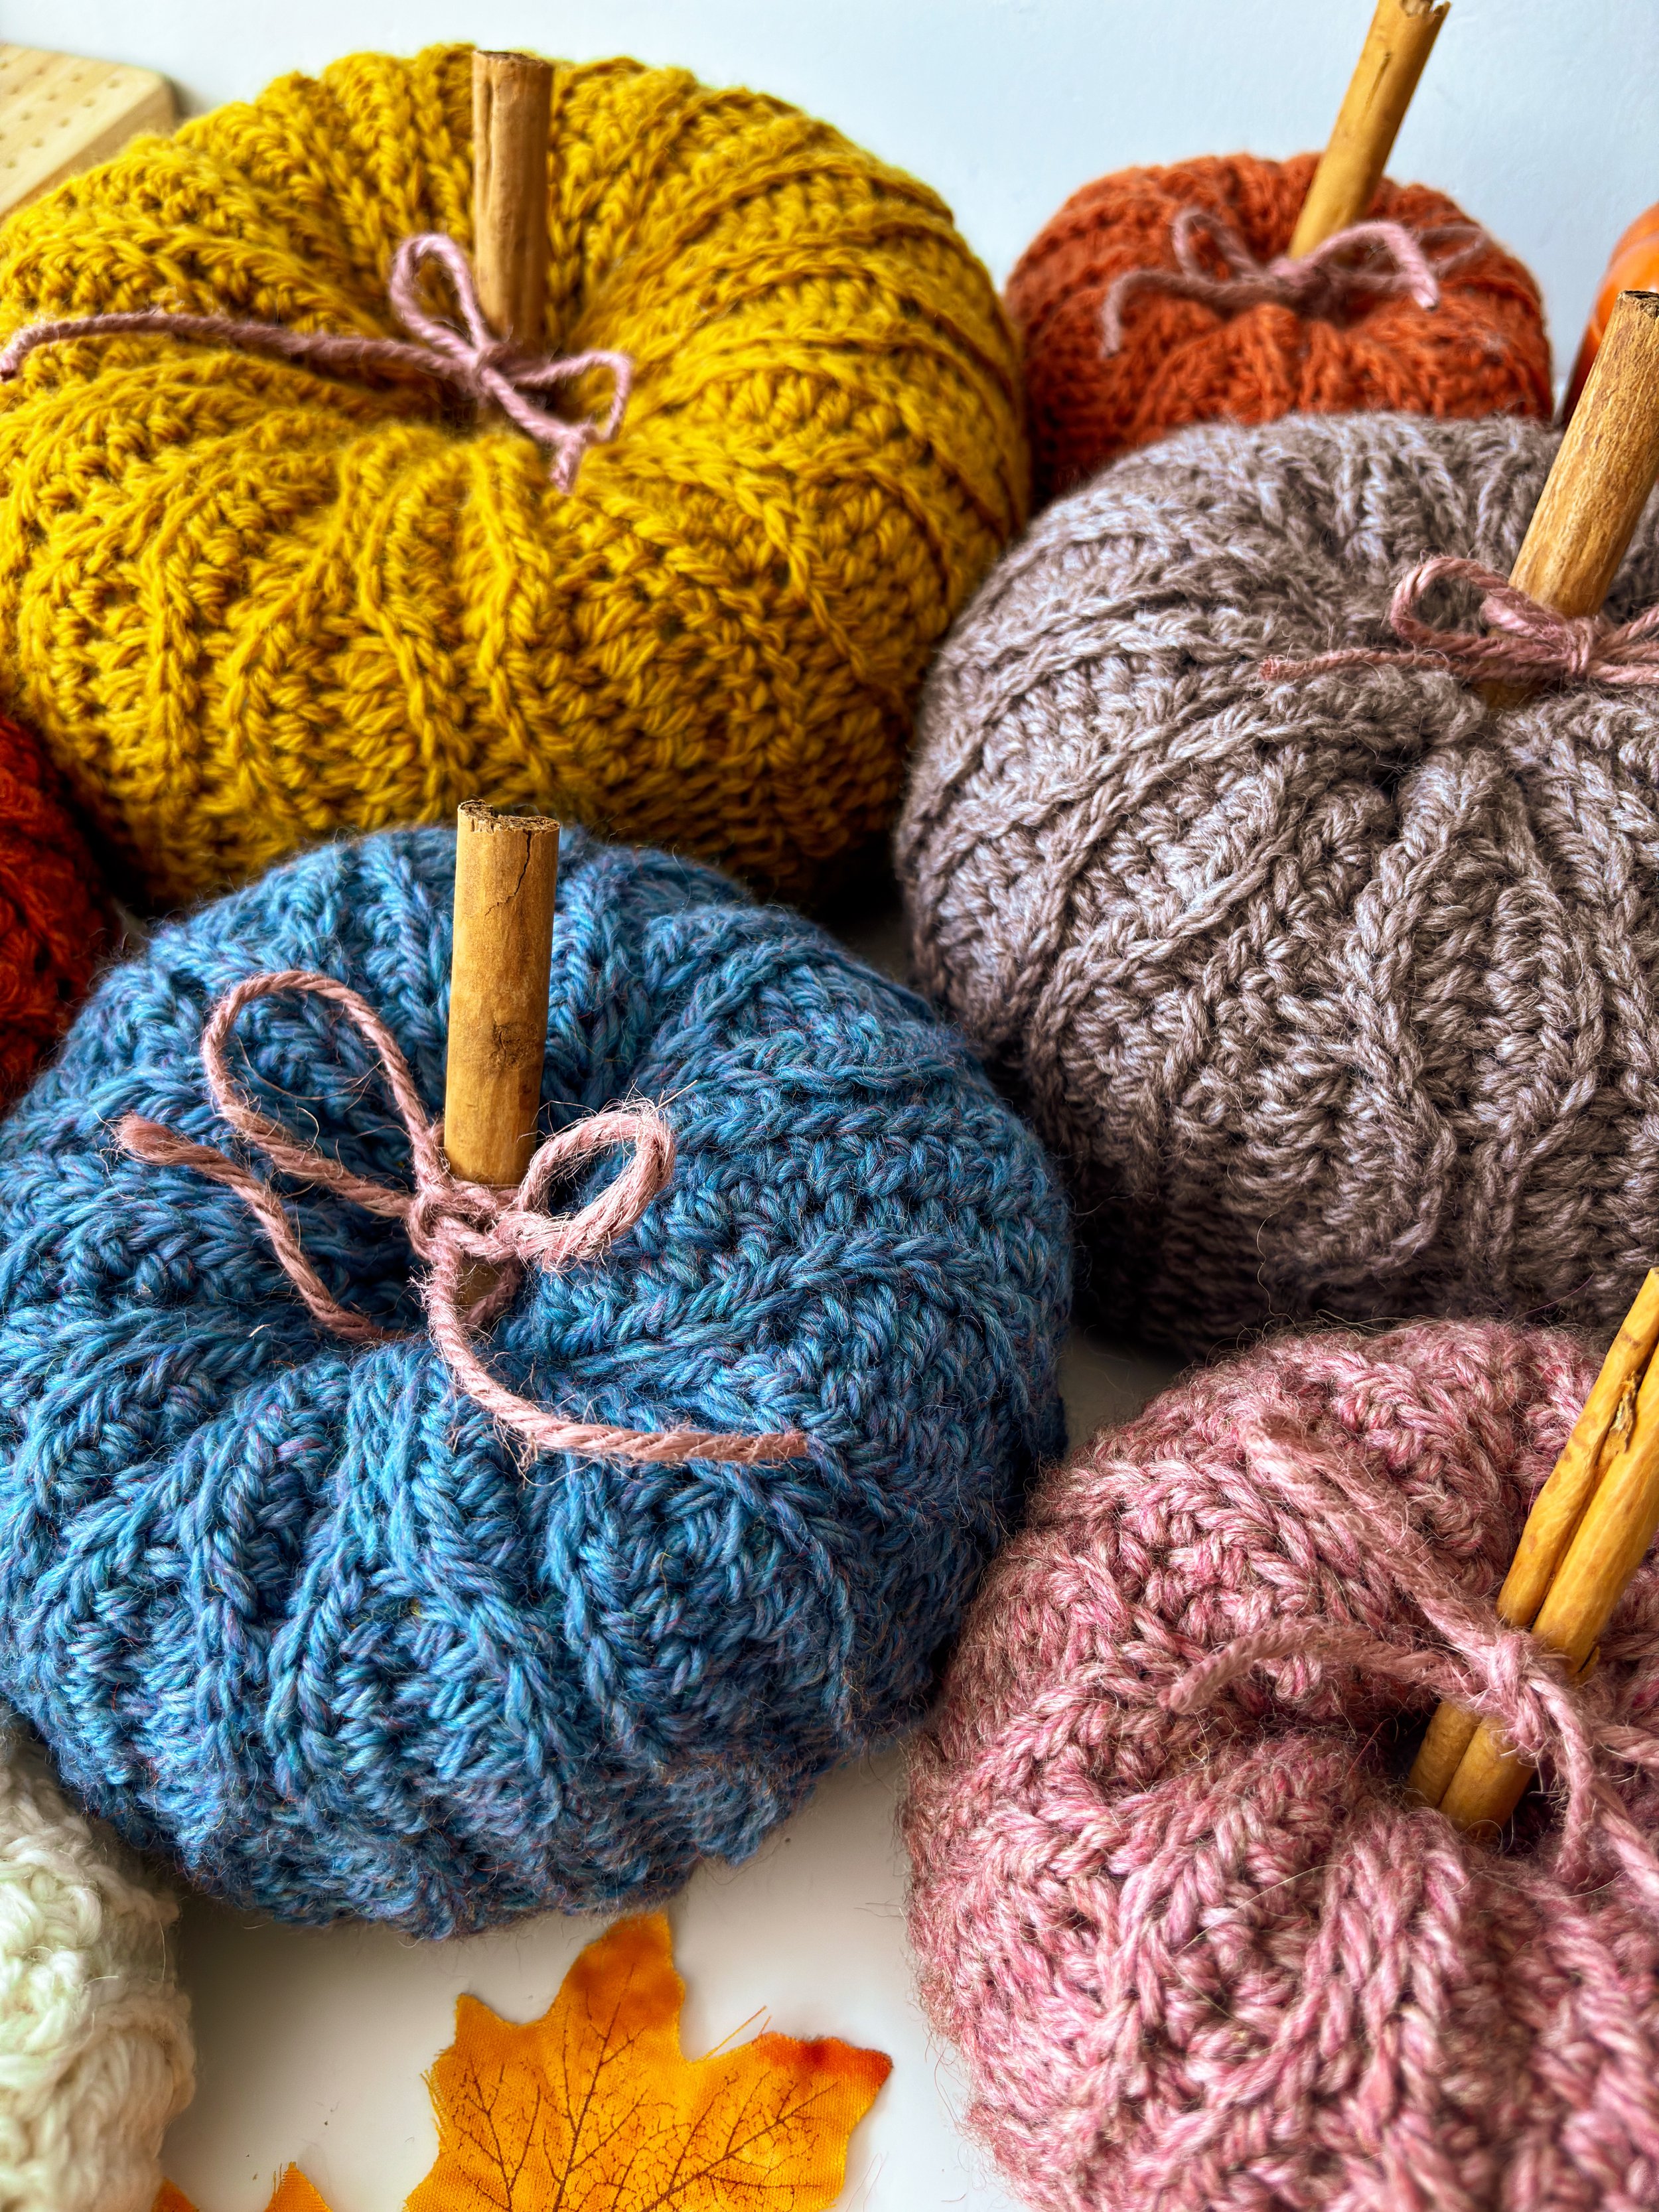
This design features the Waves stitch, which creates a beautifully textured, cozy fabric that really brings these pumpkins to life. If you’re new to it, I’ve included a step-by-step video tutorial so you can follow along with confidence.
Autumn Spice Crochet Pumpkins – Perfect Thanksgiving Decor
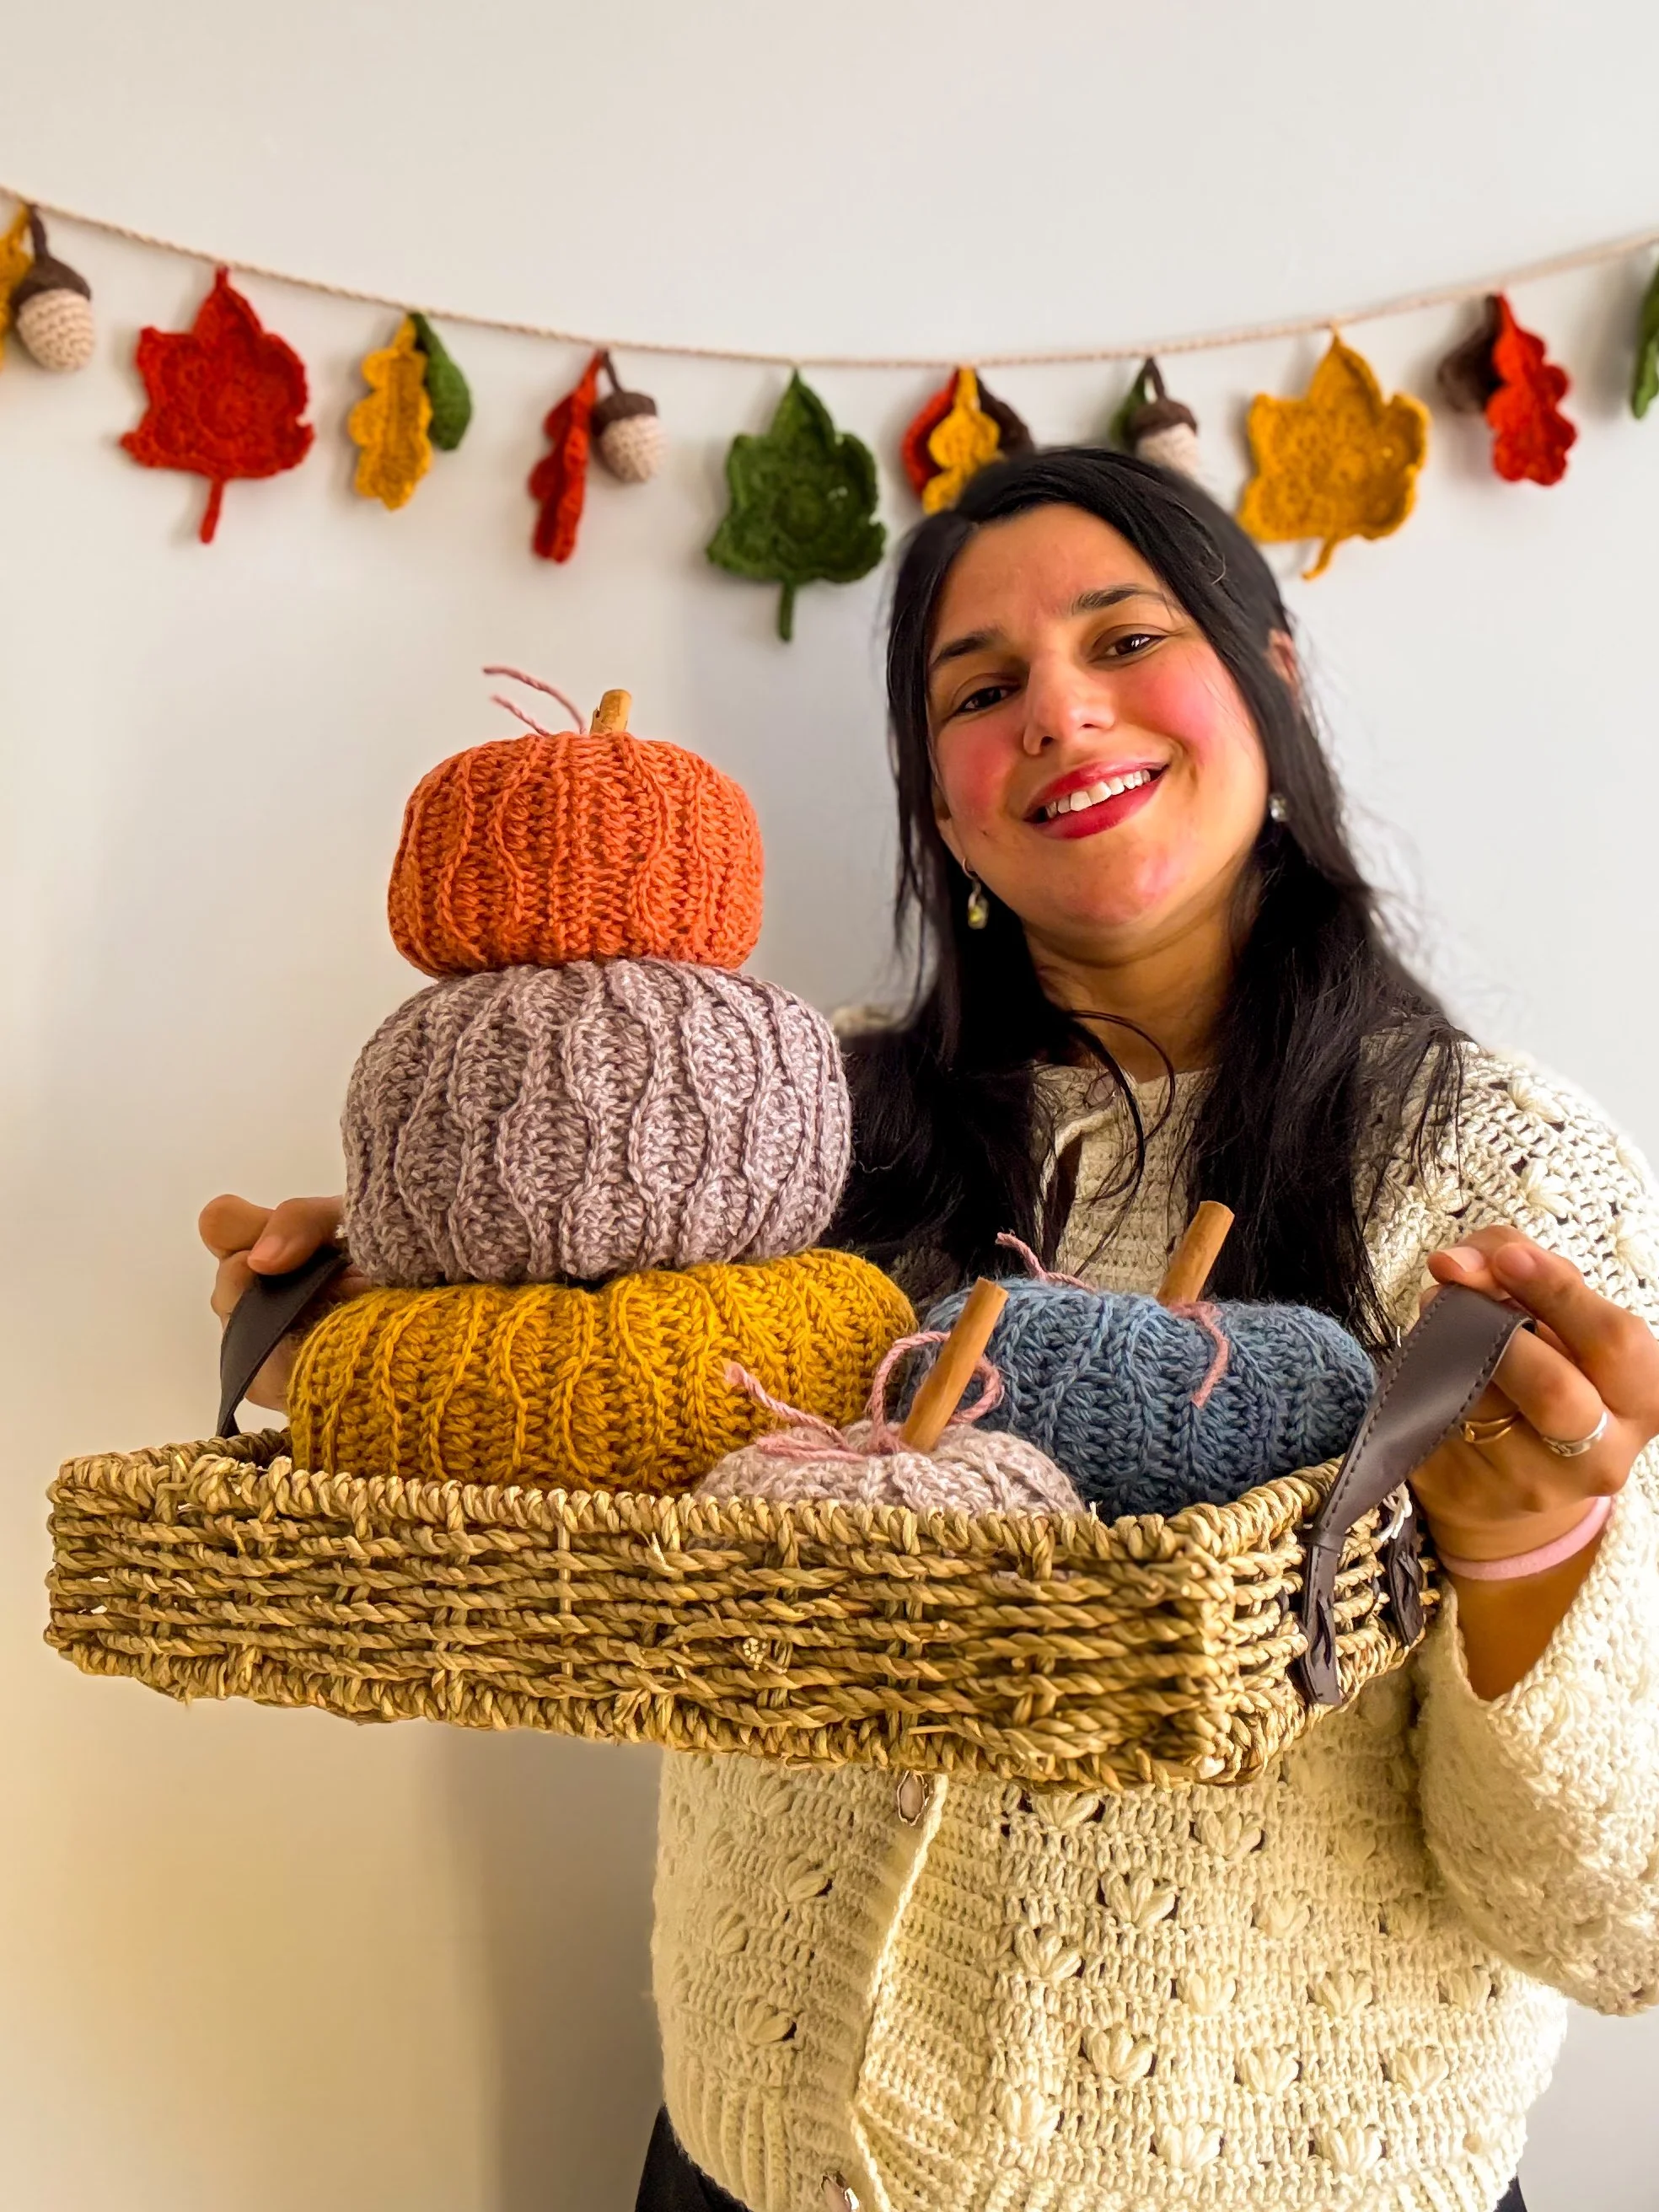
As the days get cooler and the leaves start to change, it’s the perfect time to bring out your fall décor—or make some yourself! If you’re looking for a handmade touch for Thanksgiving or cozy autumn decorating, the Autumn Spice Pumpkin Crochet Pattern is just what you need.
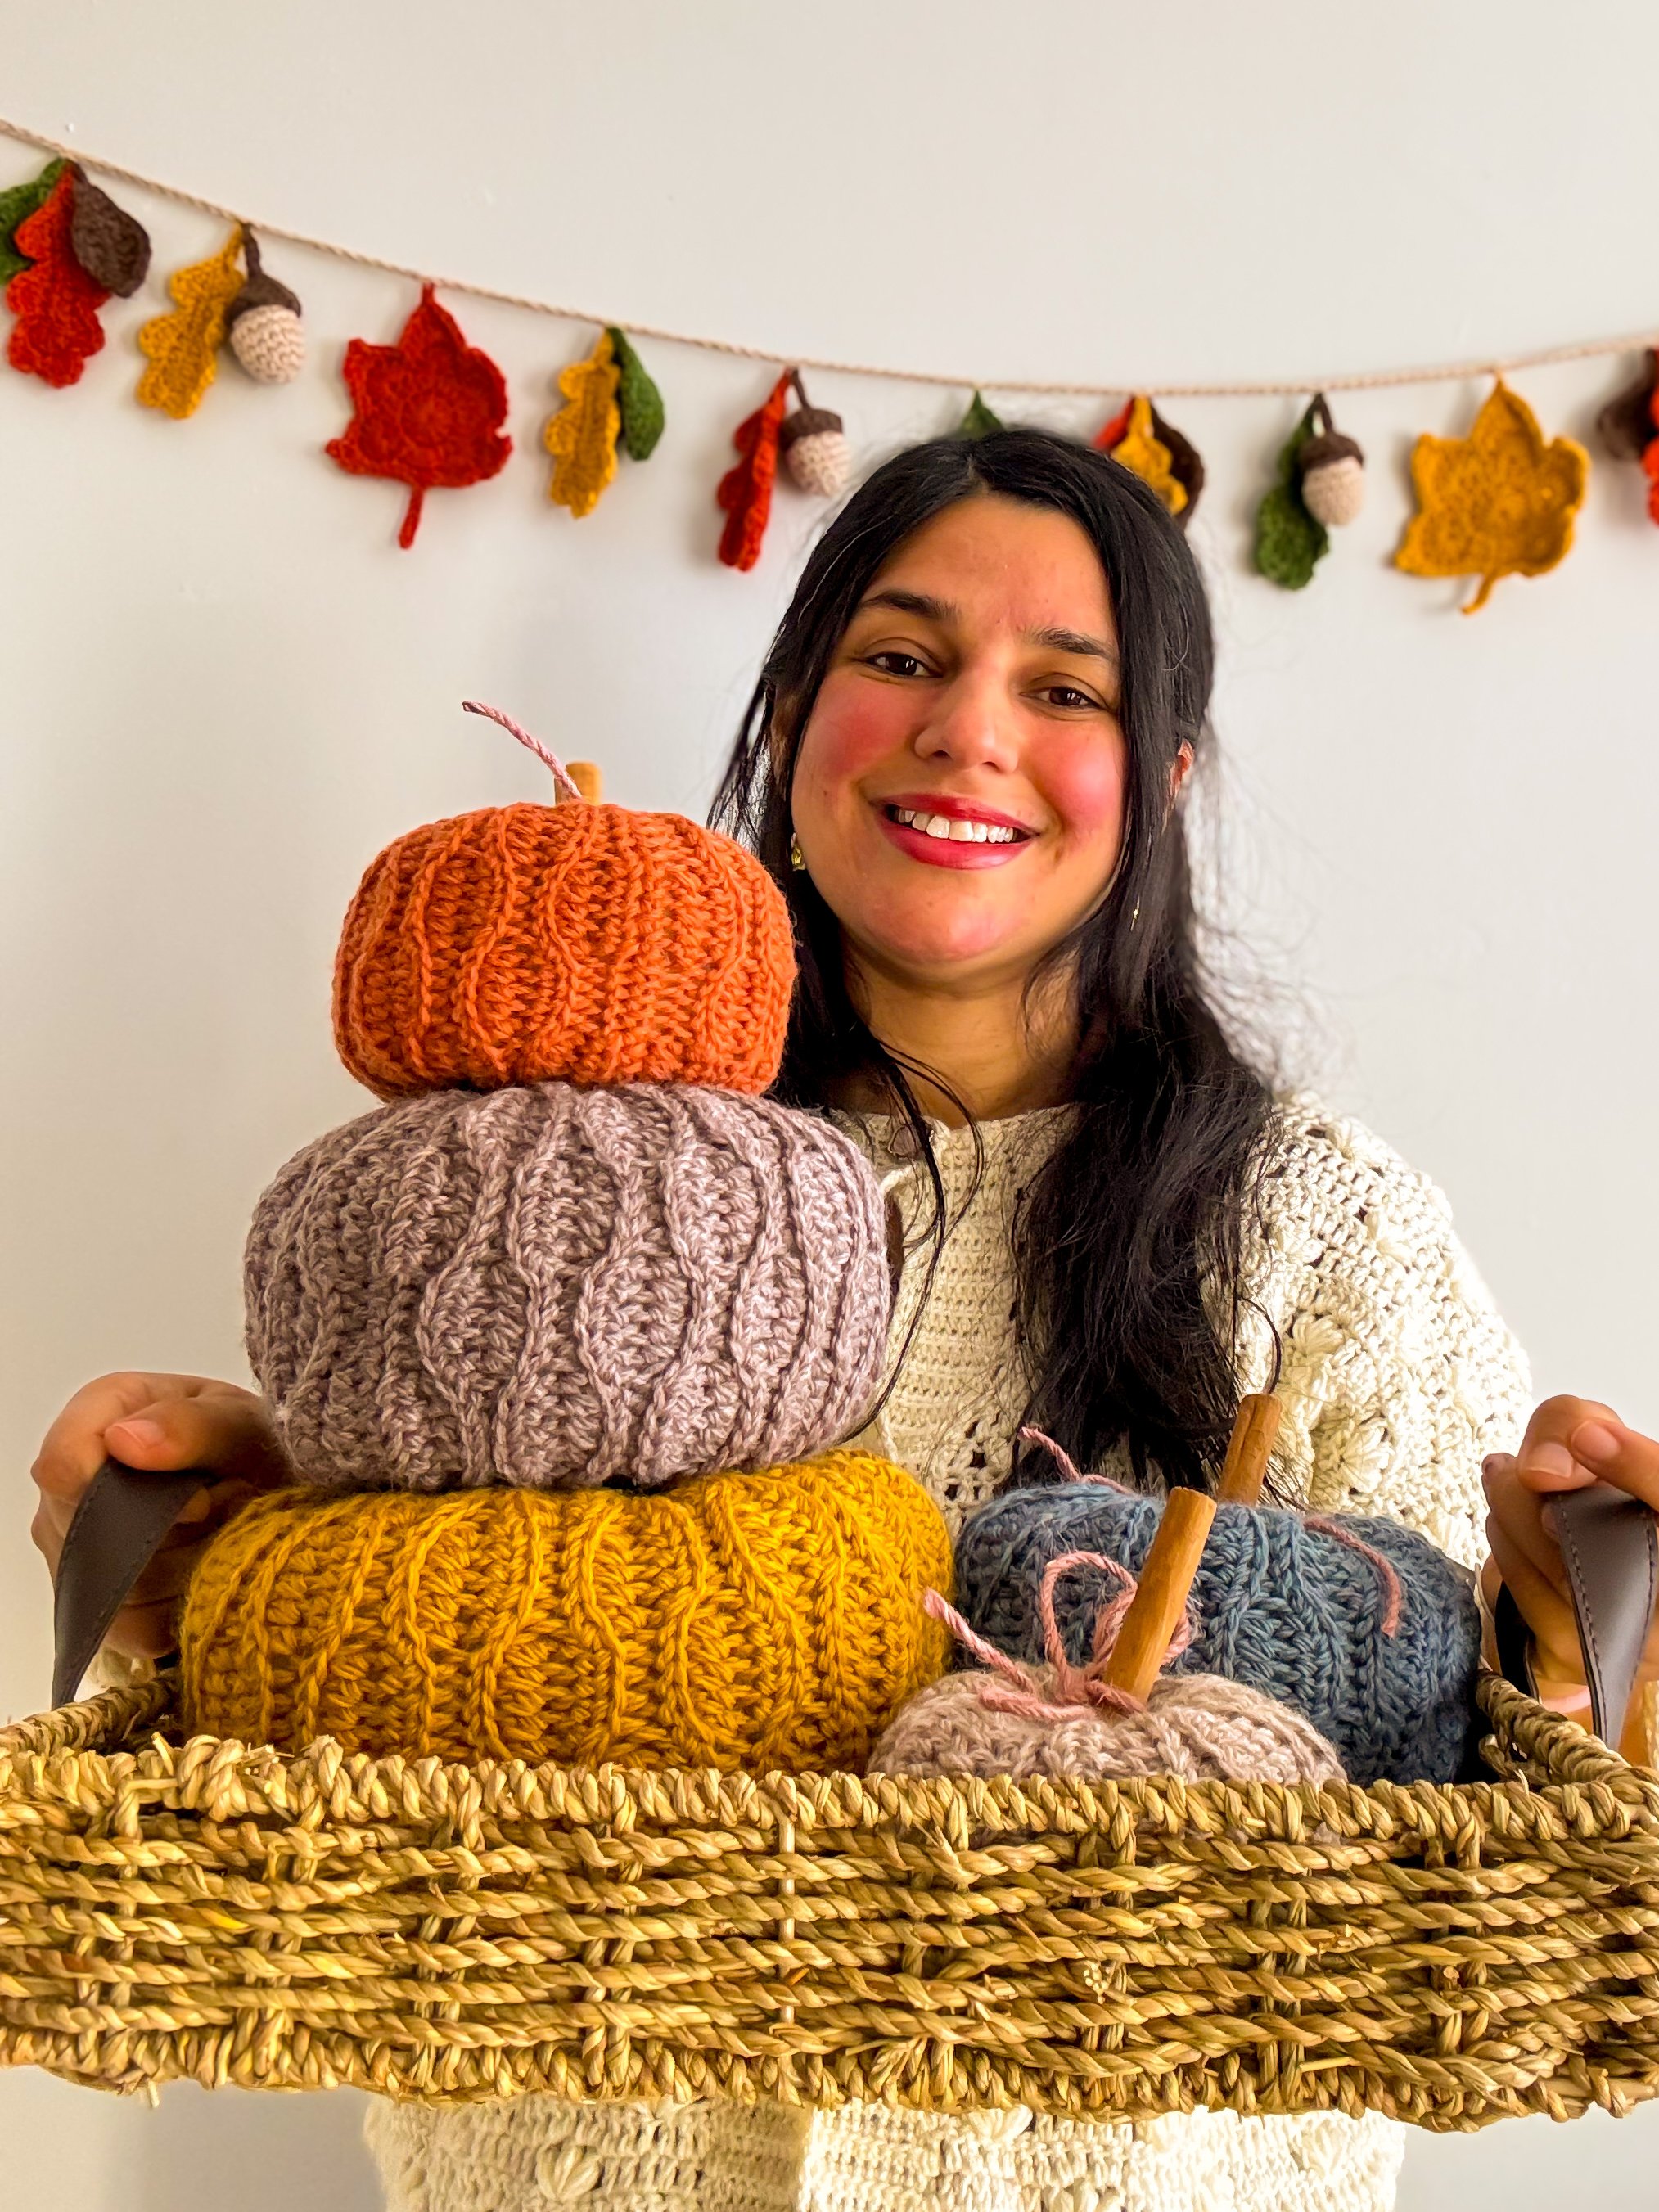
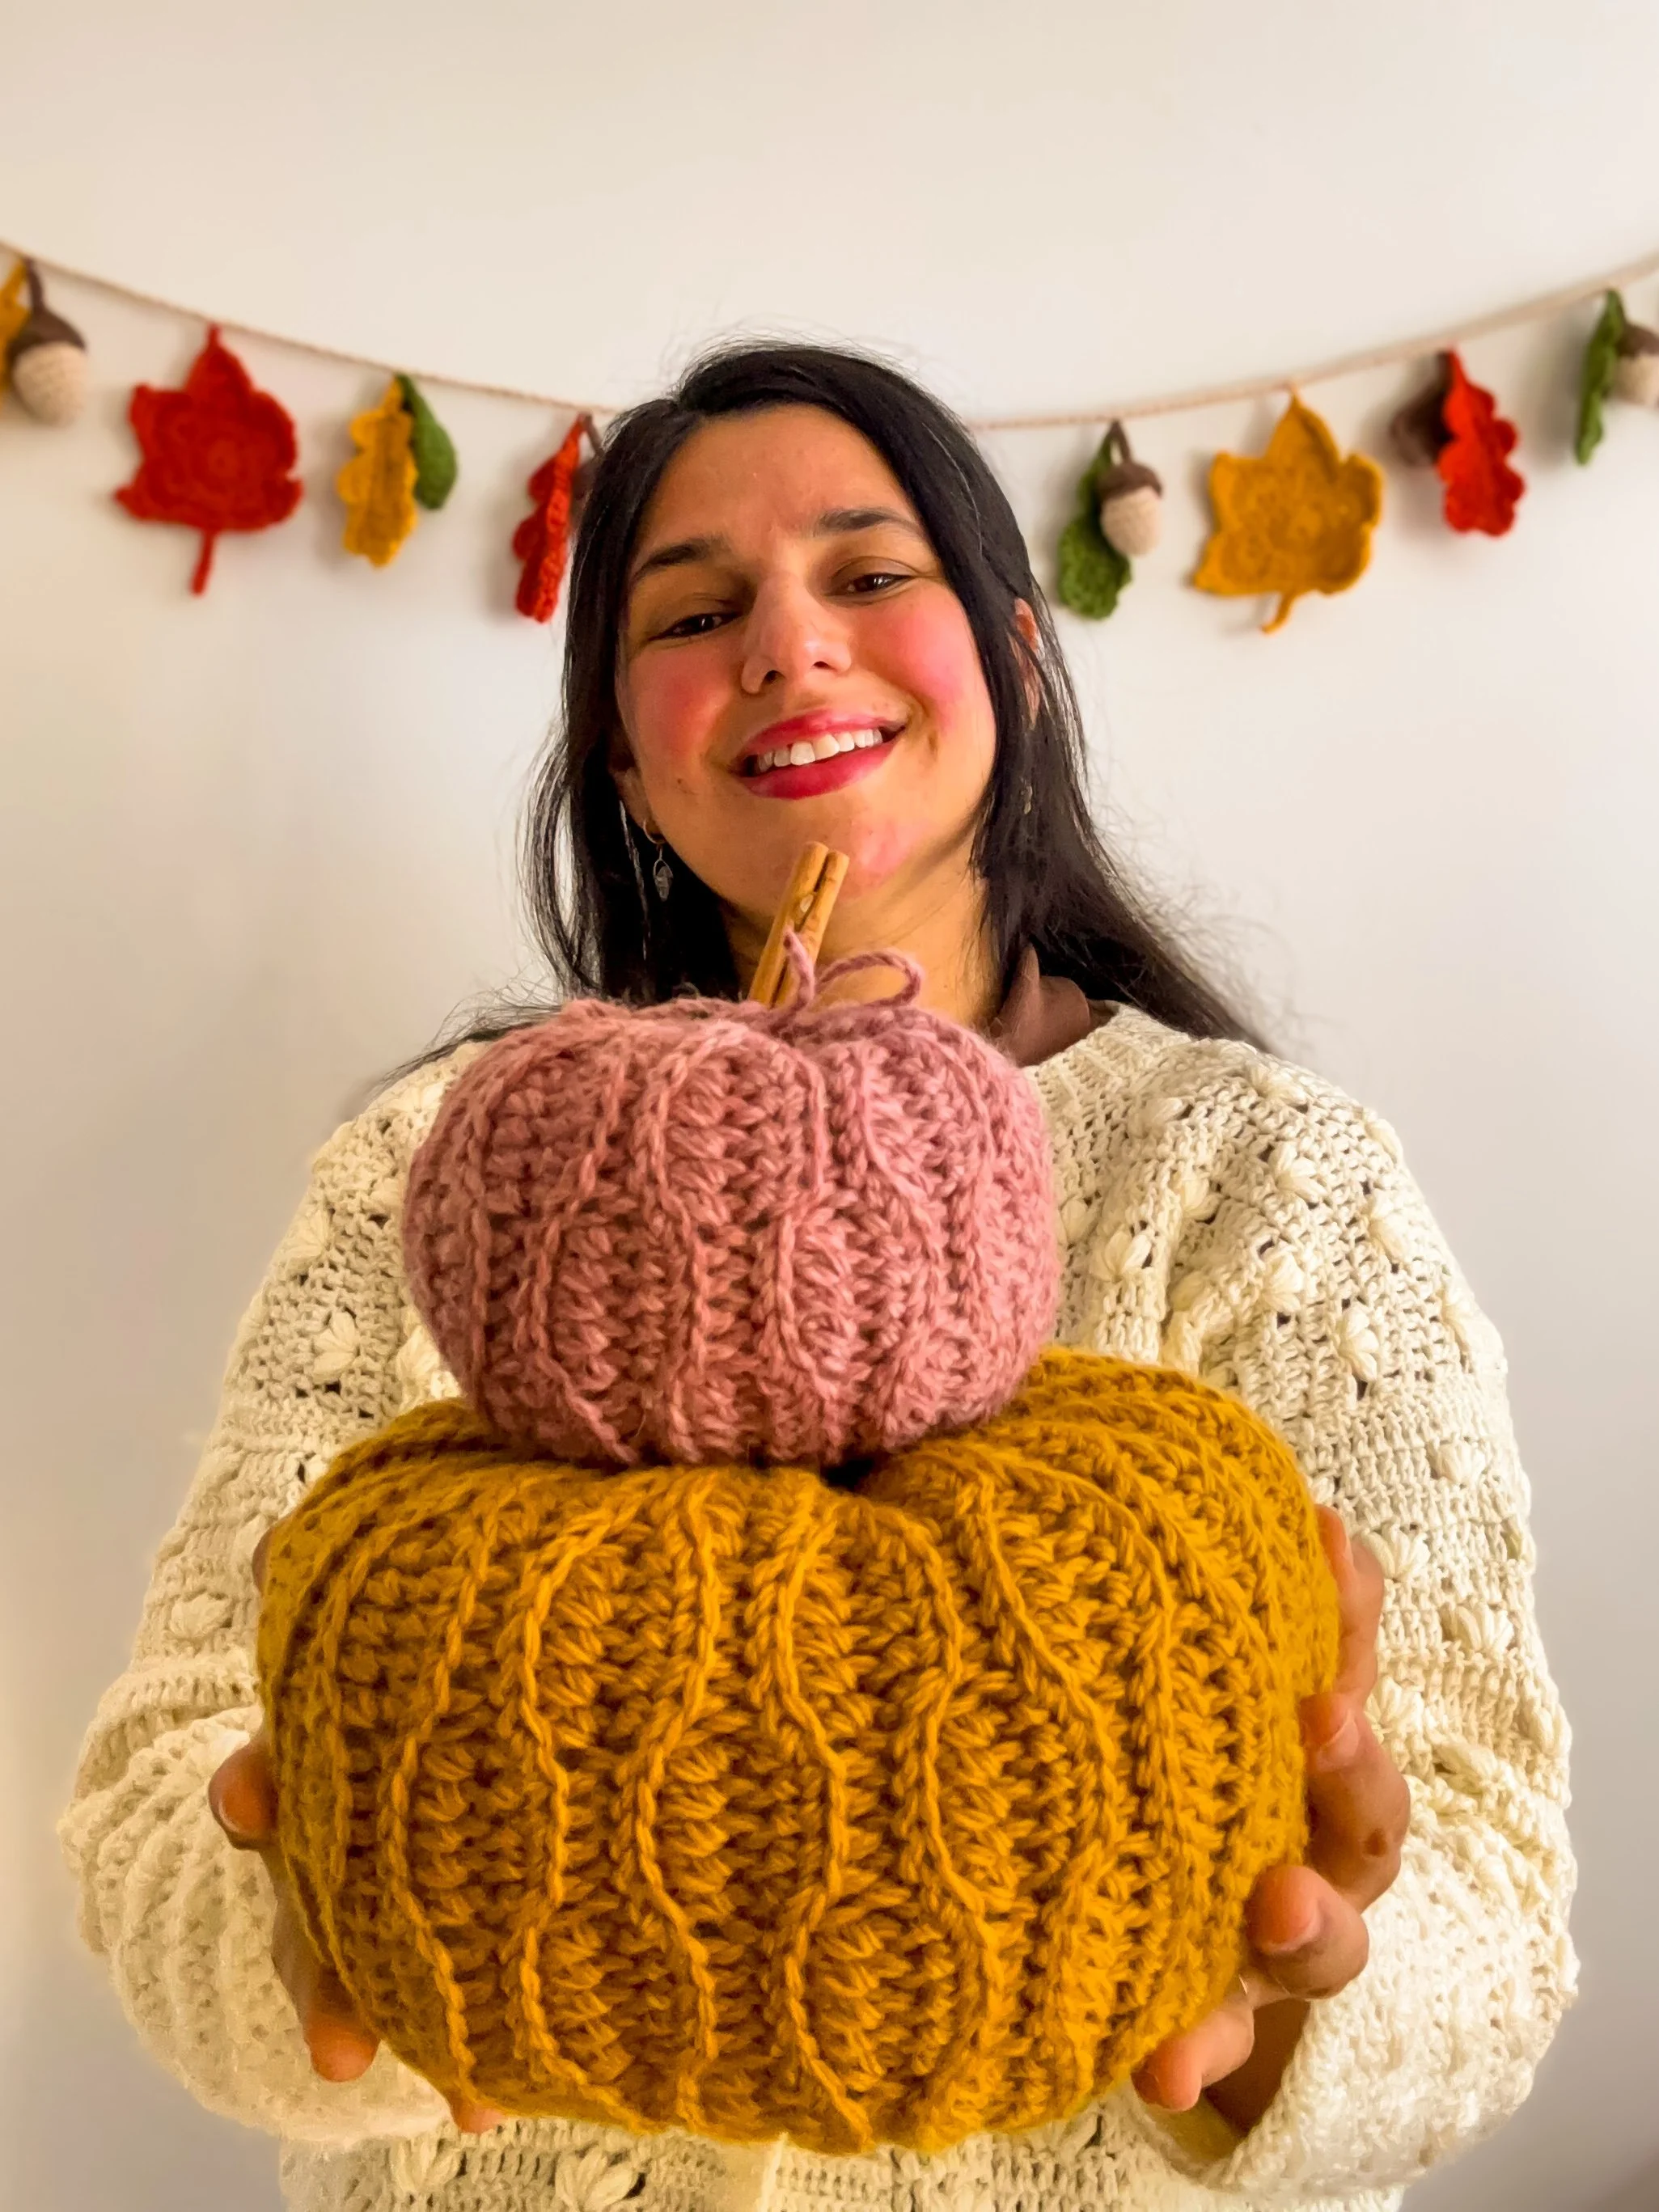
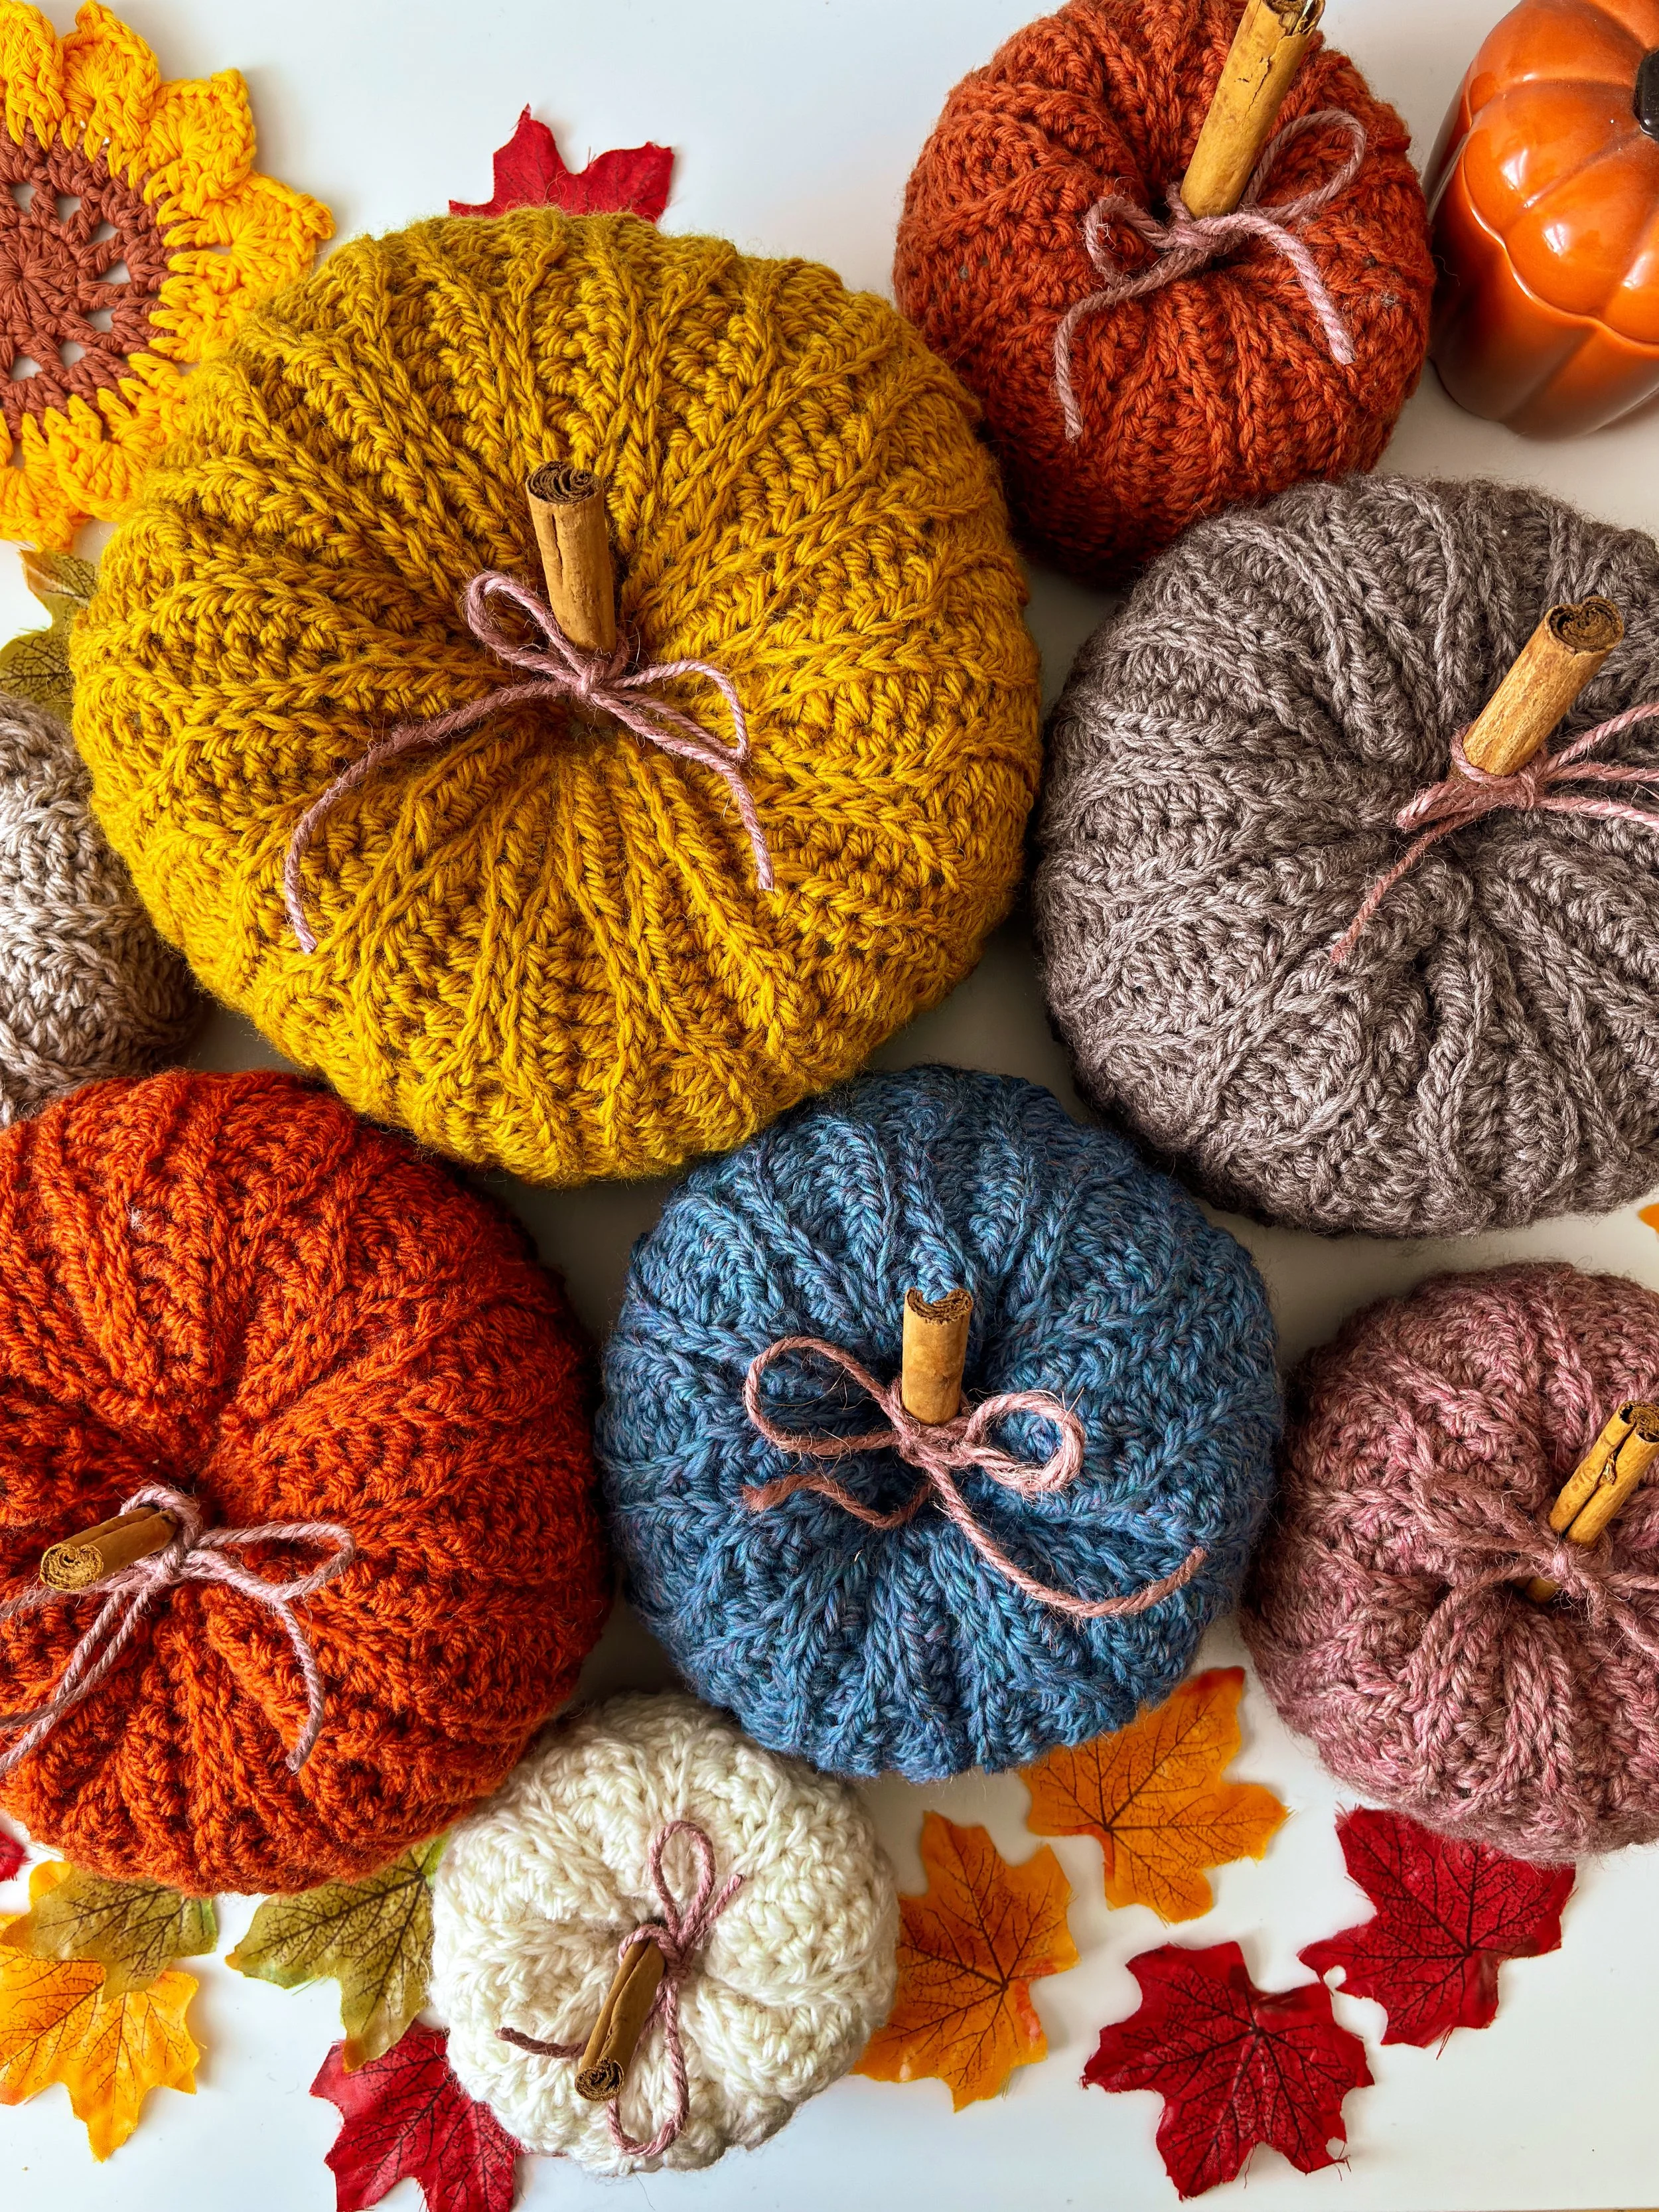
This beginner-friendly design works up quickly and includes six different sizes, giving you endless options for styling. Display a single pumpkin on a shelf, group a few together as a table centerpiece, or stack them for a rustic, farmhouse-inspired look. Whether you use classic autumn shades or mix in your favorite colors, these pumpkins make beautiful seasonal accents for your home, thoughtful gifts, or even festive market items.
Halloween Pumpkin Ideas
The Autumn Spice Crochet Pumpkins aren’t just for fall décor—they also make perfect handmade Halloween decorations. If you’re looking for fun and creative pumpkin ideas, why not turn these cozy crochet pumpkins into jack-o’-lanterns? Simply cut out faces from black felt and glue them onto your pumpkins. It’s a quick and easy craft that’s just as fun for kids as it is for adults, and it adds a playful touch to your seasonal décor.
This free pattern is written in Standard American terms and includes six different sizes, so you can make everything from mini pumpkins to larger statement pieces. Whether you use them as festive accents, a table centerpiece, or a whole stack of handmade pumpkins, they’re sure to bring a cozy, creative vibe to your Halloween celebrations.
Support me by purchasing the pattern below!
What’s the best yarn to make these FALL pumpkins?
For my pumpkins, I used Nepal yarn by Drops, a soft and slightly rustic wool blend that’s perfect for autumn projects. It comes in beautiful earthy shades that give the pumpkins a warm, natural look, and the yarn’s texture enhances the stitch definition for that lovely ribbed effect. Of course, you can substitute with any yarn you have in your stash, but if you want a classic, cozy pumpkin feel, Nepal is a wonderful choice.
PRINT AND CROCHET OFFLINE!
Love to crochet on the couch? You can always find a low-cost printable PDF version of all my free patterns. Perfect for printing out or viewing offline on your tablet or phone. This beautifully formatted PDF includes the step-by-step instructions to crochet your own pumpkins. The printable pdf is a super useful upgrade that makes it even easier to crochet.

MATERIALS
You will need: Any WORSTED or ARAN weight yarn (I used Alaska by Drops; 100 % wool; 50 g= 70 m)
*Off White (02) - color A - 1 ball
* Peacock Blue (72) - color B- 2 balls
*Mustard (58)- color D- 3 balls
I’ve also used: Nepal by Drops; 65% Wool, 35% Alpaca; 50g= 75 m
*Blush (8912)- color E- 1 ball
Any DK yarn (I used Karisma by Drops; 100 % wool; ; 50 g= 100 m)
5 and 6 mm crochet hook or size needed to obtain gauge
Tapestry needle, scissors and Measuring Tape.
Cinnamon Sticks, Polyester Fiberfill, Jute and a Glue Gun.
**Disclosure: As an Amazon Associate, I want to be transparent with our readers and let you know that I may earn a small commission from qualifying purchases made through the links above.
My recommendation of these products is solely based on their suitability for the pattern and not on the commission I may receive. I have personally used and found these products to be the best option for this particular project.
Using these links greatly supports our work at Dublin Bay Crochet. We appreciate your consideration and continued support. Thank you!**
TENSION:
15 sts x 14 rows in stitch pattern = 10 x 10 cm/ 4 x 4 inches
Abbreviations- Pattern is written in American terms:
Ch- Chain
St/s- Stitch/es
RS- Right side
WS- Wrong side
Sl st- Slip stitch
Sc- Single Crochet
Hdc- Half double crochet
Sl st BLO- Slip stitch in the back loop only
Hdc BLO- Half double crochet in the back loop only
SPECIAL STITCHES:
*Note you can replace the hdc sl st by a slip stitch if you prefer :)
Hdc sl st- Half double crochet slip stitch (yarn over, insert your hook into the st, yarn over and draw up a loop, pull 1 loop through two loops remaining on your hook)
Hdc sl st (BLO)- Half double crochet slip stitch in the back loop only (yarn over, insert your hook through the back loop of the st, yarn over and draw up a loop, pull 1 loop through two loops remaining on your hook) This stitch is a mixed of half double crochet and slip stitch
NEED HELP CROCHETING THE HALF DOUBLE CROCHET SLIP STITCH? Don’t worry! I have a video tutorial showing you how to make it step-by-step! :)
Sizing Chart Included in the PDF – Purchase HERE
SIZE
This pattern is written in 5 different sizes: Small (S), Medium (M), Large (L), Extra Large (XL) and Double Extra Large (XXL)
CONSTRUCTION
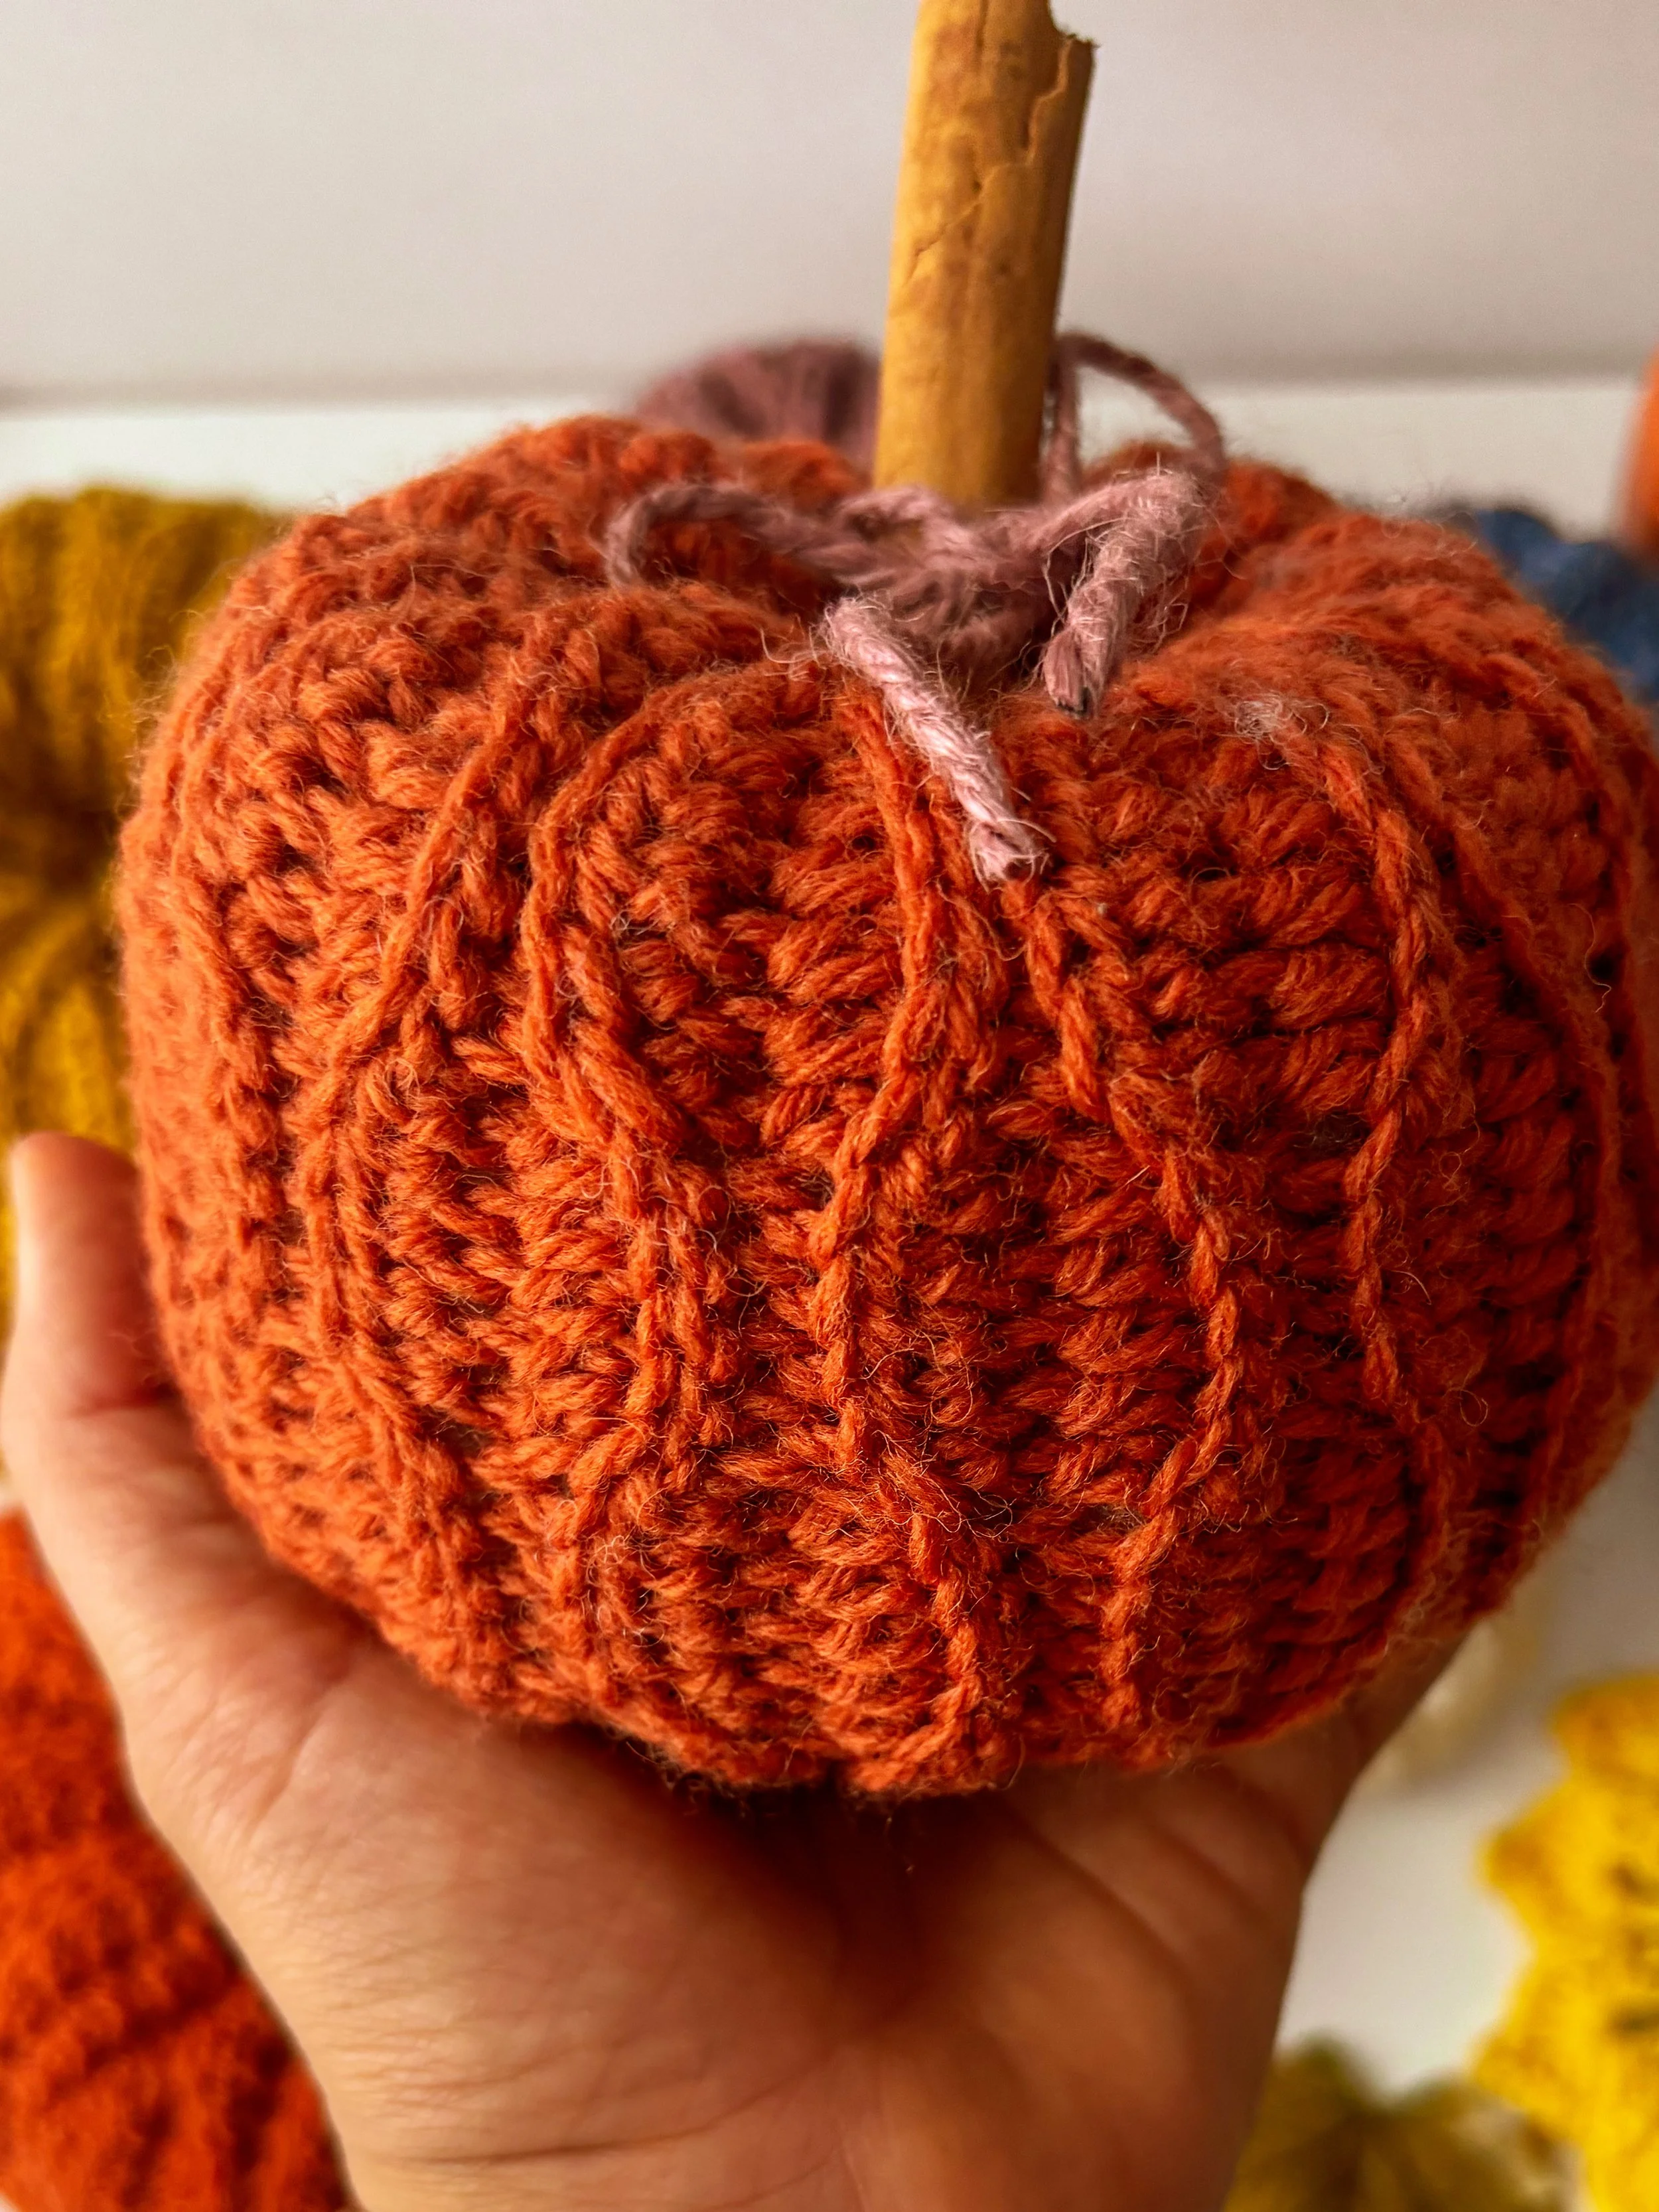
The pumpkins are crocheted flat, seamed, and then stuffed, leaving room for a cinnamon stick stem at the top. Indents on the sides are made by weaving the yarn needle down through the top and bottom of the pumpkin. You can stack them together or display them individually, with the option to finish them off with some jute for an extra touch of charm.
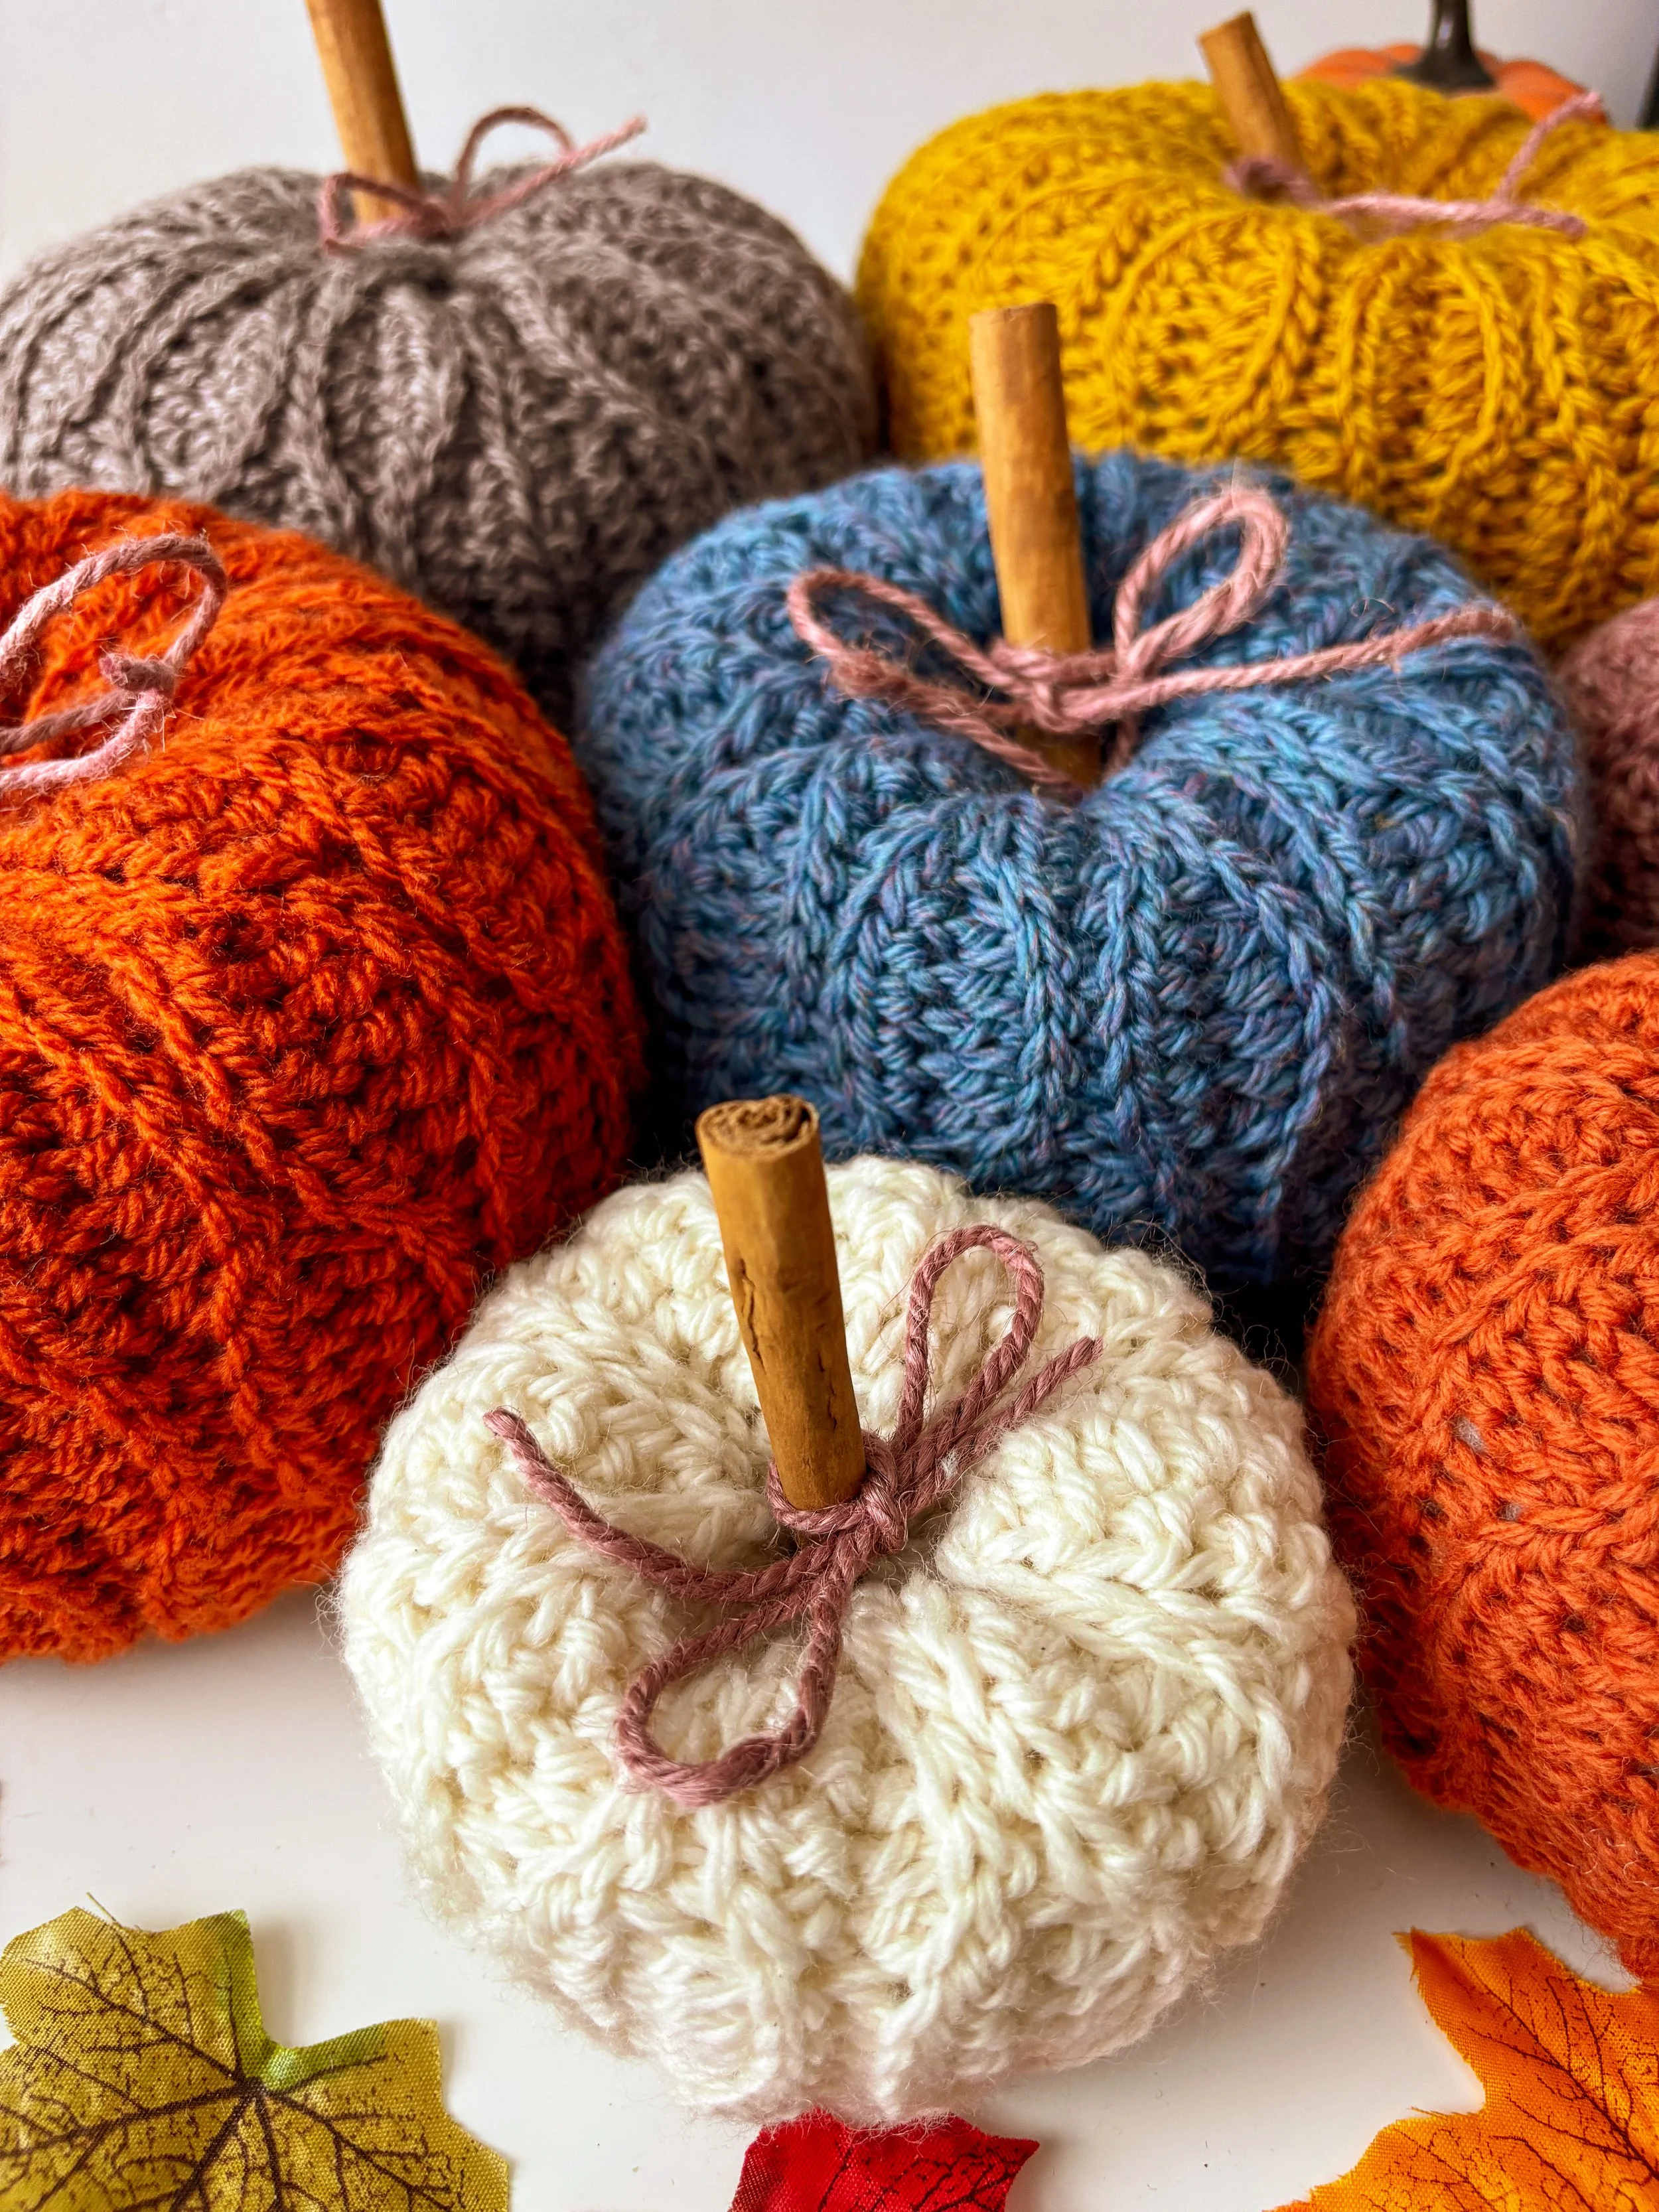
You can make these pumpkins with any yarn and hook size you like—just match the measurements provided in the pattern. Chunkier yarns will give you larger pumpkins, while thinner yarns create smaller ones, so you can mix and match for a whole pumpkin patch!
You’ll notice there are two Medium sizes in this pattern—one made with DK yarn and the other with worsted weight. Since I could only find the orange shade in DK, I included both versions so you can choose whichever yarn works best for you. This gives you more flexibility in color and yarn selection.
Start Here…
Small Pumpkin
With colour A and 6 mm crochet hook
Chain 19
Working in rows:
Row 1: Starting in 2nd ch from hook, 1 hdc sl st in next 3 ch, 1 hdc in next 5 ch, 1 sl st in next 5 ch, 1 hdc in last 5 ch, 1 ch and turn. 18 sts in total and 3 waves.
Row 2: 1 hdc BLO in next 5 hdc, 1 sl st BLO in next 5 sl st, 1 hdc BLO in next 5 hdc, 1 sl st BLO in last 3 sts, 1 ch and turn. 18 sts in total and 3 waves.
Row 3: 1 hdc sl st BLO in next 3 sts, 1 sl st BLO in next 5 hdc, 1 hdc BLO in next 5 sl st, 1 sl st BLO in last 5 hdc, 1 ch and turn. 18 sts in total and 3 waves.
Row 4: 1 sl st BLO in next 5 sl st, 1 hdc BLO in next 5 hdc, 1sl st BLO in next 5 sl st, 1 sl st BLO in last 3 sts, 1 ch and turn. 18 sts in total and 3 waves.
Row 5: 1 hdc sl st BLO in next 3 sts, 1 hdc BLO in next 5 sl st, 1 sl st BLO in next 5 hdc, 1 hdc BLO in last 5 sl st, 1 ch and turn. 18 sts in total and 3 waves.
Rows 6 to 29: Repeat rows 2 to 5 six times.
Row 30: Repeat row 2.
Row 31: Repeat row 3.
Row 32: Repeat row 4. Cut yarn, leaving a thread of yarn that is roughly four times longer than the rectangle so you’ll have plenty for sewing.
Fold the rectangle so that the WS is facing. Using whip stitch and a tapestry needle, sew the sides together.
Bottom
Turn your work inside out so the Right side is facing you. With yarn needle, weave through the front loop of each st around, pull closed and weave in ends.
Medium Pumpkin
Using Color E and 6 mm crochet hook.
Chain 26
Working in rows:
Row 1: Starting in 2nd ch from hook, 1 hdc in next 5 ch, *1 sl st in next 5 ch, 1 hdc in next 5 ch* rep from * to * until the end of the row, 1 ch and turn. 25 sts in total and 5 waves.
Row 2: 1 hdc BLO in next 5 hdc, *1 sl st BLO in next 5 sl st, 1 hdc BLO in next 5 hdc* rep from * to * until the end of the row, 1 ch and turn. 25 sts in total and 5 waves.
Row 3: 1 sl st BLO in next 5 hdc, *1 hdc BLO in next 5 sl st, 1 sl st BLO in next 5 hdc* rep from * to * until the end of the row, 1 ch and turn. 25 sts in total and 5 waves.
Row 4: 1 sl st BLO in next 5 sl st, * 1 hdc BLO in next 5 hdc, 1 sl st BLO in next 5 sl st* rep from * to * until the end of the row, 1 ch and turn. 25 sts in total and 5 waves.
Row 5: 1 hdc BLO in next 5 sl st, *1 sl st BLO in next 5 hdc, 1 hdc BLO in next 5 sl st* rep from * to * until the end of the row, 1 ch and turn. 25 sts in total and 5 waves.
Row 6 to 37: Repeat rows 2 to 5 Eight times in total.
Row 38: Repeat row 2. Cut yarn, leaving a thread of yarn that is roughly four times longer than the rectangle so you’ll have plenty for sewing.
Fold the rectangle so that the WS is facing. Using whip stitch and a tapestry needle, sew the sides together.
Bottom Closure
Attach yarn to any stitch from bottom
Rnd 1: 1 ch, work 1 sc in every other row around the edge for a total of 19 sts, sl st in the first sc to join. Fasten off with a tail for seaming. With yarn needle, weave through the front loop of each st around, pull closed and weave in ends. Skip to finishing.
Medium Pumpkin using DK yarn
Using Color F and 5 mm crochet hook.
Chain 31
Working in rows:
Row 1: Starting in 2nd ch from hook, *1 hdc in next 5 ch, 1 sl st in next 5 ch* rep from * to * until the end of the row, 1 ch and turn. 30 sts in total and 6 waves.
Row 2: *1 sl st BLO in next 5 sl st, 1 hdc BLO in next 5 hdc* rep from * to * until the end of the row, 1 ch and turn. 30 sts in total and 6 waves.
Row 3: *1 sl st BLO in next 5 hdc, 1 hdc BLO in next 5 sl st* rep from * to * until the end of the row, 1 ch and turn. 30 sts in total and 6 waves.
Row 4: *1 hdc BLO in next 5 hdc, 1 sl st BLO in next 5 sl st* rep from * to * until the end of the row, 1 ch and turn. 30 sts in total and 6 waves.
Row 5: *1 hdc BLO in next 5 sl st, 1 sl st BLO in next 5 hdc* rep from * to * until the end of the row, 1 ch and turn. 30 sts in total and 5 waves.
Row 6 to 41: Repeat rows 2 to 5 NINE times in total.
Row 42: Repeat row 2. Cut yarn, leaving a thread of yarn that is roughly four times longer than the rectangle so you’ll have plenty for sewing.
Fold the rectangle so that the WS is facing. Using whip stitch and a tapestry needle, sew the sides together.
Bottom Closure
Attach yarn to any stitch from bottom
Rnd 1: 1 ch, work 1 sc in every other row around the edge for a total of 21 sts, sl st in the first sc to join. Fasten off with a tail for seaming. With yarn needle, weave through the front loop of each st around, pull closed and weave in ends. Skip to finishing.
Large Pumpkin
Using Color B and 6 mm crochet hook.
Chain 31
Working in rows:
Row 1: Starting in 2nd ch from hook, *1 hdc in next 5 ch, 1 sl st in next 5 ch* rep from * to * until the end of the row, 1 ch and turn. 30 sts in total and 6 waves.
Row 2: *1 sl st BLO in next 5 sl st, 1 hdc BLO in next 5 hdc* rep from * to * until the end of the row, 1 ch and turn. 30 sts in total and 6 waves.
Row 3: *1 sl st BLO in next 5 hdc, 1 hdc BLO in next 5 sl st* rep from * to * until the end of the row, 1 ch and turn. 30 sts in total and 6 waves.
Row 4: *1 hdc BLO in next 5 hdc, 1 sl st BLO in next 5 sl st* rep from * to * until the end of the row, 1 ch and turn. 30 sts in total and 6 waves.
Row 5: *1 hdc BLO in next 5 sl st, 1 sl st BLO in next 5 hdc* rep from * to * until the end of the row, 1 ch and turn. 30 sts in total and 5 waves.
Row 6 to 45: Repeat rows 2 to 5 TEN times in total.
Row 46: Repeat row 2. Cut yarn, leaving a thread of yarn that is roughly four times longer than the rectangle so you’ll have plenty for sewing.
Fold the rectangle so that the WS is facing. Using whip stitch and a tapestry needle, sew the sides together.
Bottom Closure
Attach yarn to any stitch from bottom
Rnd 1: 1 ch, work 1 sc in every other row around the edge for a total of 23 sts, sl st in the first sc to join. Fasten off with a tail for seaming. With yarn needle, weave through the front loop of each st around, pull closed and weave in ends. Skip to finishing.
Extra Large Pumpkin
Using Color C and 6 mm crochet hook.
Chain 36
Working in rows:
Row 1: Starting in 2nd ch from hook, 1 hdc in next 5 ch, *1 sl st in next 5 ch, 1 hdc in next 5 ch* rep from * to * until the end of the row, 1 ch and turn. 35 sts in total and 7 waves.
Row 2: 1 hdc BLO in next hdc, *1 sl st BLO in next 5 sl st, 1 hdc BLO in next 5 hdc* rep from * to * until the end of the row, 1 ch and turn. 35 sts in total and 7 waves.
Row 3: 1 sl st BLO in next 5 hdc, *1 hdc BLO in next 5 sl st, 1 sl st BLO in next 5 hdc* rep from * to * until the end of the row, 1 ch and turn. 35 sts in total and 7 waves.
Row 4: 1 sl st BLO in next 5 sl st, * 1 hdc BLO in next 5 hdc, 1 sl st BLO in next 5 sl st* rep from * to * until the end of the row, 1 ch and turn. 35 sts in total and 7 waves.
Row 5: 1 hdc BLO in next 5 sl st, *1 sl st BLO in next 5 hdc, 1 hdc BLO in next 5 sl st* rep from * to * until the end of the row, 1 ch and turn. 25 sts in total and 5 waves.
Row 6 to 53: Repeat rows 2 to 5 TWELVE times in total.
Row 54: Repeat row 2. Cut yarn, leaving a thread of yarn that is roughly four times longer than the rectangle so you’ll have plenty for sewing.
Fold the rectangle so that the WS is facing. Using whip stitch and a tapestry needle, sew the sides together.
Bottom Closure
Attach yarn to any stitch from bottom
Rnd 1: 1 ch, work 1 sc in every other row around the edge for a total of 27 sts, sl st in the first sc to join. Fasten off with a tail for seaming. With yarn needle, weave through the front loop of each st around, pull closed and weave in ends. Skip to finishing.
Double Extra Large Pumpkin
Using Color C and 6 mm crochet hook.
Chain 41
Working in rows:
Row 1: Starting in 2nd ch from hook, *1 hdc in next 5 ch, 1 sl st in next 5 ch* rep from * to * until the end of the row, 1 ch and turn. 40 sts in total and 8 waves.
Row 2: *1 sl st BLO in next 5 sl st, 1 hdc BLO in next 5 hdc* rep from * to * until the end of the row, 1 ch and turn. 40 sts in total and 8 waves.
Row 3: *1 sl st BLO in next 5 hdc, 1 hdc BLO in next 5 sl st* rep from * to * until the end of the row, 1 ch and turn. 40 sts in total and 8 waves.
Row 4: *1 hdc BLO in next 5 hdc, 1 sl st BLO in next 5 sl st* rep from * to * until the end of the row, 1 ch and turn. 40 sts in total and 8 waves.
Row 5: *1 hdc BLO in next 5 sl st, 1 sl st BLO in next 5 hdc* rep from * to * until the end of the row, 1 ch and turn. 40 sts in total and 8 waves.
Row 6 to 57: Repeat rows 2 to 5 THIRTEEN times in total.
Row 58: Repeat row 2.
Row 59: Repeat row 3.
Row 60: Repeat row 4. Cut yarn, leaving a thread of yarn that is roughly four times longer than the rectangle so you’ll have plenty for sewing.
Fold the rectangle so that the WS is facing. Using whip stitch and a tapestry needle, sew the sides together.
Bottom Closure
Attach yarn to any stitch from bottom
Rnd 1: 1 ch, work 1 sc in every other row around the edge for a total of 30 sts, sl st in the first sc to join. Fasten off with a tail for seaming. With yarn needle, weave through the front loop of each st around, pull closed and weave in ends. Skip to finishing.
Finishing Details:
Stuffing
Stuff the pumpkin with polyester fiberfill, making sure you don’t overstuff.
Top Closure
Size S ONLY
Join yarn to the sl st seam at the top opening.
With yarn needle, weave through the front loop of each st around, pull closed leaving a small gap for the cinnamon stick and weave in ends.
Sizes M (M) L (XL) XXL ONLY- Please note there are two sizes Medium as one is made with DK yarn and the other with worsted yarn.
Join yarn to the sl st seam at the top opening.
Rnd 1: 1 ch, work 1 sc in every other row around the edge for a total of 19 (21) 23 (27) 30 sts, sl st in the first sc to join. Fasten off with a tail for seaming. With yarn needle, weave through the front loop of each st around, pull closed leaving a small open to glue the cinnamon sticks and you will use the rest of the yarn to shape and cinch your pumpkin.
With the yarn tail still attached, thread your yarn needle.
Insert the needle into the next stitch to the right and push it back down through the center of the pumpkin, coming out the bottom.
Repeat this process: bring the needle back up through the center and out the next hole to the right, then push it down through the following hole and out the bottom again.
Each time you pull the yarn tight, the top and bottom centers will start to draw inward and give the pumpkin shape.
Continue working around all the stitches until the top is all covered.
At the bottom, tie a couple of secure knots and fasten off the yarn.
For the finishing touch, glue the cinnamon sticks to the center of the pumpkin and tie a jute ribbon around them to give your piece a charming farmhouse look.
Alternative Shaping Method for Sizes M, L, XL and XXL
Another option for shaping the pumpkin, without using a tapestry needle as described in the Top Closure section, is to work 3 slip stitches at the beginning and 3 slip stitches at the end of each row. This naturally creates a narrower section at both the top and bottom of the rectangle, making it easier to close and form the pumpkin’s shape—eliminating the need for the final step of cinching and shaping.
Size M (M) L (XL) XXL:
Chain 32 (37) 37 (42) 47
Work 1 sl st in next 3 ch at the beg and continue working on the wave st pattern until there are 3 ch left, work 1 sl st in last 3 ch.
Continue working this way until you completed the necessary amount of rows for each size.
If you follow this alternative shaping, you will also avoid the bottom and top closure.
Follow this step to close the pumpkins (both Top and Bottom)
Join yarn to the sl st seam at the top opening.
With yarn needle, weave through the front loop of each st around, pull closed leaving a small gap for the cinnamon stick and weave in ends.

🍂🍁🌾🍂🍁🌾
Well That Was Fun! What's Next?
📌 PIN THIS POST - Don't lose this project; save it to your Pinterest crochet board so you can quickly come back to it again.
💌 SHARE - Share your yarn choice, in-progress, or finished projects on Facebook or Instagram and use the hashtag #leoneladiy
🥂 JOIN - Join our small community on Facebook: Dublin Bay Crochet
