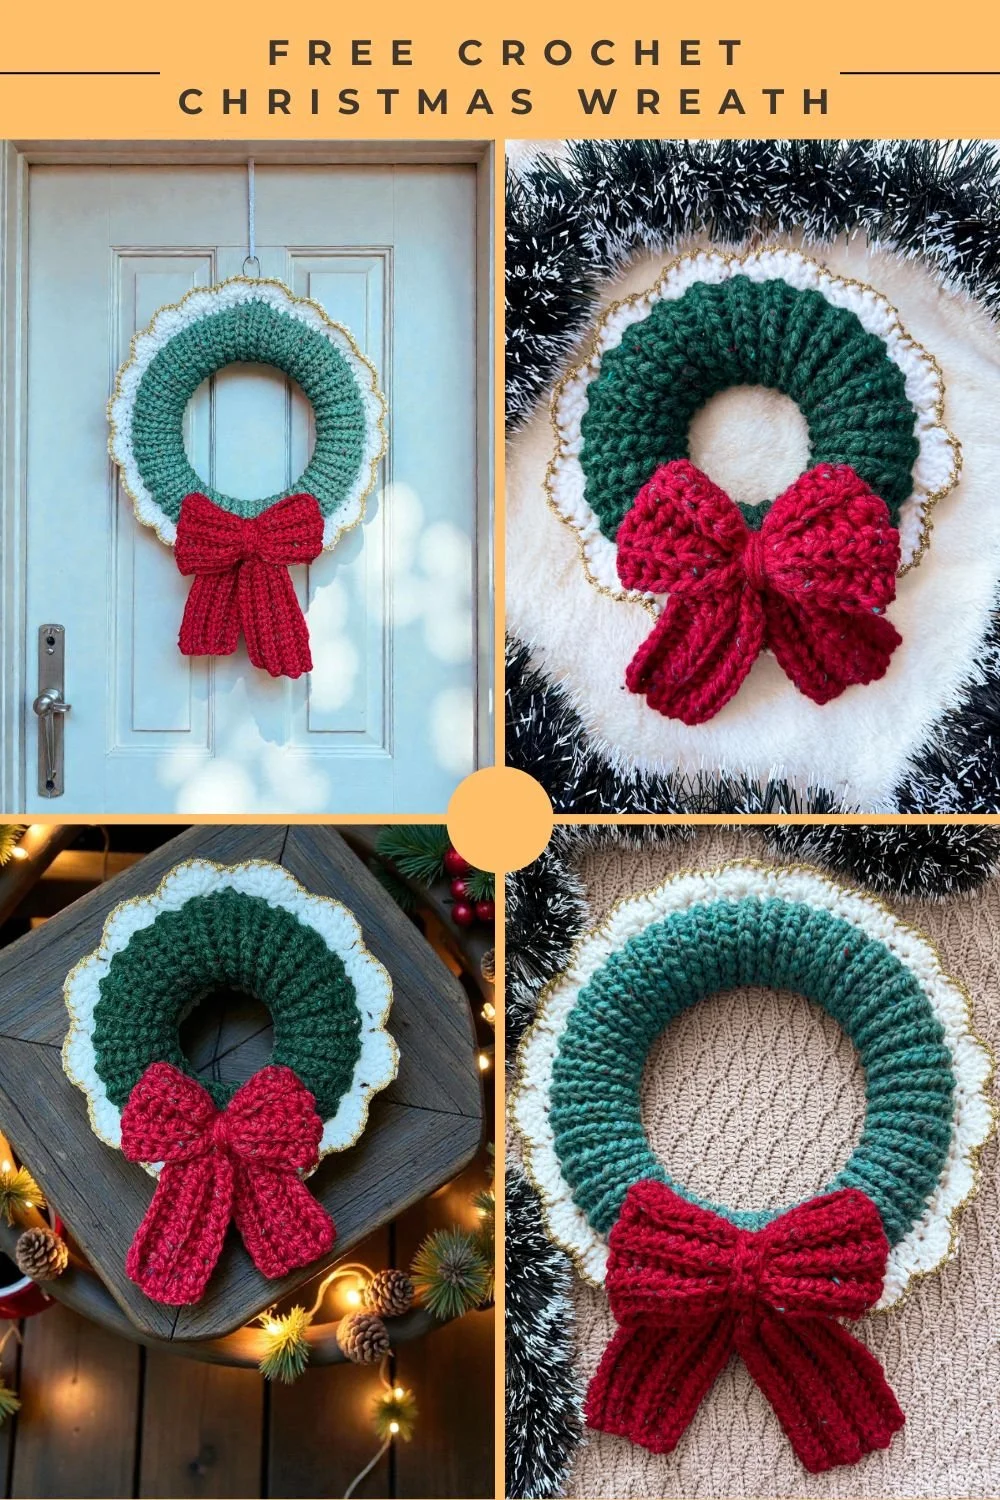
Crochet Christmas Wreath. Free Pattern
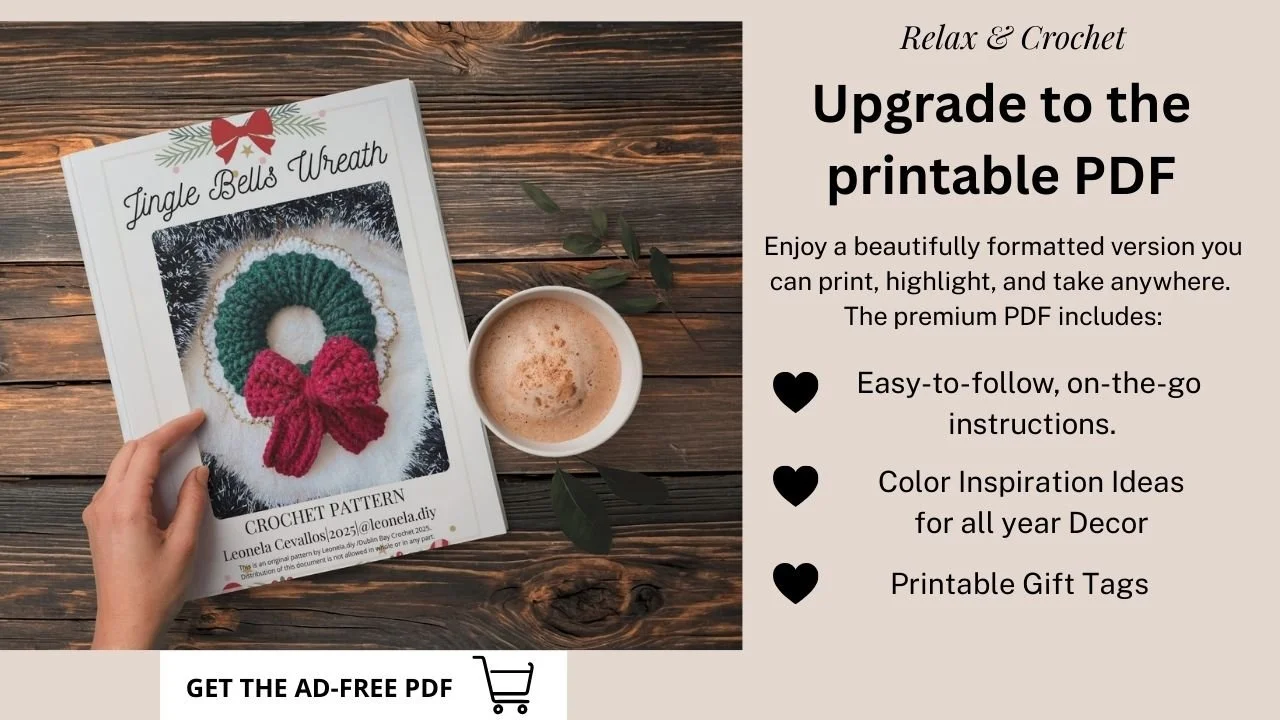
Learn how to crochet a quick and easy Christmas Wreath with this free pattern and step-by-step tutorial. The complete Jingle Bells Wreath is below or you can purchase the ad-free, printable PDF here.
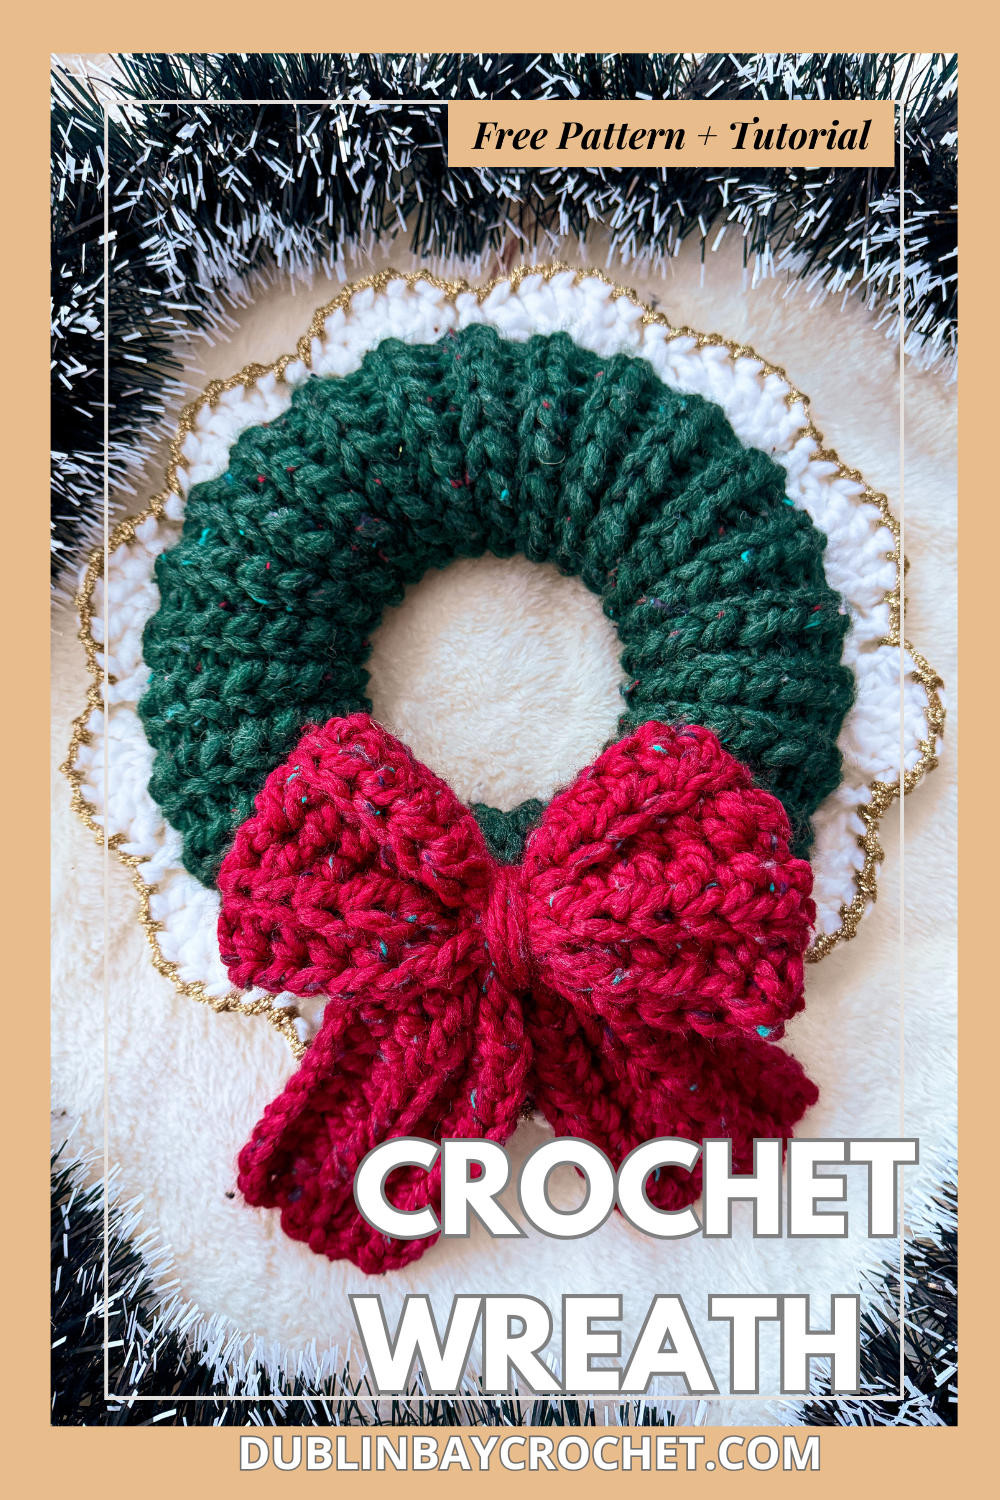
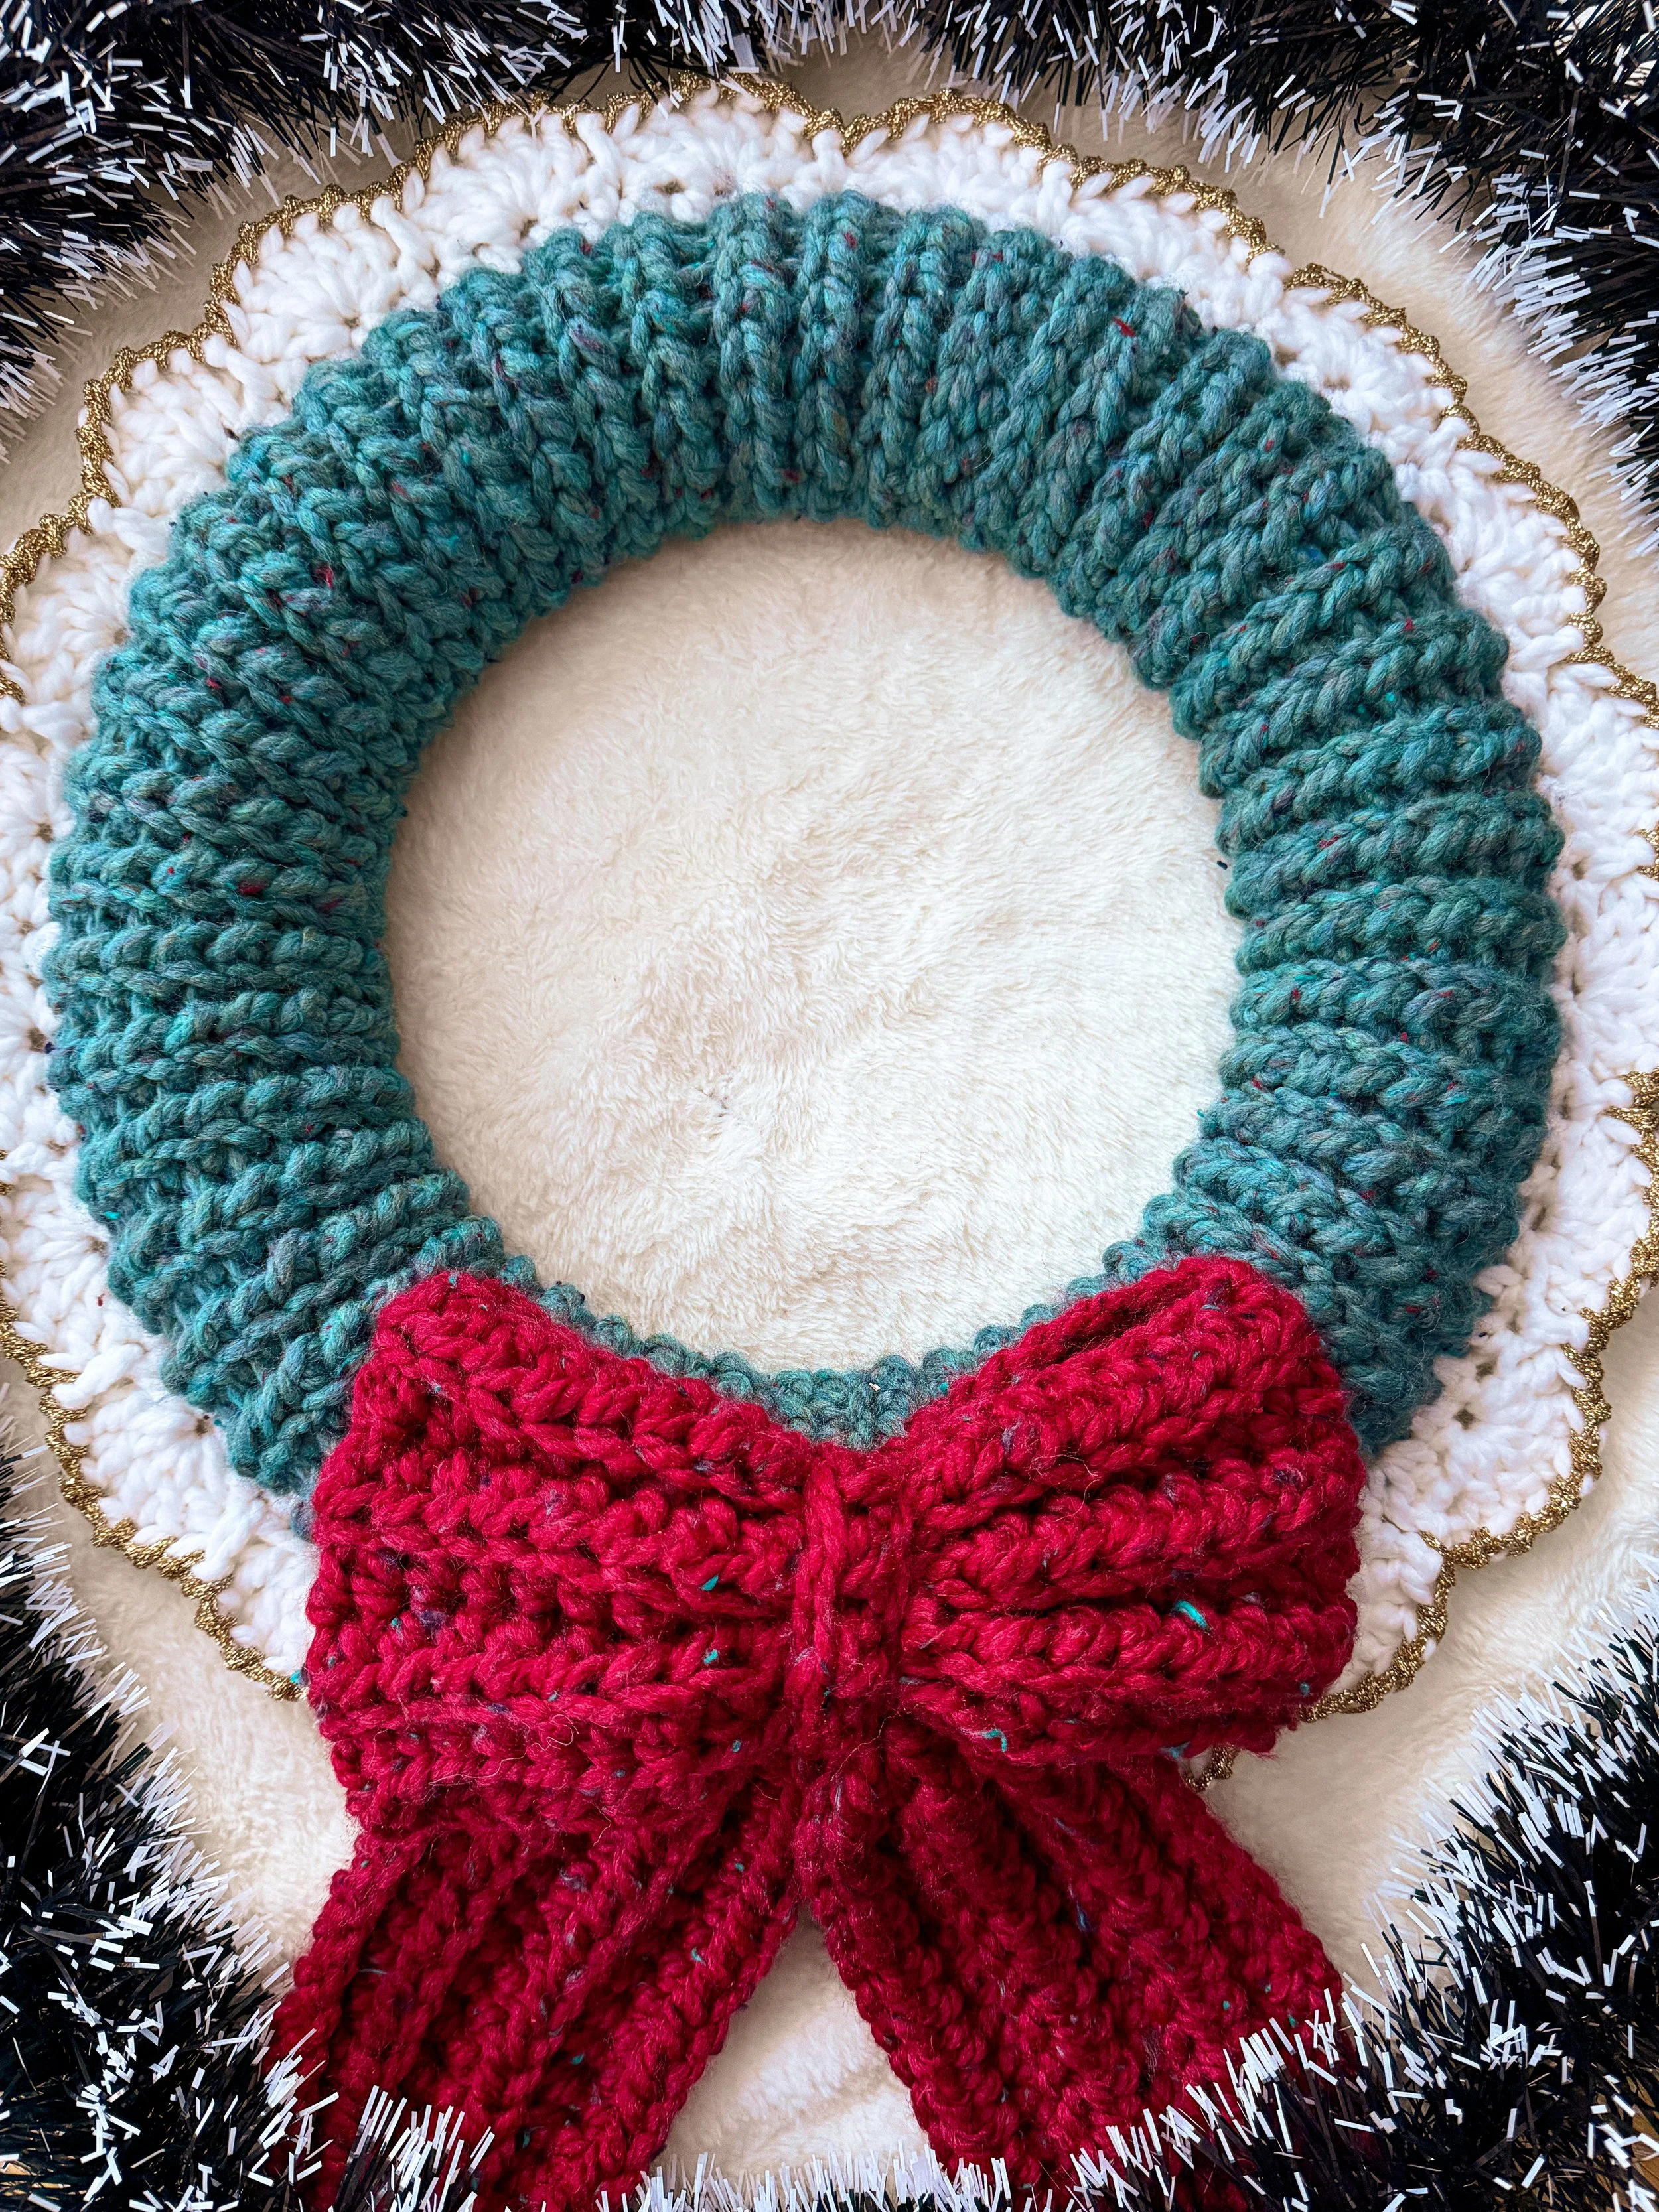
Jingle Bells Wreath – Free Crochet Pattern
If you’re looking for a quick, cozy, and festive crochet project, you’re in the right place! This Jingle Bells Wreath turns two simple rectangles into a beautiful holiday decoration with a bold bow and a pretty scalloped edge. It works up fast using super bulky yarn and a combination of simple stitches that create a knit-look texture, giving your crochet a polished, elevated finish without any added difficulty.
And the best part? This wreath isn’t just for Christmas. With a simple colour swap, you can make a version for any season or celebration—spring pastels, autumn tones, Valentine pinks, Halloween, baby showers, birthdays, and more. It’s one of those satisfying patterns you’ll want to recreate again and again.
The construction is wonderfully simple:
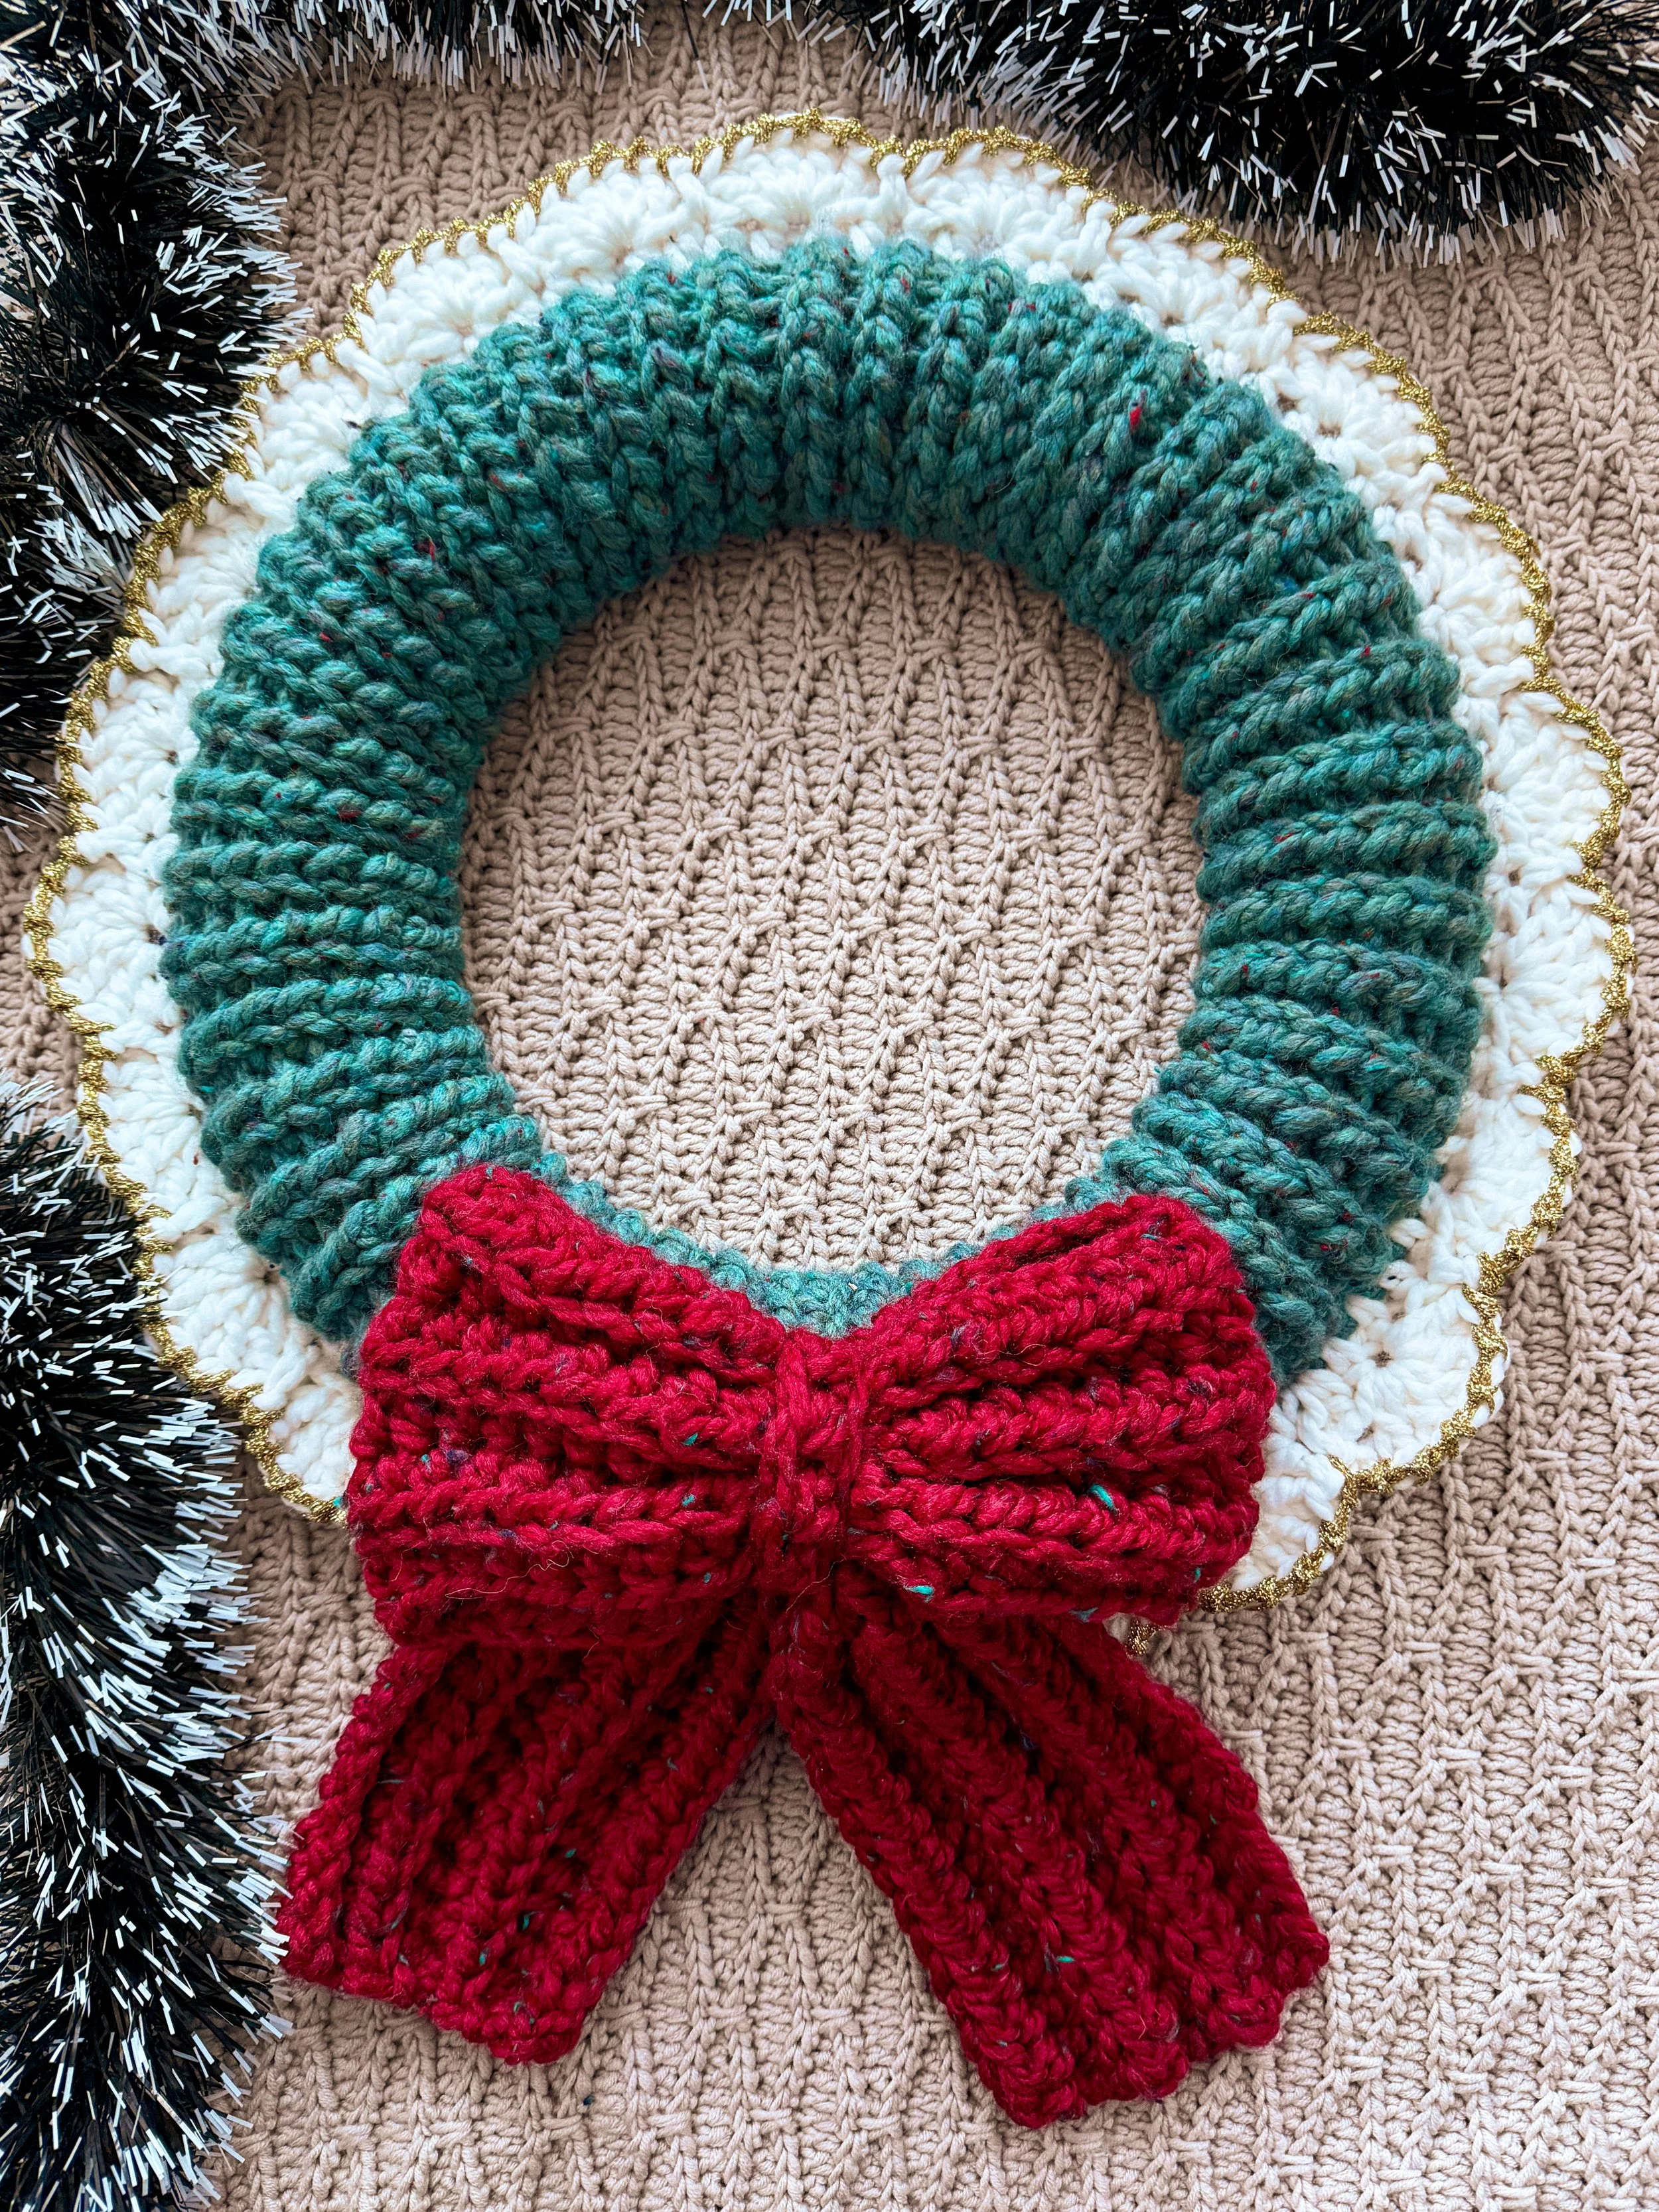
One rectangle wraps around the wreath foam to create the cover.
A second rectangle is worked in a clever way that folds naturally into a perfect bow.
A decorative scalloped edging adds a festive, fun finish.
The pattern includes two sizes, plus guidance on how to adjust it for different wreath foam sizes or yarn weights, so you can customise your wreath to suit your style and space.

Whether you hang it on your front door, above the fireplace, in your craft room, or use it as a table centerpiece, this wreath brings instant handmade personality to any spot. So grab your yarn, pick your colors, and let’s get into the Stitch-mas spirit—no matter what season you’re celebrating!
Supplies for making your Wreath
YARN
Any Super Bulky yarn (I used Umami and Umami Tweed; Super Bulky; 150 g (5.29 oz= 83m (90 yds); 75% Acrylic, 22% Wool, 3% Viscose
*Rainforest (14) Umami Tweed- color A- 2 balls
*Scarlet Blues (19) Umami Tweed- color B- 1 ball
*White (01) Umami- color C- 1 ball
YARN SUBSTITUTIONS
Lion Brand Wool-Ease Thick & Quick- 76% Acrylic, 24% Wool; approx 172 yds / 200 g
Lion Brand Hometown – 100% Acrylic; approx 158 yds / 200 g
King Cole Big Value Super Chunky – 100% Acrylic; approx 108 yds / 100 g
Cygnet Seriously Chunky – 100% Acrylic; approx 115 yds / 100 g
Paintbox Yarns Simply Super Chunky – 100% Acrylic; approx 110 yds / 100 g
✨ For the Glitter Edging
Paintbox Metallic DK
King Cole Glitz DK
Lion Brand Vanna’s Glamour
Stylecraft Special DK + Metallic Thread held together
You’ll find plenty of great yarn substitutions listed below, but the truth is, this wreath is incredibly flexible — you can also use any yarn you already have at home. Because the pattern includes guidance for adjusting the rectangle to any wreath foam size or yarn weight, you’re free to get creative. Just crochet your rectangle until it measures about 2 cm smaller than your foam ring, and it will fit perfectly. This makes the Jingle Bells Wreath a fantastic stash-buster project, ideal for mixing yarns, experimenting with textures, or using up leftover skeins while still getting a polished, beautiful result.
Crochet Hook
10 mm crochet hook for the main wreath.
6 mm crochet hook for the scallop edge.
Notions
Foam Wreath- I’ve used two different sizes: 10” and 16”.
Skill Level
Advanced Beginner
What You’ll Love About This Pattern
💗Works up fast using simple stitches that create a beautiful knit-look texture.
💗Easy construction: two rectangles form the wreath cover and bow.
💗Includes two sizes with guidance to adjust for any wreath foam or yarn weight.
💗Customisable for any season or celebration with endless colour combinations.
Sizes and Measurements
This pattern is written in 2 different sizes as follows: Small (Large). However, guidance is included to adapt the wreath when using a different foam size or yarn weight.
Size Small measures: 26 cm (10") - 36 cm (14") including the scallop edge.
Size Large measures: 41 cm (16")- 53 cm (21") including the scallop edge.
Abbreviations US terms:
Ch- Chain
Ch-sp- Chain space
St/s- Stitch/es
Rnd- Round
RS- Right side
WS- Wrong side
Sl st- Slip stitch
Sc- Single Crochet
Hdc- Half Double Crochet
Dc- Double crochet
Special Stitches
Hdc sl st- Half double crochet slip stitch (yarn over, insert your hook into the st, yarn over and draw up a loop, pull 1 loop through two loops remaining on your hook)
Hdc sl st (BLO)- Half double crochet slip stitch in the back loop only (yarn over, insert your hook through the back loop of the st, yarn over and draw up a loop, pull 1 loop through two loops remaining on your hook). This stitch is a mix of half double crochet and slip stitch.
Crab stitch or reverse single crochet- To start, work 1 ch and insert your hook into the next full stitch to the right, pull up a loop, yarn over and pull through both loops on hook. First crab stitch (reverse single crochet). Continue in the same manner around your entire piece until you reach the beginning.
SHELL- Work 5 dc in designated stitch.
Gauge
Not critical for this pattern.
8 sts x 10 rows in st pattern= 10 x 10 cm/ 4 x 4 inches
Watch the full video tutorial here:
Cover for Circular Foam Form
Using 10 mm crochet hook and color A, chain 17 or the number of chains needed to wrap around the width of the wreath foam.
Row 1: Starting in 2nd ch from hook, 1 hdc sl st in each ch across, 1 ch and turn. 16 hdc sl st.
Row 2: 1 sl st BLO in each st across, 1 ch and turn. 16 sl sts.
Row 3: 1 hdc sl st BLO in each st across, 1 ch and turn. 16 hdc sl sts.
Row 4: 1 sl st BLO in each st across, 1 ch and turn. 16 sl sts.
Row 5: 1 hdc sl st BLO in each st across. 16 hdc sl sts.
Row 6: 1 sl st BLO in each st across, 1 ch and turn. 16 sl sts
Rows 7 to 52 (96): Repeat rows 4 and 5.
If you’re using a different size wreath, continue crocheting until your rectangle measures about 2 cm less than the wreath itself.
Joining Around The Foam Form
Slip Stitch Join:
Wrap the cover around the wreath foam with the right side facing you, then slip stitch the long sides together along the center of the wreath. Make sure the seam sits on the outside of the foam, not the inside curve.
Finally, join the short ends together to close the cover. This area will be hidden once you attach your bow, so no one will ever know if it’s not perfect!
Scallop Edge
Attach your yarn to any slip stitch along the seam where the rectangle was joined.
Rnd 1: 1 ch (does not count as a st) and evenly distribute 52 (96) sc, sl st to 1st sc from rnd. 52 (96) sc.
If you are making the wreath in a different size, make sure your stitch count is multiple of 4.
Rnd 2: 1 ch (counts as 1st sl st), skip 1 st, SHELL in next st, [skip 1 st, 1 sl st in next st, skip 1 st, SHELL in next st, skip 1 st] rep the steps between [...] 12 (23) times in total, sl st to 1st ch from beg, fasten off and weave in ends. 13 (24) SHELLS in total.
Attach color C to any sl st from previous rnd. Make sure you are holding two strands of color C together.
With a 6mm crochet hook.
Rnd 3: 1 ch, *1 reverse sc or crab st in every dc and sl st from previous round* rep from * to * until the end of the rnd, 1 sl st to 1st ch from beg. Fasten off and weave in ends.
Crochet Bow
With 10 mm crochet hook and color B.
Chain 42 (74)
Row 1: Starting in 2nd ch from hook, 1 hdc in next 8 (16) ch, *1 sl st in next 3 ch, 1 hdc in next 8 (16) ch* rep from * to * 3 times in total, 1 ch and turn. 41 sts in total.
Row 2: 1 hdc BLO in next 8 (16) hdc, *1 sl st BLO in next 3 sl st, 1 hdc BLO in next 8 (16) hdc* rep from * to * 3 times, 1 ch and turn. 41 sts in total.
Rows 3 to 6: Repeat row 2. Fasten off and weave in ends.
Folding the Bow
With the wrong side facing you, you’ll see three sections of slip stitches. These create the natural fold lines for the bow.
Bring the first two groups of slip stitches together so they meet in the middle.
Then place the third group of slip stitches on top of those.
This stacks the folds and forms that classic bow shape.
Cut a 30 cm tail of yarn, thread a tapestry needle, and sew through the center to secure the layers.
Use the remaining yarn to wrap tightly around the middle of the bow to finish it off.
Attaching the Bow to the Wreath
Place the bow at the bottom center of your wreath, adjusting it until you’re happy with how it sits. Using the long yarn tail (or a fresh length of yarn), thread your tapestry needle and sew the bow onto the crocheted cover. Go through the wrapped center of the bow, then into the stitches of the wreath cover and repeat a few times to secure it firmly. Tighten and adjust the bow so it sits flat and even.
If you want extra stability, you can add one or two small stitches on each side of the bow so it doesn’t move.
Watch the video tutorial for an easy step-by-step on how to make the hanging loop.
How to Display Your Wreath
Once your wreath is finished, it’s ready to shine anywhere in your home. Hang it on your front door to welcome guests, add it to a gallery wall for a festive pop of texture, place it above your mantle, or use it as a cosy table centrepiece with candles or fairy lights. Because it’s lightweight and soft, you can display it just about anywhere — even in places where traditional wreaths might not work.
And don’t forget, this pattern isn’t just for Christmas! With a quick colour change, you can use the same design to make wreaths for every season and celebration — spring pastels, autumn spice tones, Valentine hues, Halloween brights, baby shower colours, and so much more. It’s the kind of pattern you’ll find yourself coming back to again and again as the year goes on.
I hope this wreath brings a little extra joy to your home, no matter the season. Happy crocheting — and happy decorating!
🎄🎅✨❄️🎁
Well That Was Fun! What's Next?
📌 PIN THIS POST - Don't lose this project; save it to your Pinterest crochet board so you can quickly come back to it again.
💌 SHARE - Share your yarn choice, in-progress, or finished projects on Facebook or Instagram and use the hashtag #leoneladiy
🥂 JOIN - Join our small community on Facebook: Dublin Bay Crochet